
Integrating preference page into your application
With SuprSend, user can set preferences at 3 levels- communication channel, preference category and selected channels inside a category. We provide a headless solution with hooks to read and update data at all 3 levels. We’ll also give an example code to add our pre-defined UI. You can do any level of UI customization to match with your brand design. SDKs are available in below languages. We’ll be adding support in other languages soon:Javascript
React
Angular
Adding preference page link in notifications
1
Add preference page link in tenant settings page
Add Embeddable Preference Page link in tenant settings on SuprSend dashboard. This will automatically create a variable with key 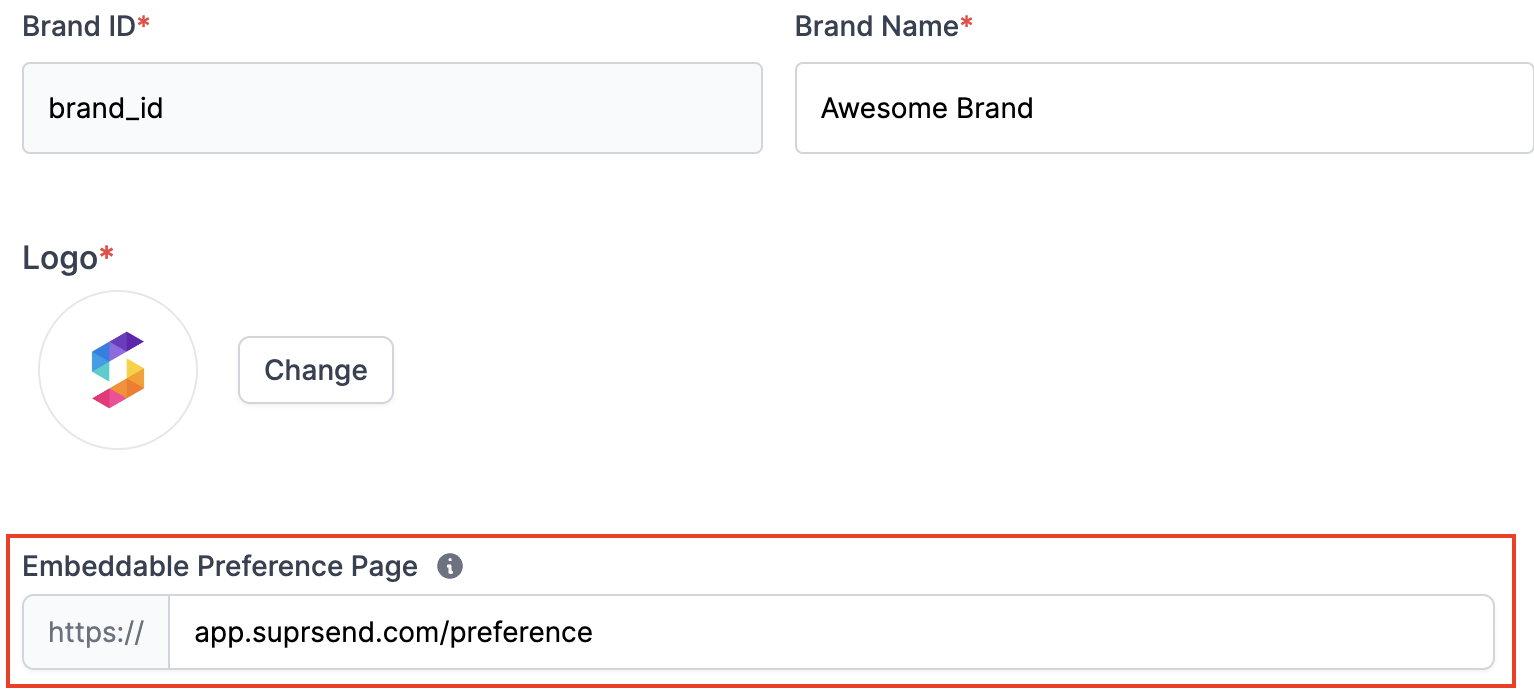
$embedded_preference_url. You can add this variable in your templates to add preference page link in your notifications.2
Add preference page link in your templates
Add this variable 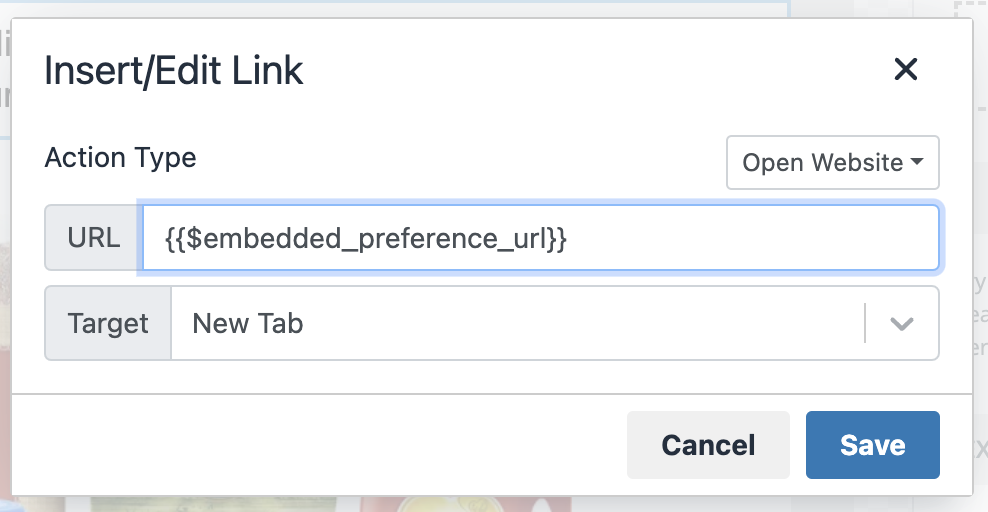
{{$embedded_preference_url}} in your templates to redirect users to the preference page in your application when users clicks on that link.