1
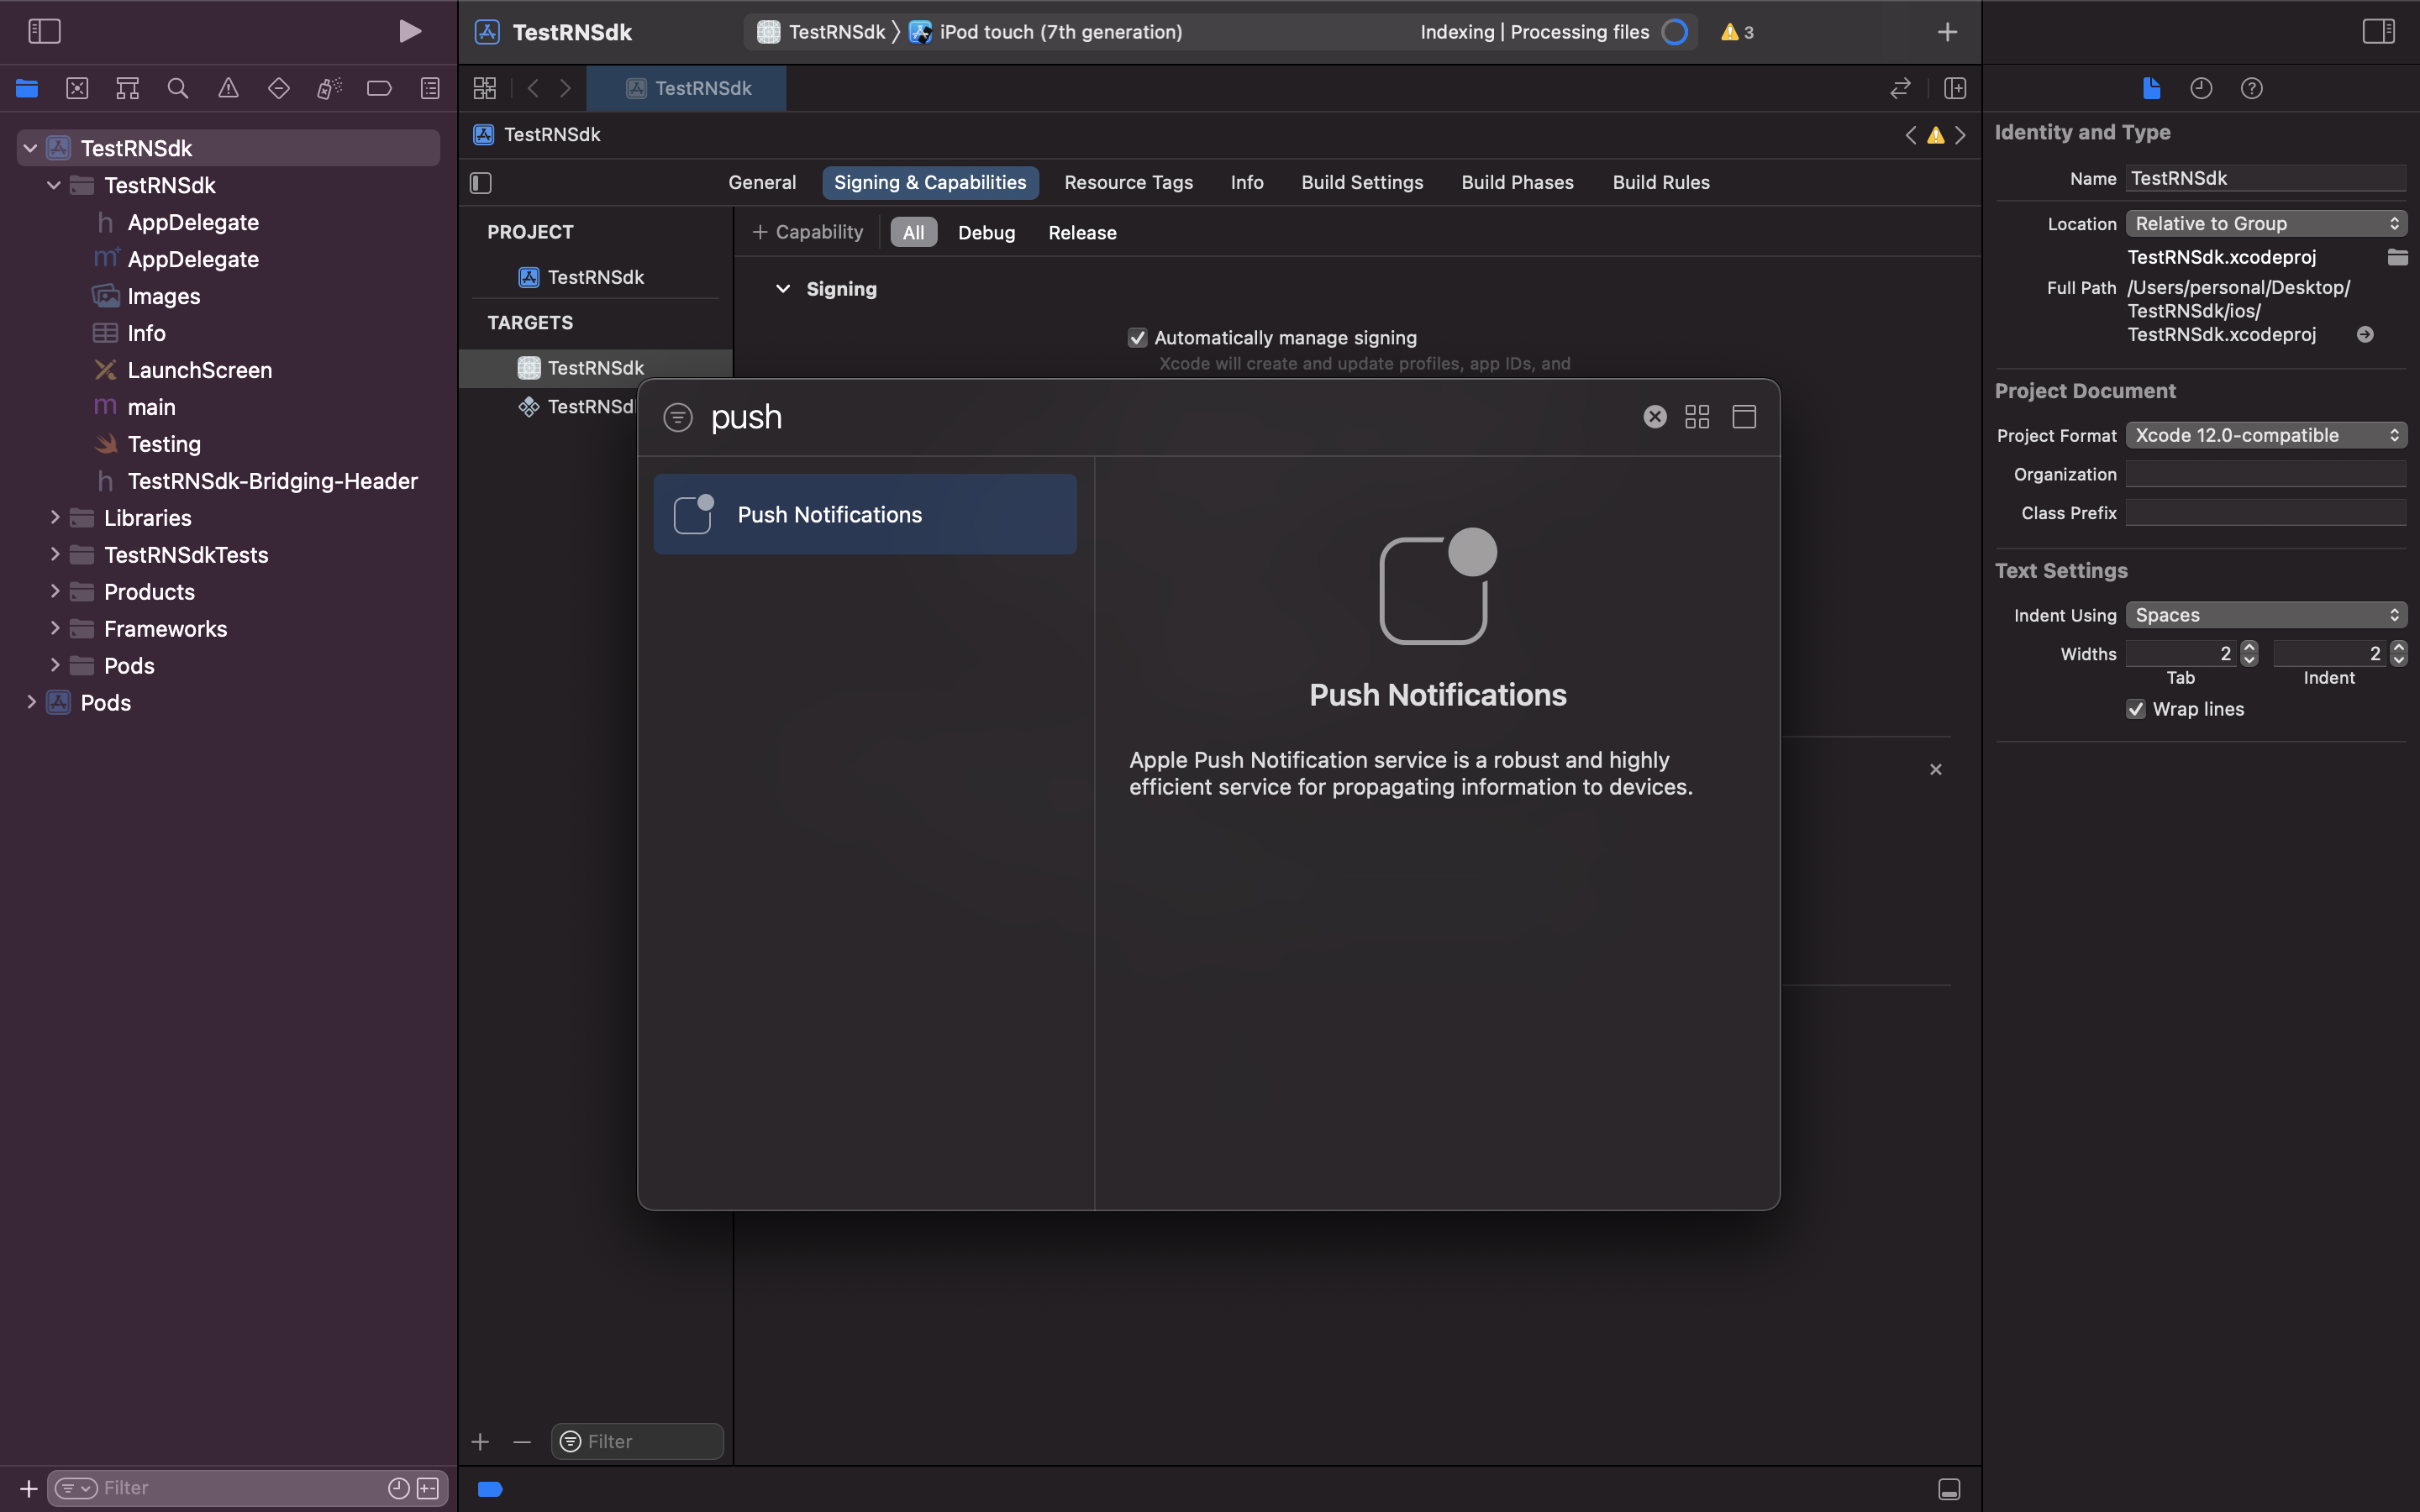
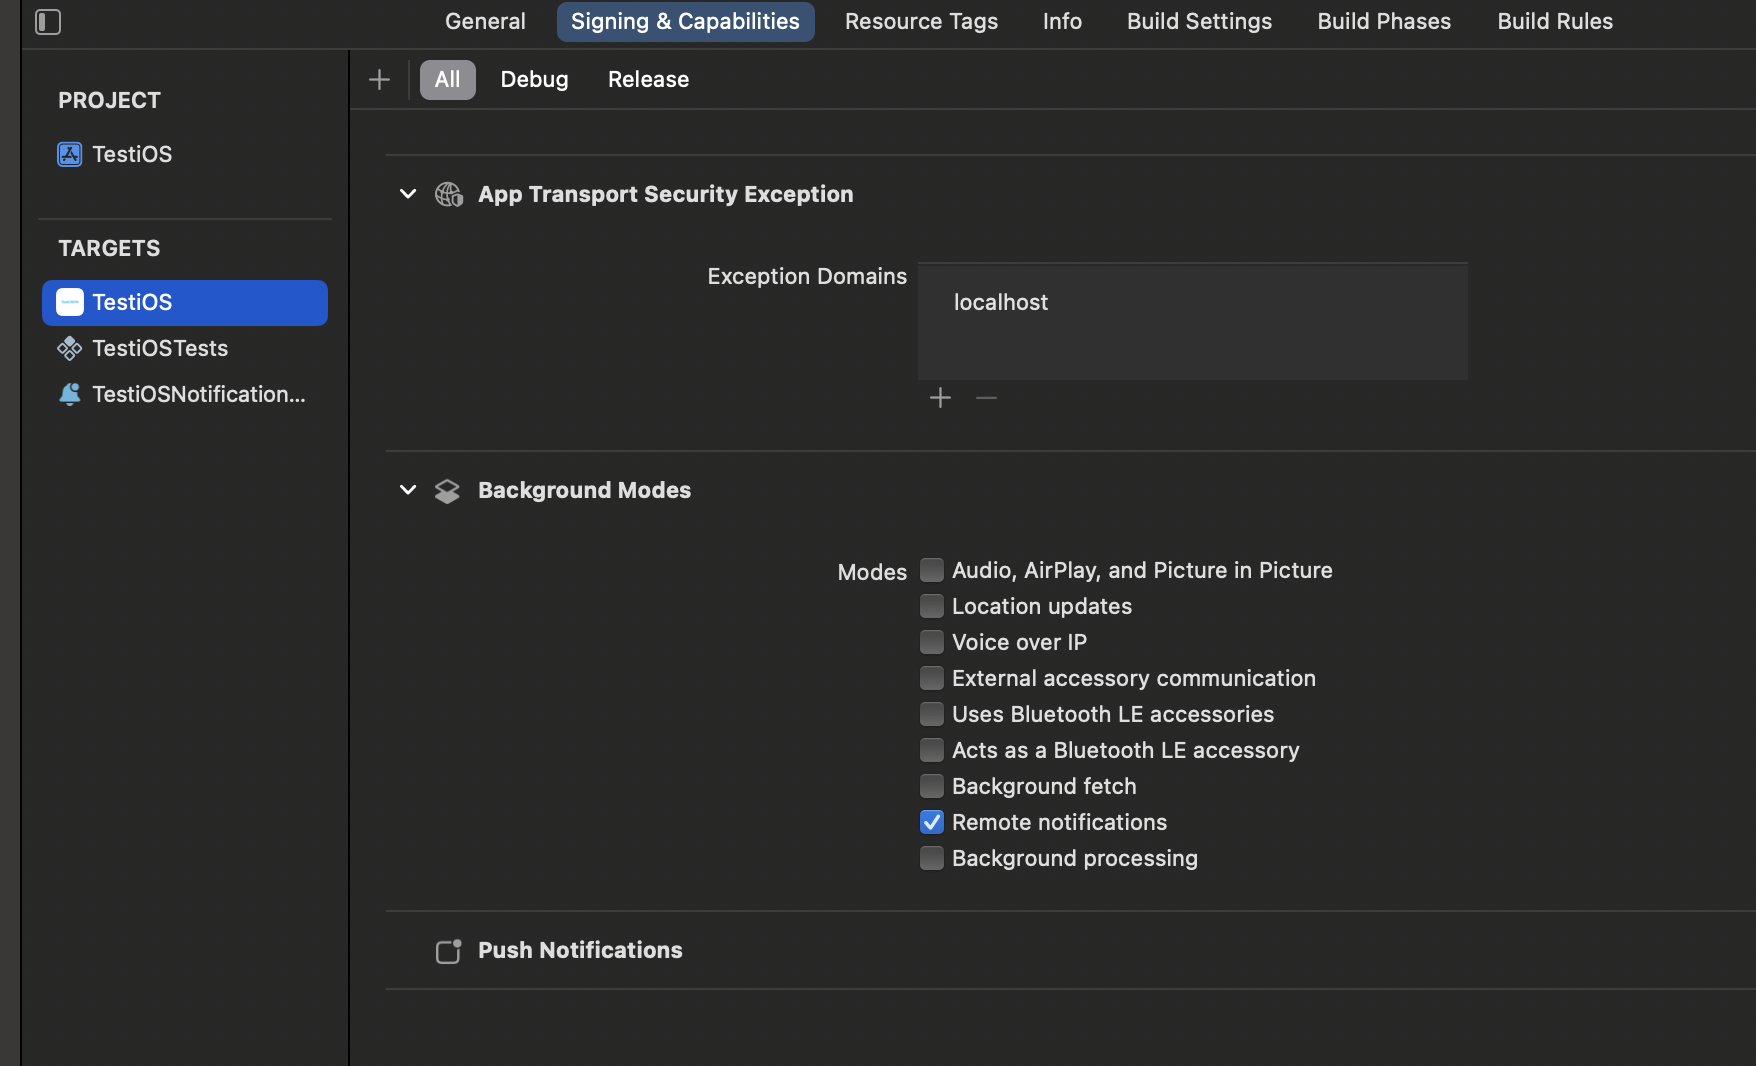
Add capabilities in iOS application
- Inside Targets select signing and capabilities
- Click on +capabilities and select Push Notifications and Background Modes
2
Register for push notifications
Call registerForPushNotifications method below the SuprSend SDK initialised code which will register the iOS device for push service.If you have AppDelegate.m file then make follow code changes given in AppDelegate.h and AppDelegate.m file. If you have AppDelegate.swift file then make follow code changes given in AppDelegate.swift file.
3
Asking User to send push notifications
There are 2 ways in which your app can prompt the users to allow push notifications on their device:
Explicit authorization allows you to display alerts, add a badge to the app icon, or play sounds whenever a notification is delivered. In this type of authorization, the request is made the first time user launches your app. If the user denies the request, you can’t send subsequent prompts to send the notification.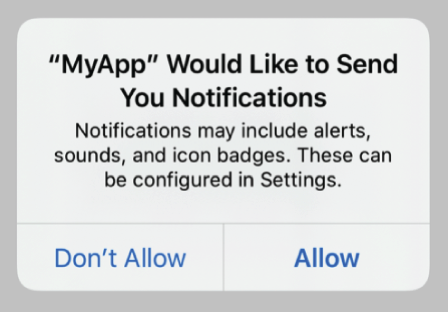
Explicit authorization is our default authorization method as it automatically sets alert, sound and badge as soon as the user allows this request.
Provisional notifications are sent quietly to the users -they don’t interrupt the user with a sound or banner. Also, they will not be shown when your app is in foreground. First time this type of notifications are sent, user is asked to “Keep” or “Turn off” the notifications. If they click on “Keep”, the further notifications continue to be sent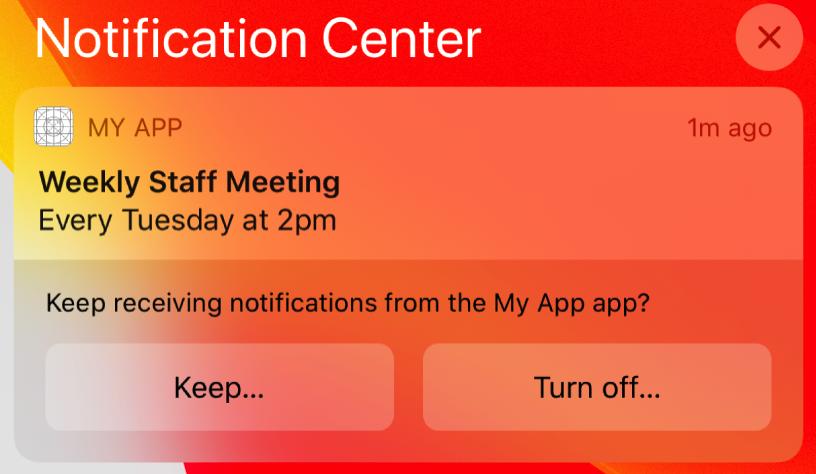
AppDelegate file for provisional authorization.4
Enable sending and tracking of push notifications
To enable sending iOS APNS token to SuprSend backend, delivery and tracking of push notification delivery/clicks/dismiss events, add below 4 methods in AppDelegate file after last existing method.
5
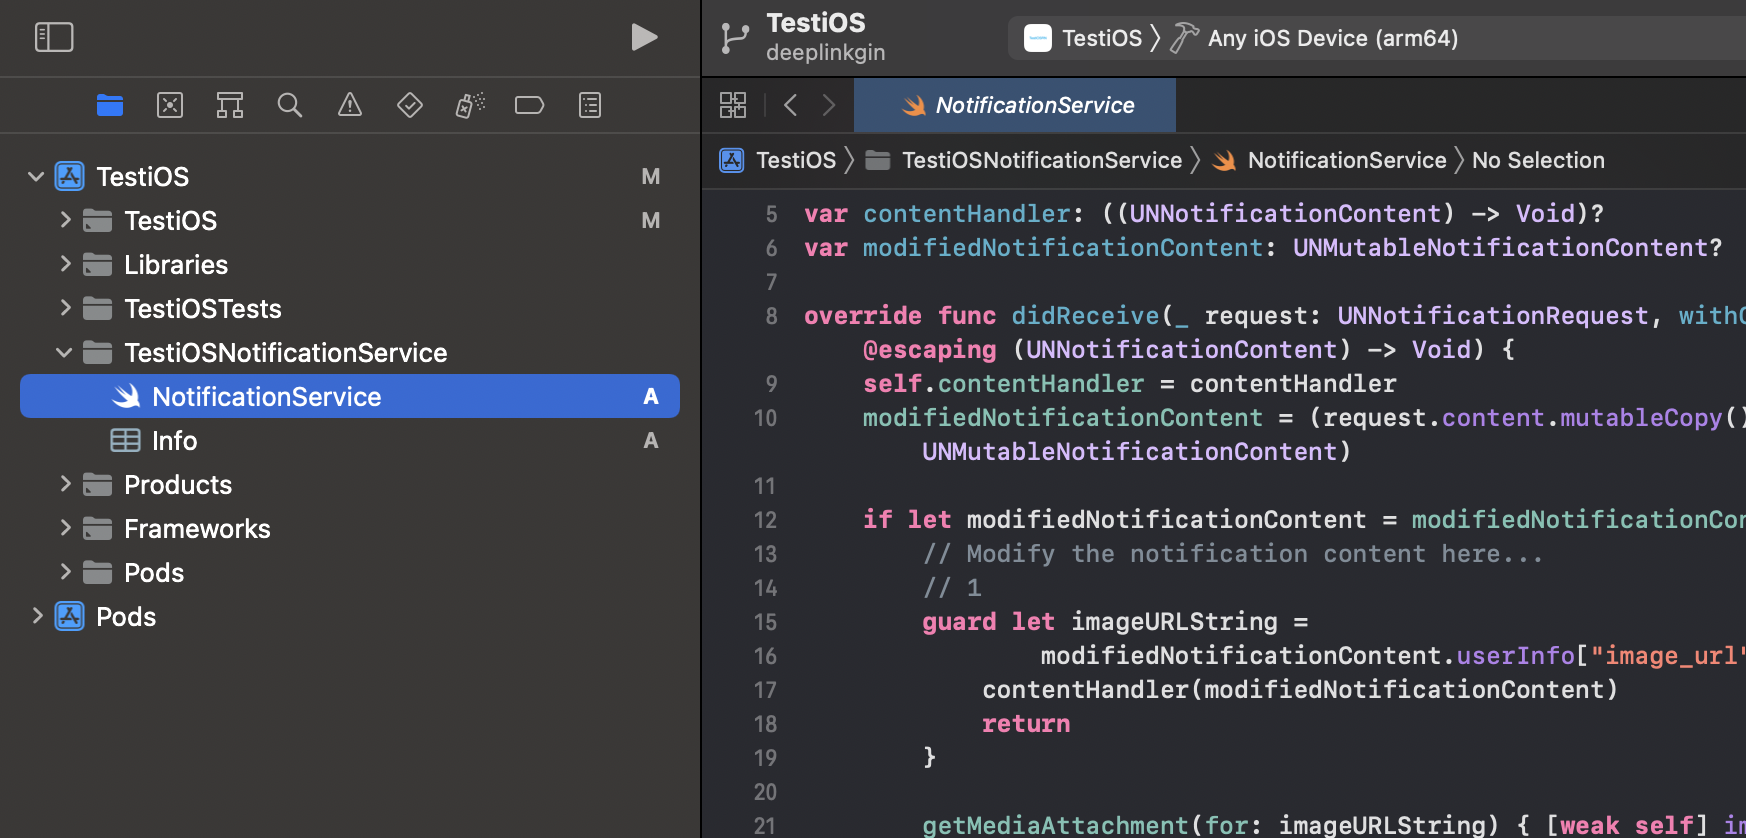
Adding support for Notification service
For better notification status (delivered, seen) tracking this step is needed.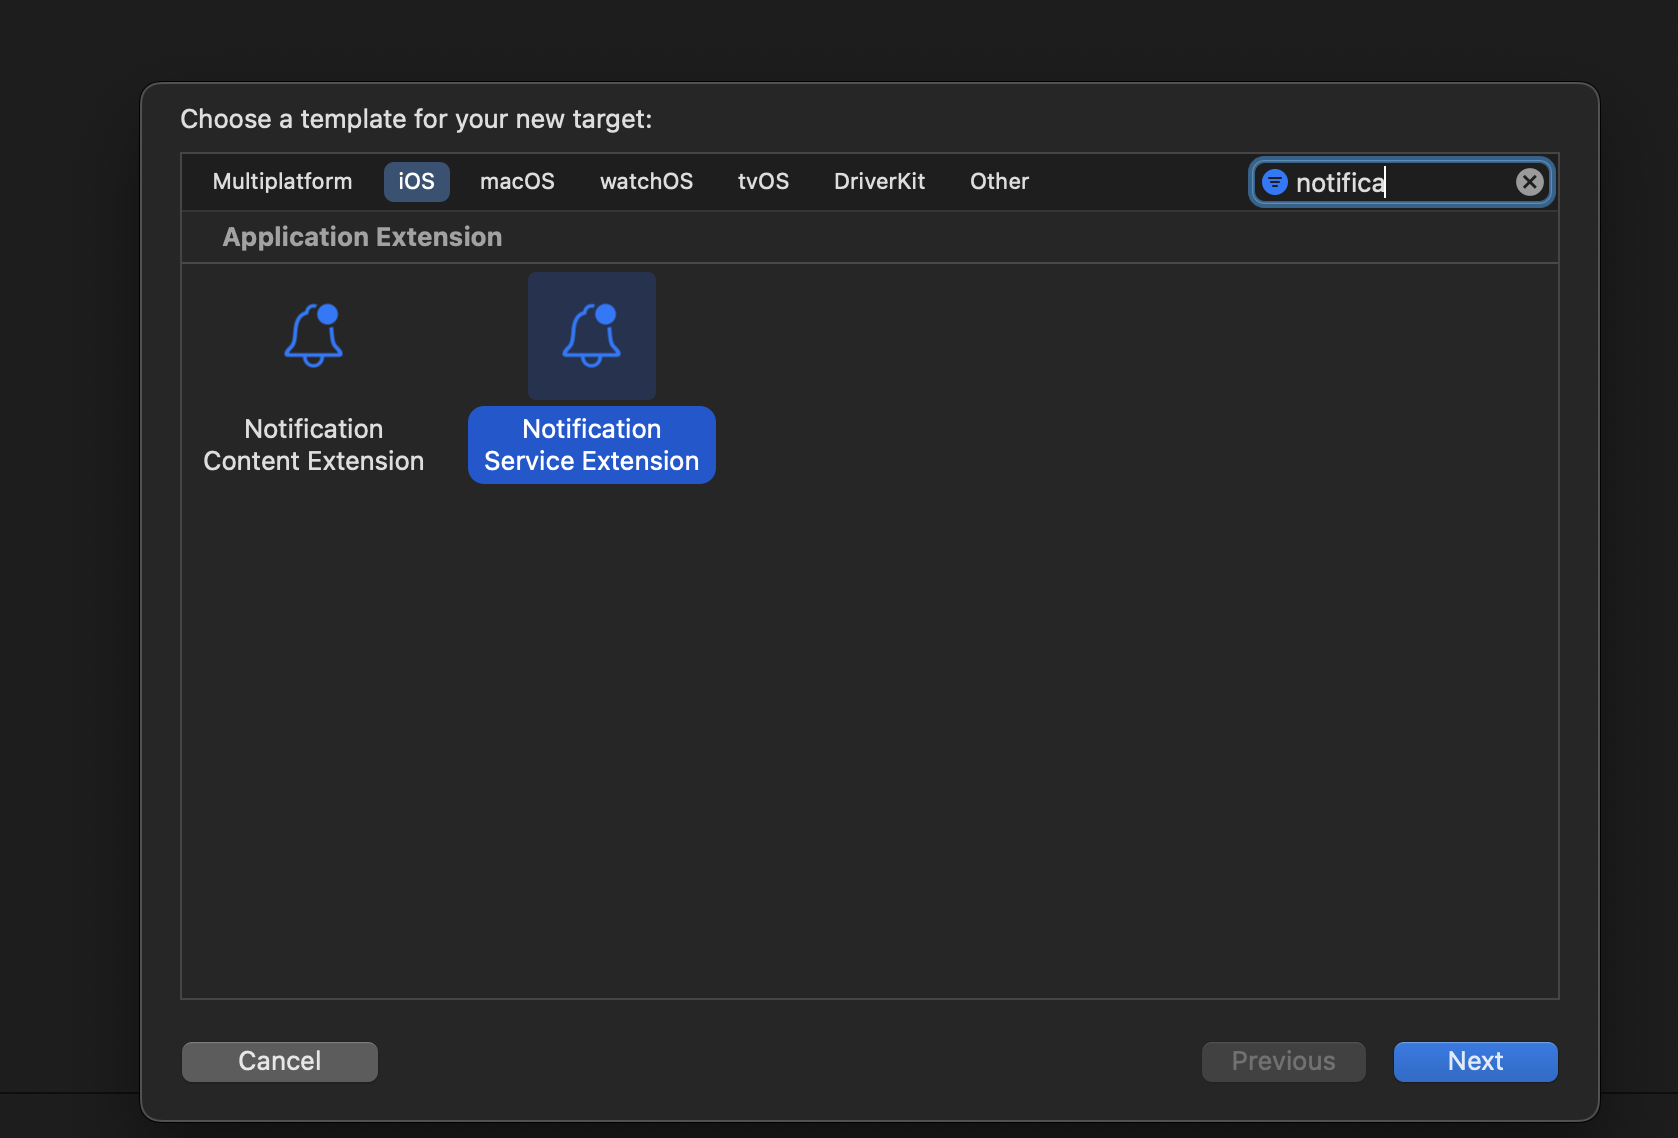
- In Xcode go to File > New > Target.
- Select Notification Service Extension from the template list.
- Then in Next popup give it any product name, select your team, select swift language and click finish.
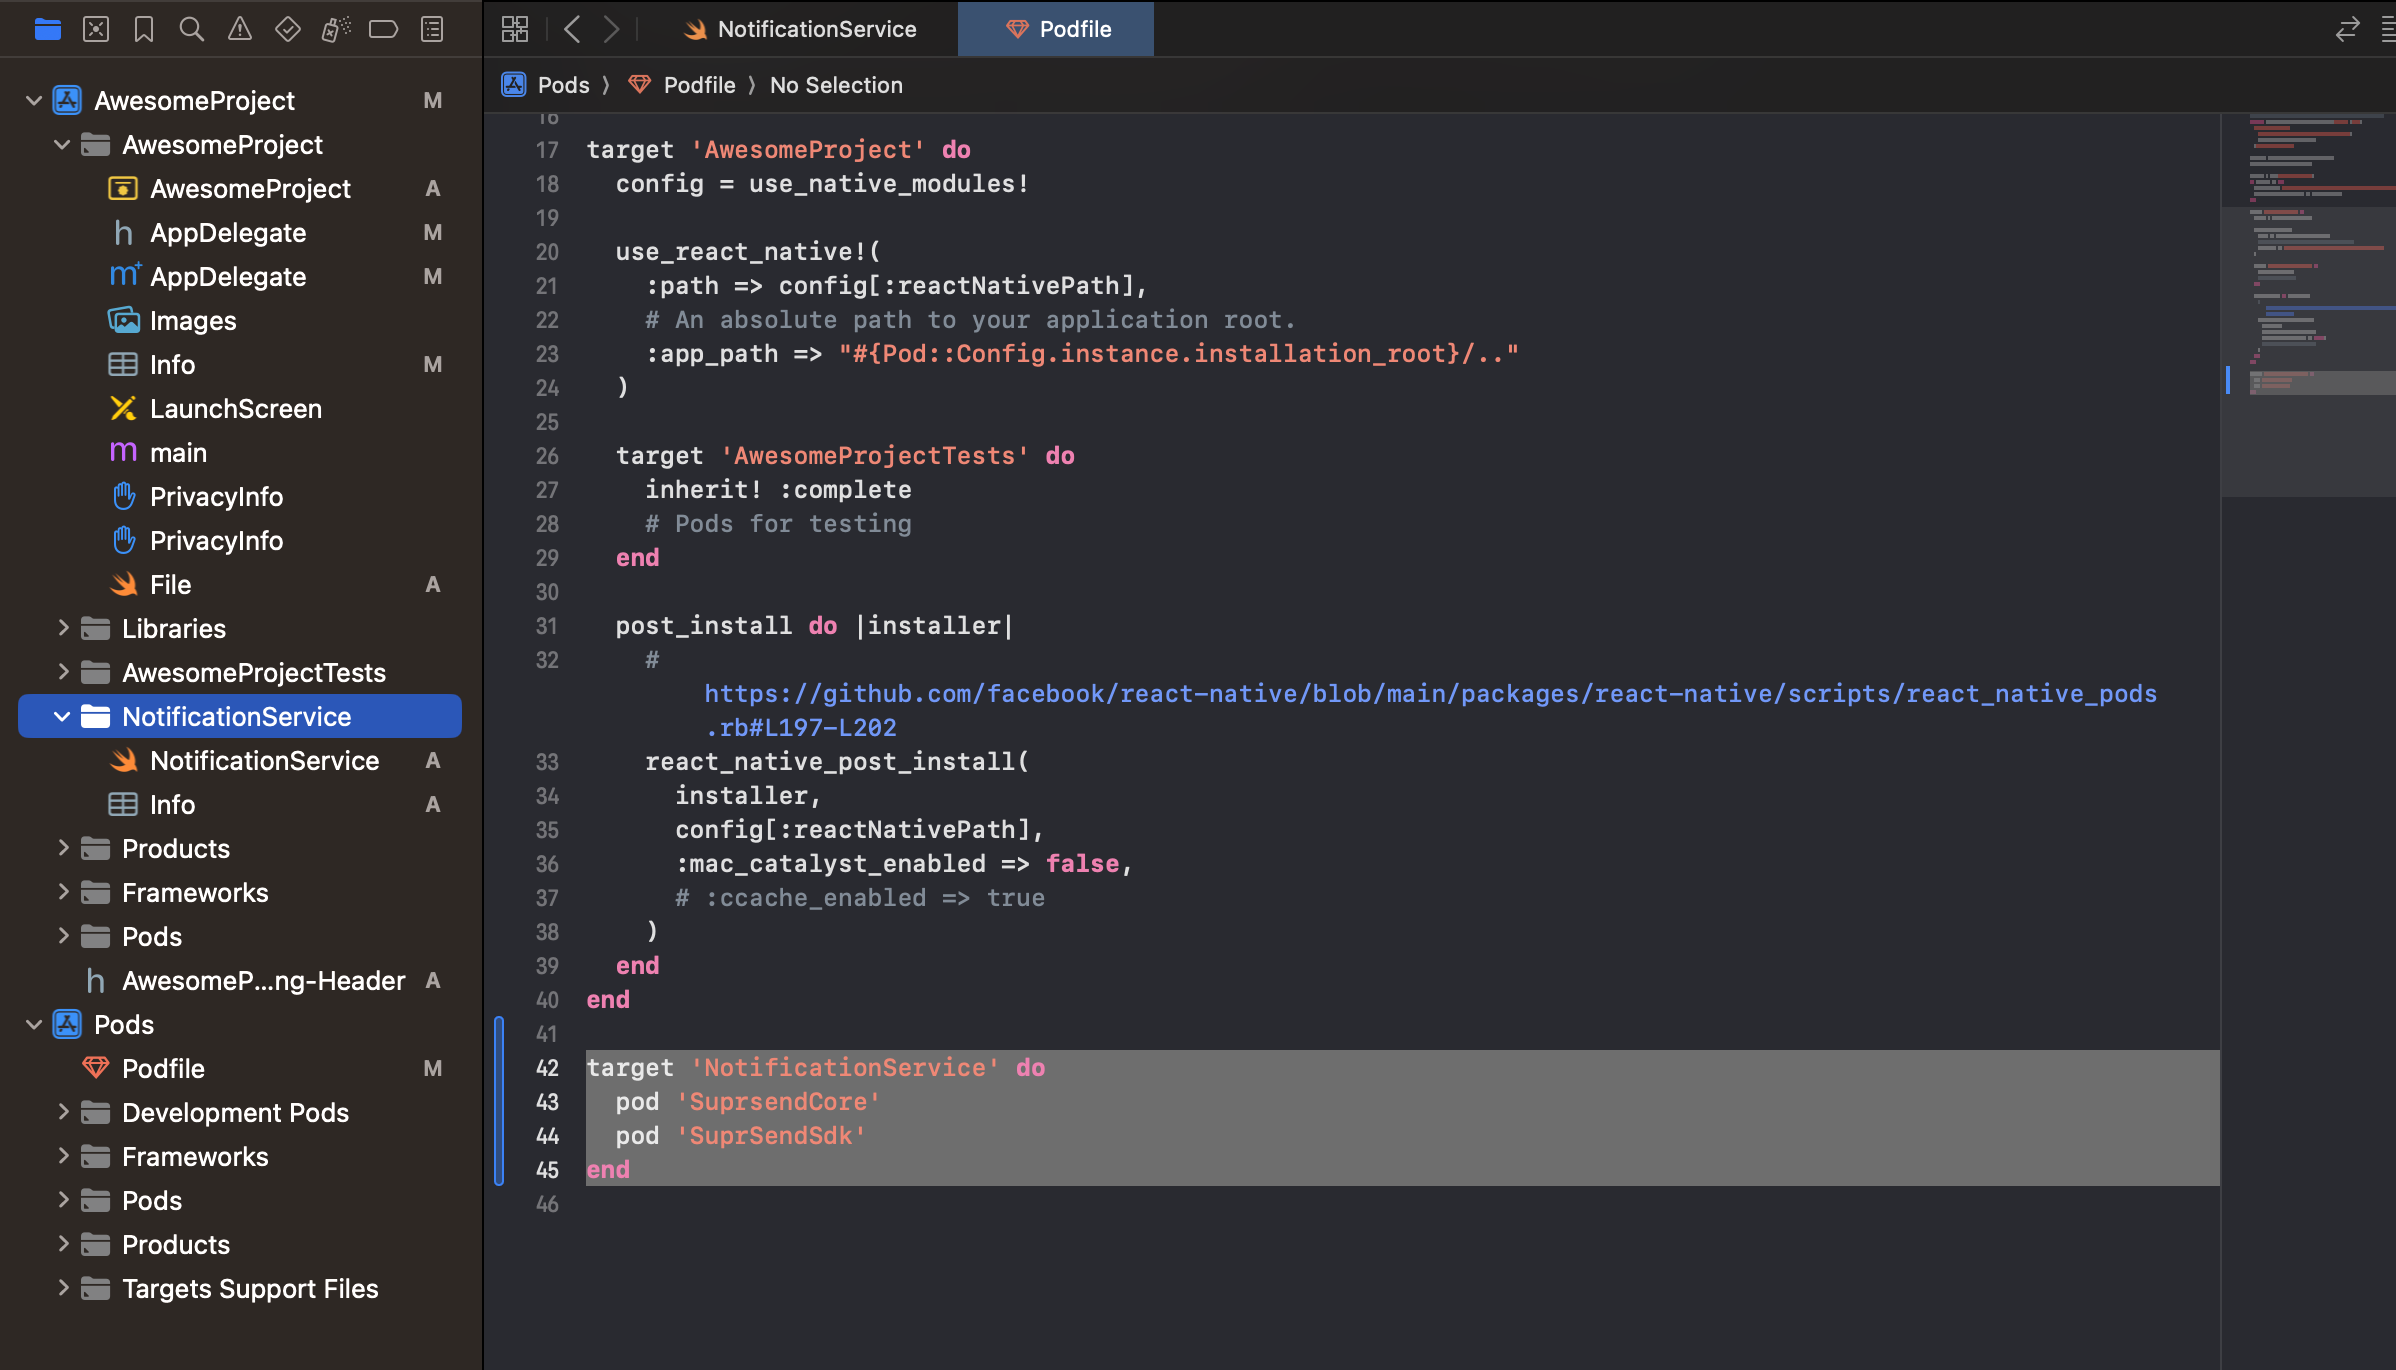
pod install.