Client Authentication

This document describe about authenticating client SDK's to use SuprSend features.

📘

Many of our mobile SDK's are under revamp stage. These SDK's still use workspace key and workspace secret authentication.


SuprSend client SDK's use public API keys to authenticate requests. You can find Public Keys in SuprSend Dashboard -> Developers -> APIKeys -> Public Keys. You can generate new ones and delete or rotate existing keys.

For production workspaces public API keys alone isn't enough as they are insecure. To solve this enable enhanced secure mode switch which you can find beside Public Key (shown in above image). This mandates signed user token (a JWT token that identifies the user that is performing the request) to be sent along with client requests.


Enhanced Security Mode with Signed User Token

When enhanced security mode is on, user level authentication is performed for all requests. This is recommended for Production workspaces. All requests will be rejected by SuprSend if enhanced security mode is on and signed user token is not provided. This signed user token should be generated by your backend application and should be passed to your client.


1. Generate Signing Key

You can generate Signing key from SuprSend Dashboard (below Public Keys section in API Keys page).
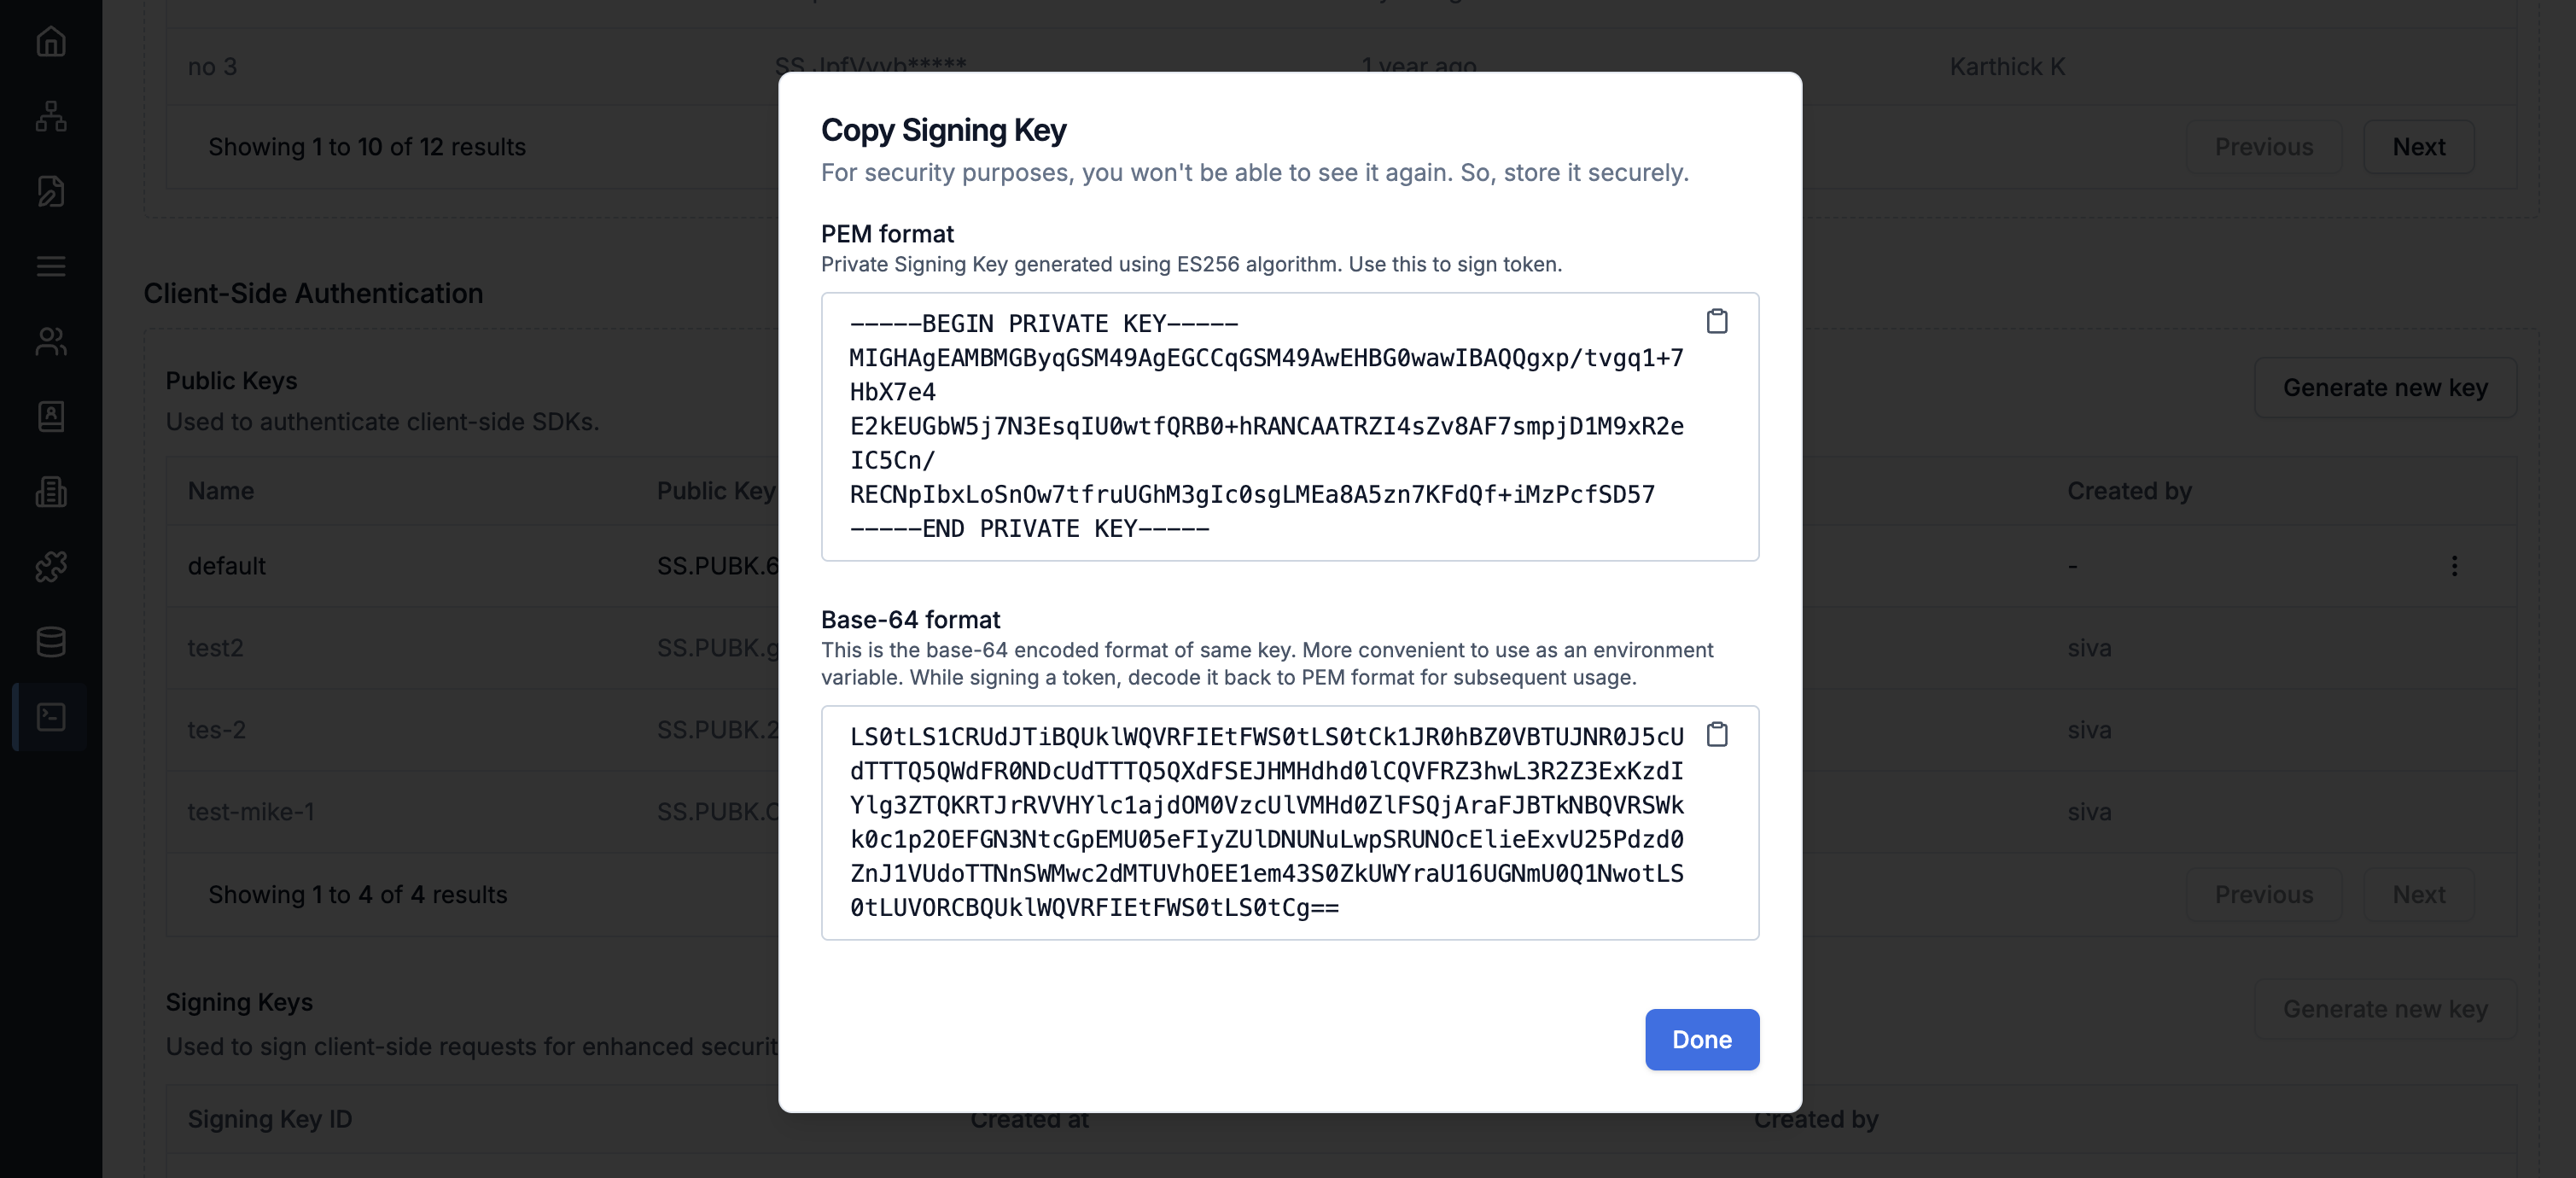
Once signing key is generated it won't be shown again, so copy and store it securely. It contains 2 formats:
i. Base64 format: This is single line text, suitable for storing as an environment variable.
ii. PEM format:This is multiline text format string.

You can use any of the above format. This key will be used as secret to generate JWT token as shown in below step.


2. Creating Signed User JWT Token

This should be created on your backend application only. You will need to sign the JWT token with the signing key from above step and expose this JWT token to your Frontend application.

JWT Algorithm: ES256

JWT Secret: Signing key in PEM format generated in step1. If you are using Base64 format, it should be converted in to PEM format.

JWT Payload:

{
  "entity_type": 'subscriber', // hardcode this value to subscriber
  "entity_id": your_distinct_id, // replace this with your actual distinct id
  "exp": 1725814228, // token expiry timestamp in seconds
  "iat": 1725814228 // token issued timestamp in seconds.
}

Create JWT token using above information:

import jwt from 'jsonwebtoken';

const payload  = { entity_type:'subscriber', entity_id:"johndoe", exp:1725814228 };

const secret = 'your PEM format signing key';

// if base64 signing key format is used use below code to convert to PEM format.
const secret = Buffer.from('your_base64_signingKey', 'base64').toString('utf-8') 

const signedUserToken = jwt.sign(payload, secret,{ algorithm: 'ES256' })

3. Using signed user token in client

After creating user token on backend send it to your Frontend application to be used in SuprSend SDK as user token.

import SuprSend from '@suprsend/web-sdk';

const suprSendClient = new SuprSend(publicApiKey: string);

const authResponse = await suprSendClient.identify(user.id, user.userToken);

Token Expiry handling

To handle cases of token expiry our client SDK's have Refresh User Token callback as parameter in identify method which gets called to get new user token when existing token is expired.

const authResponse = await suprSendClient.identify(user.id, user.userToken, 
  { refreshUserToken: (oldUserToken, tokenPayload) => {
     //.... write your logic to get new token by making api call to your server...
     // return new token
  }});