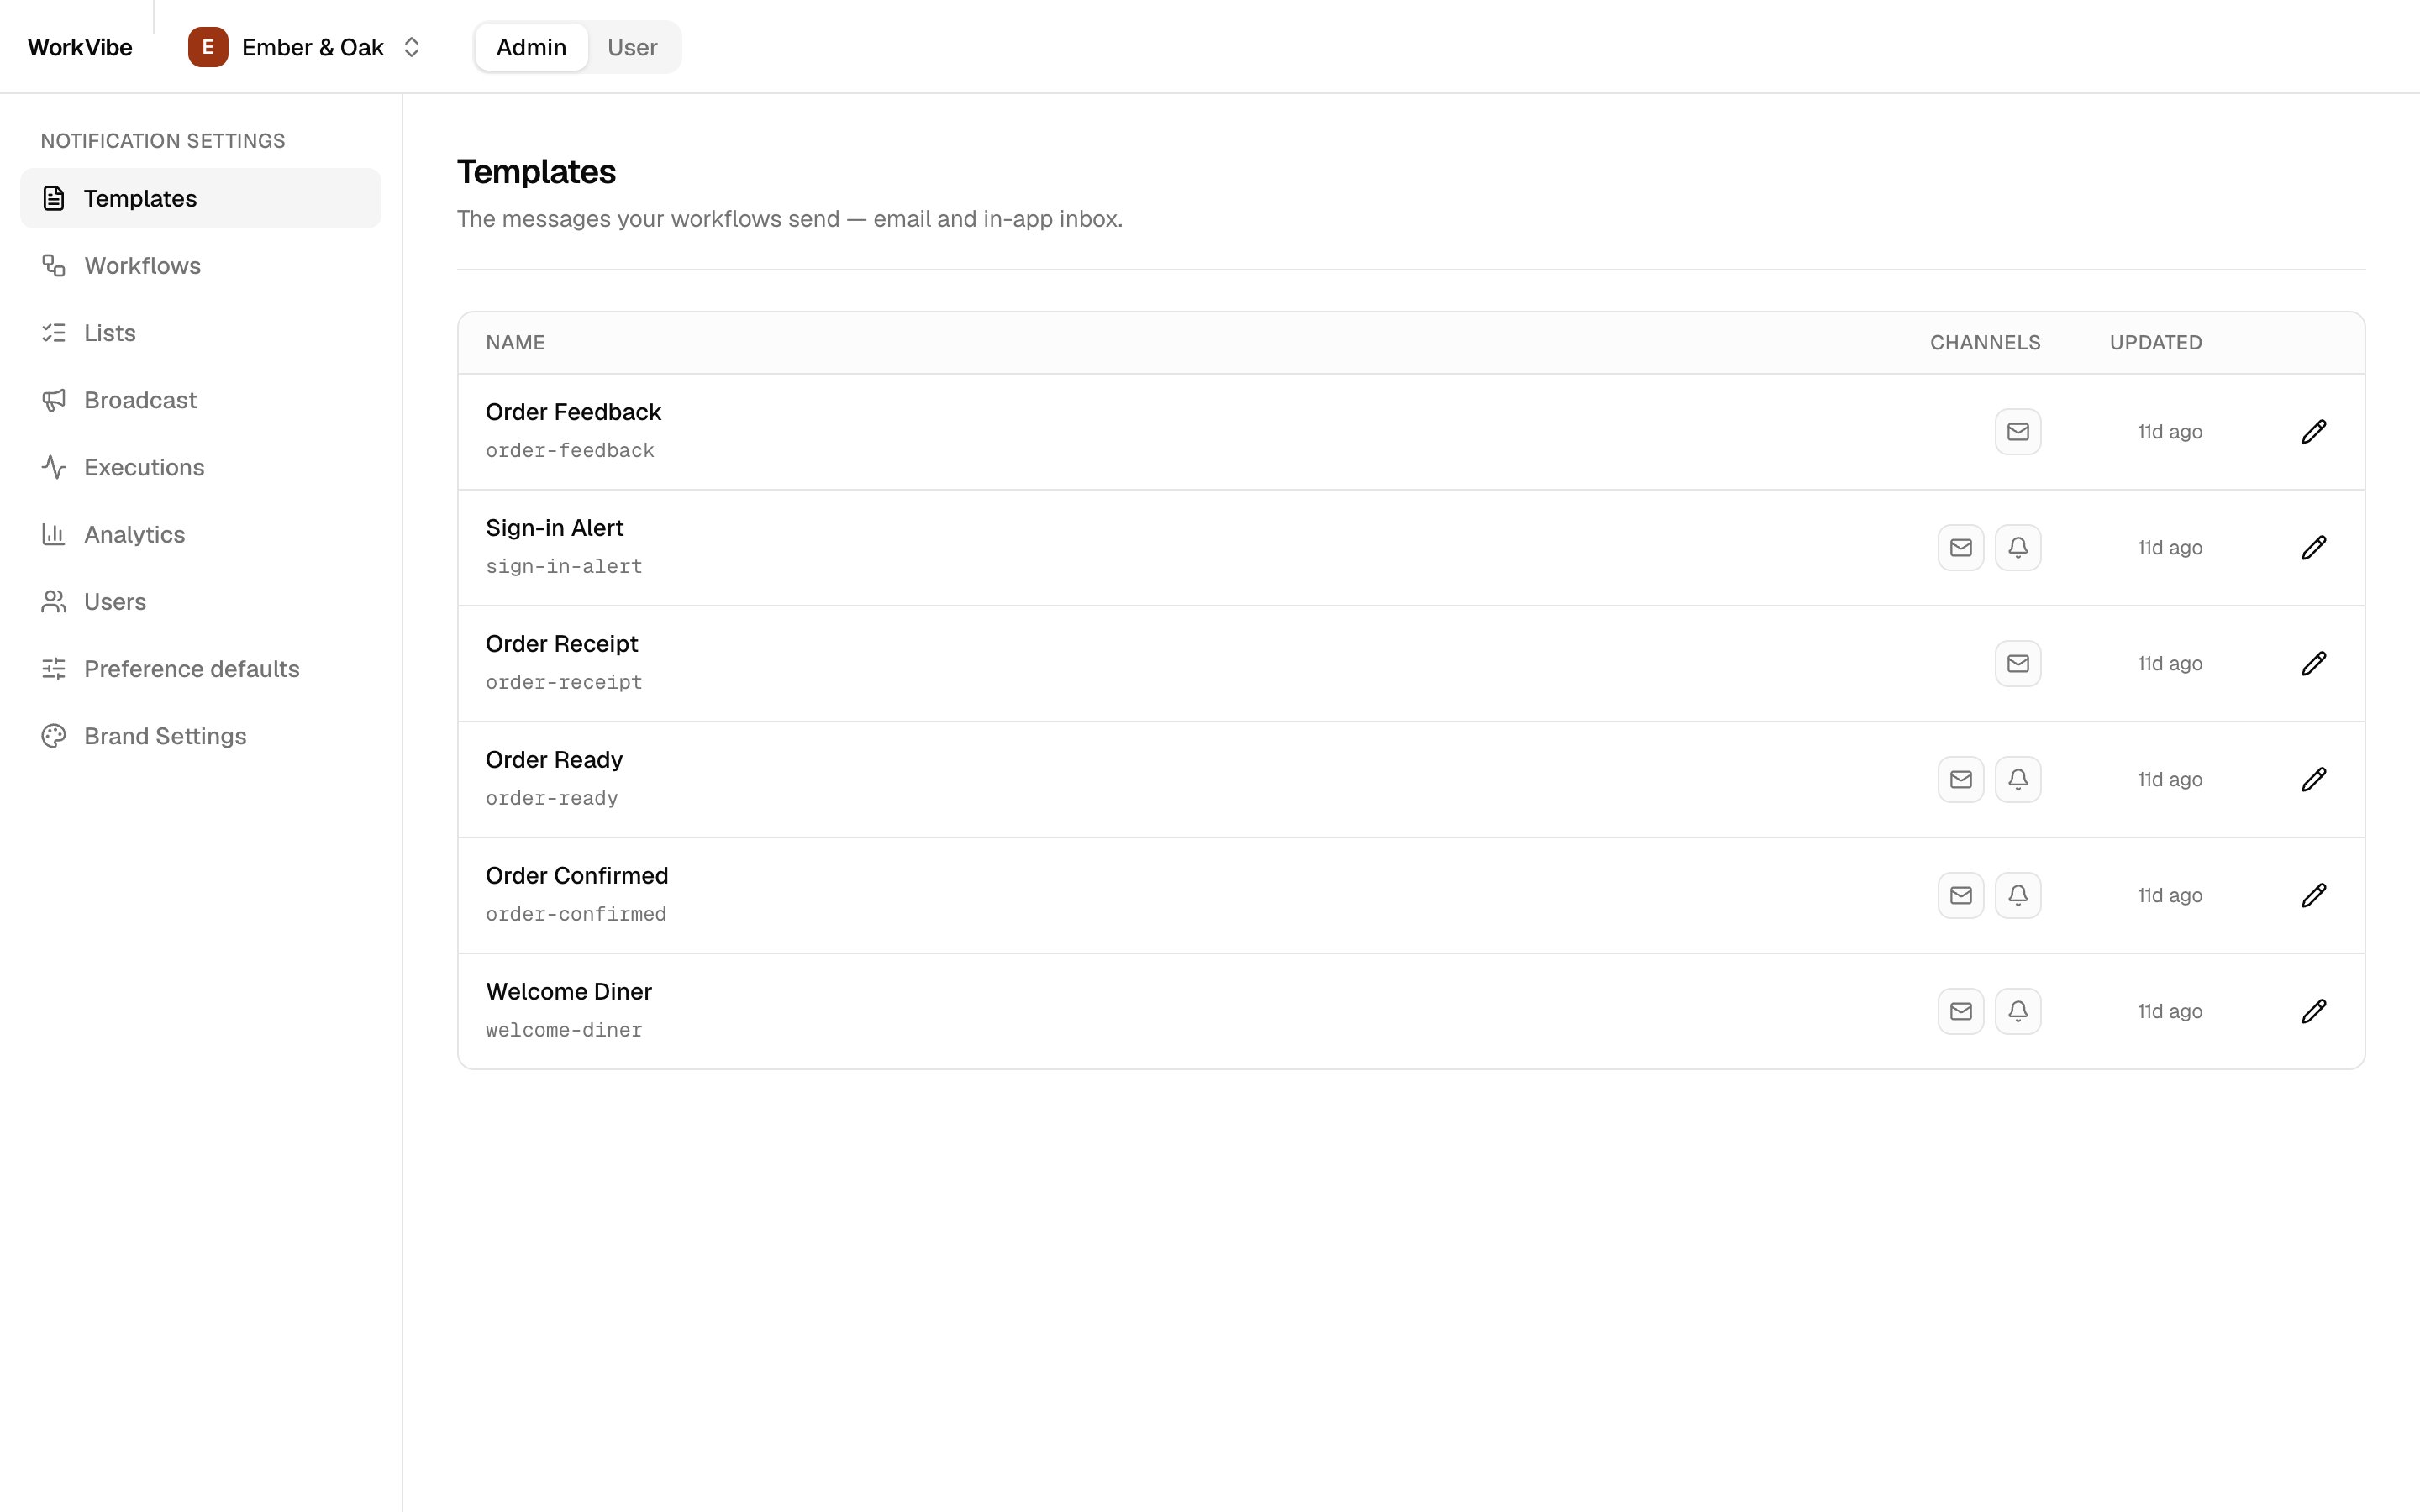
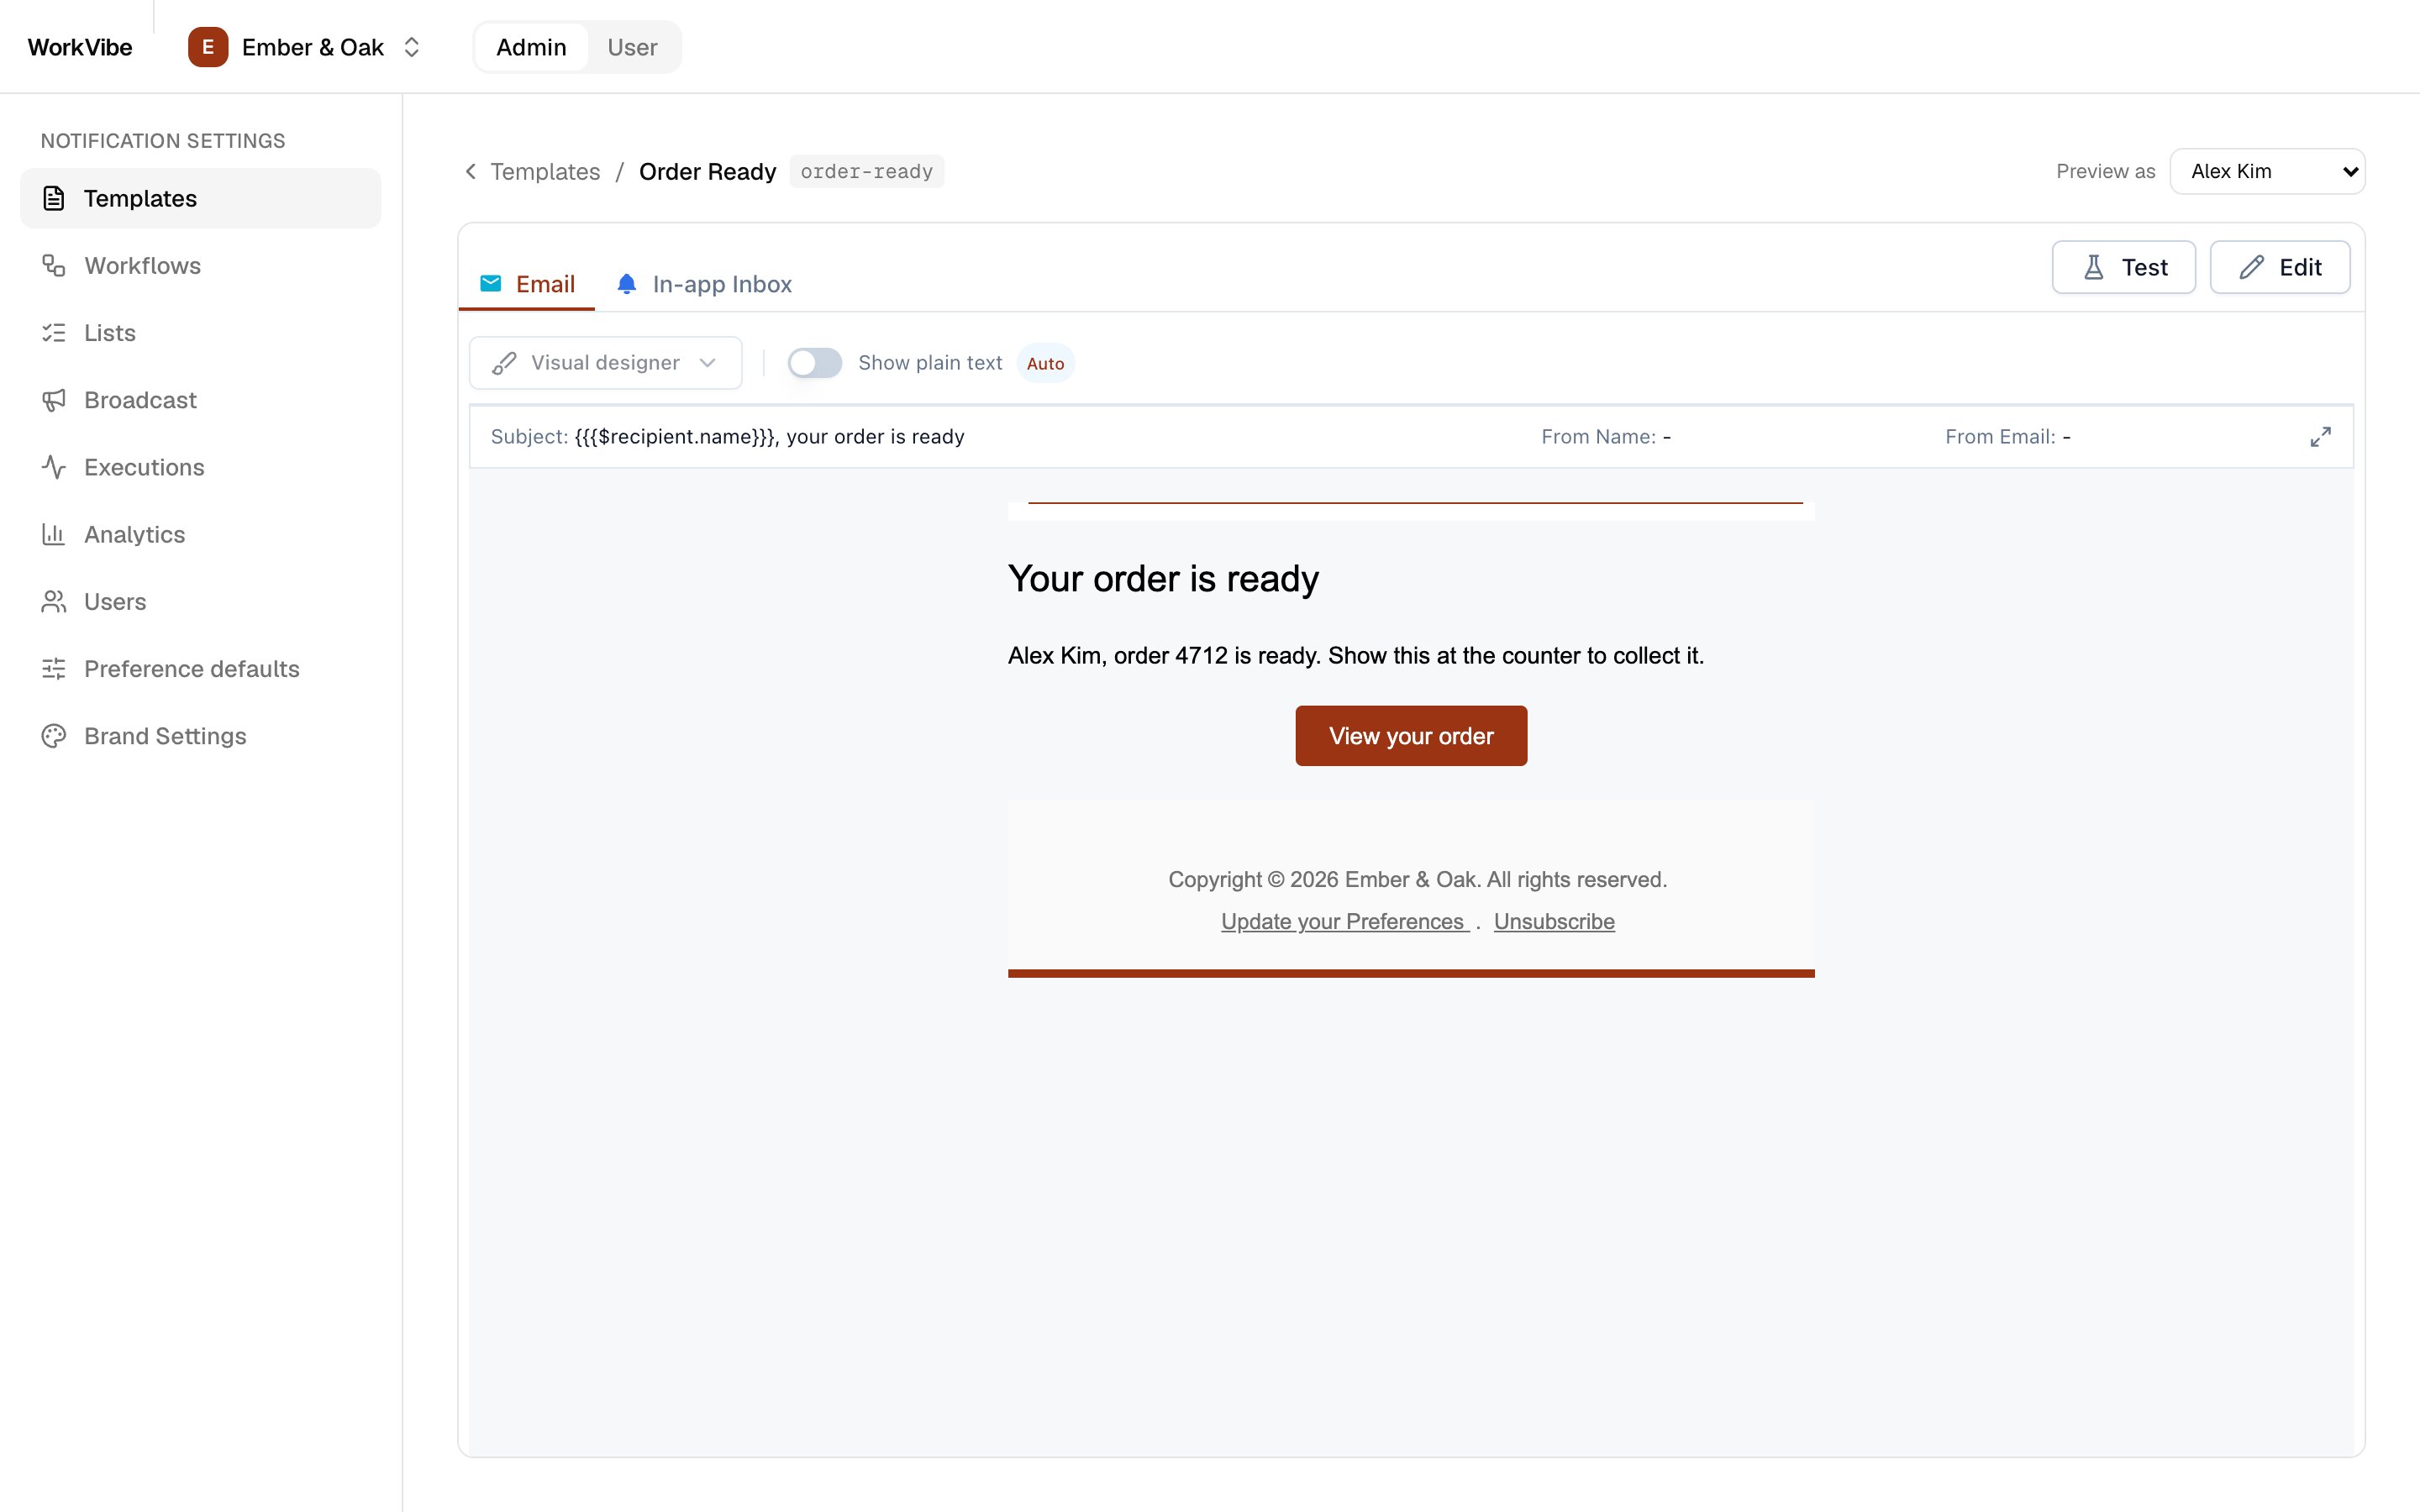
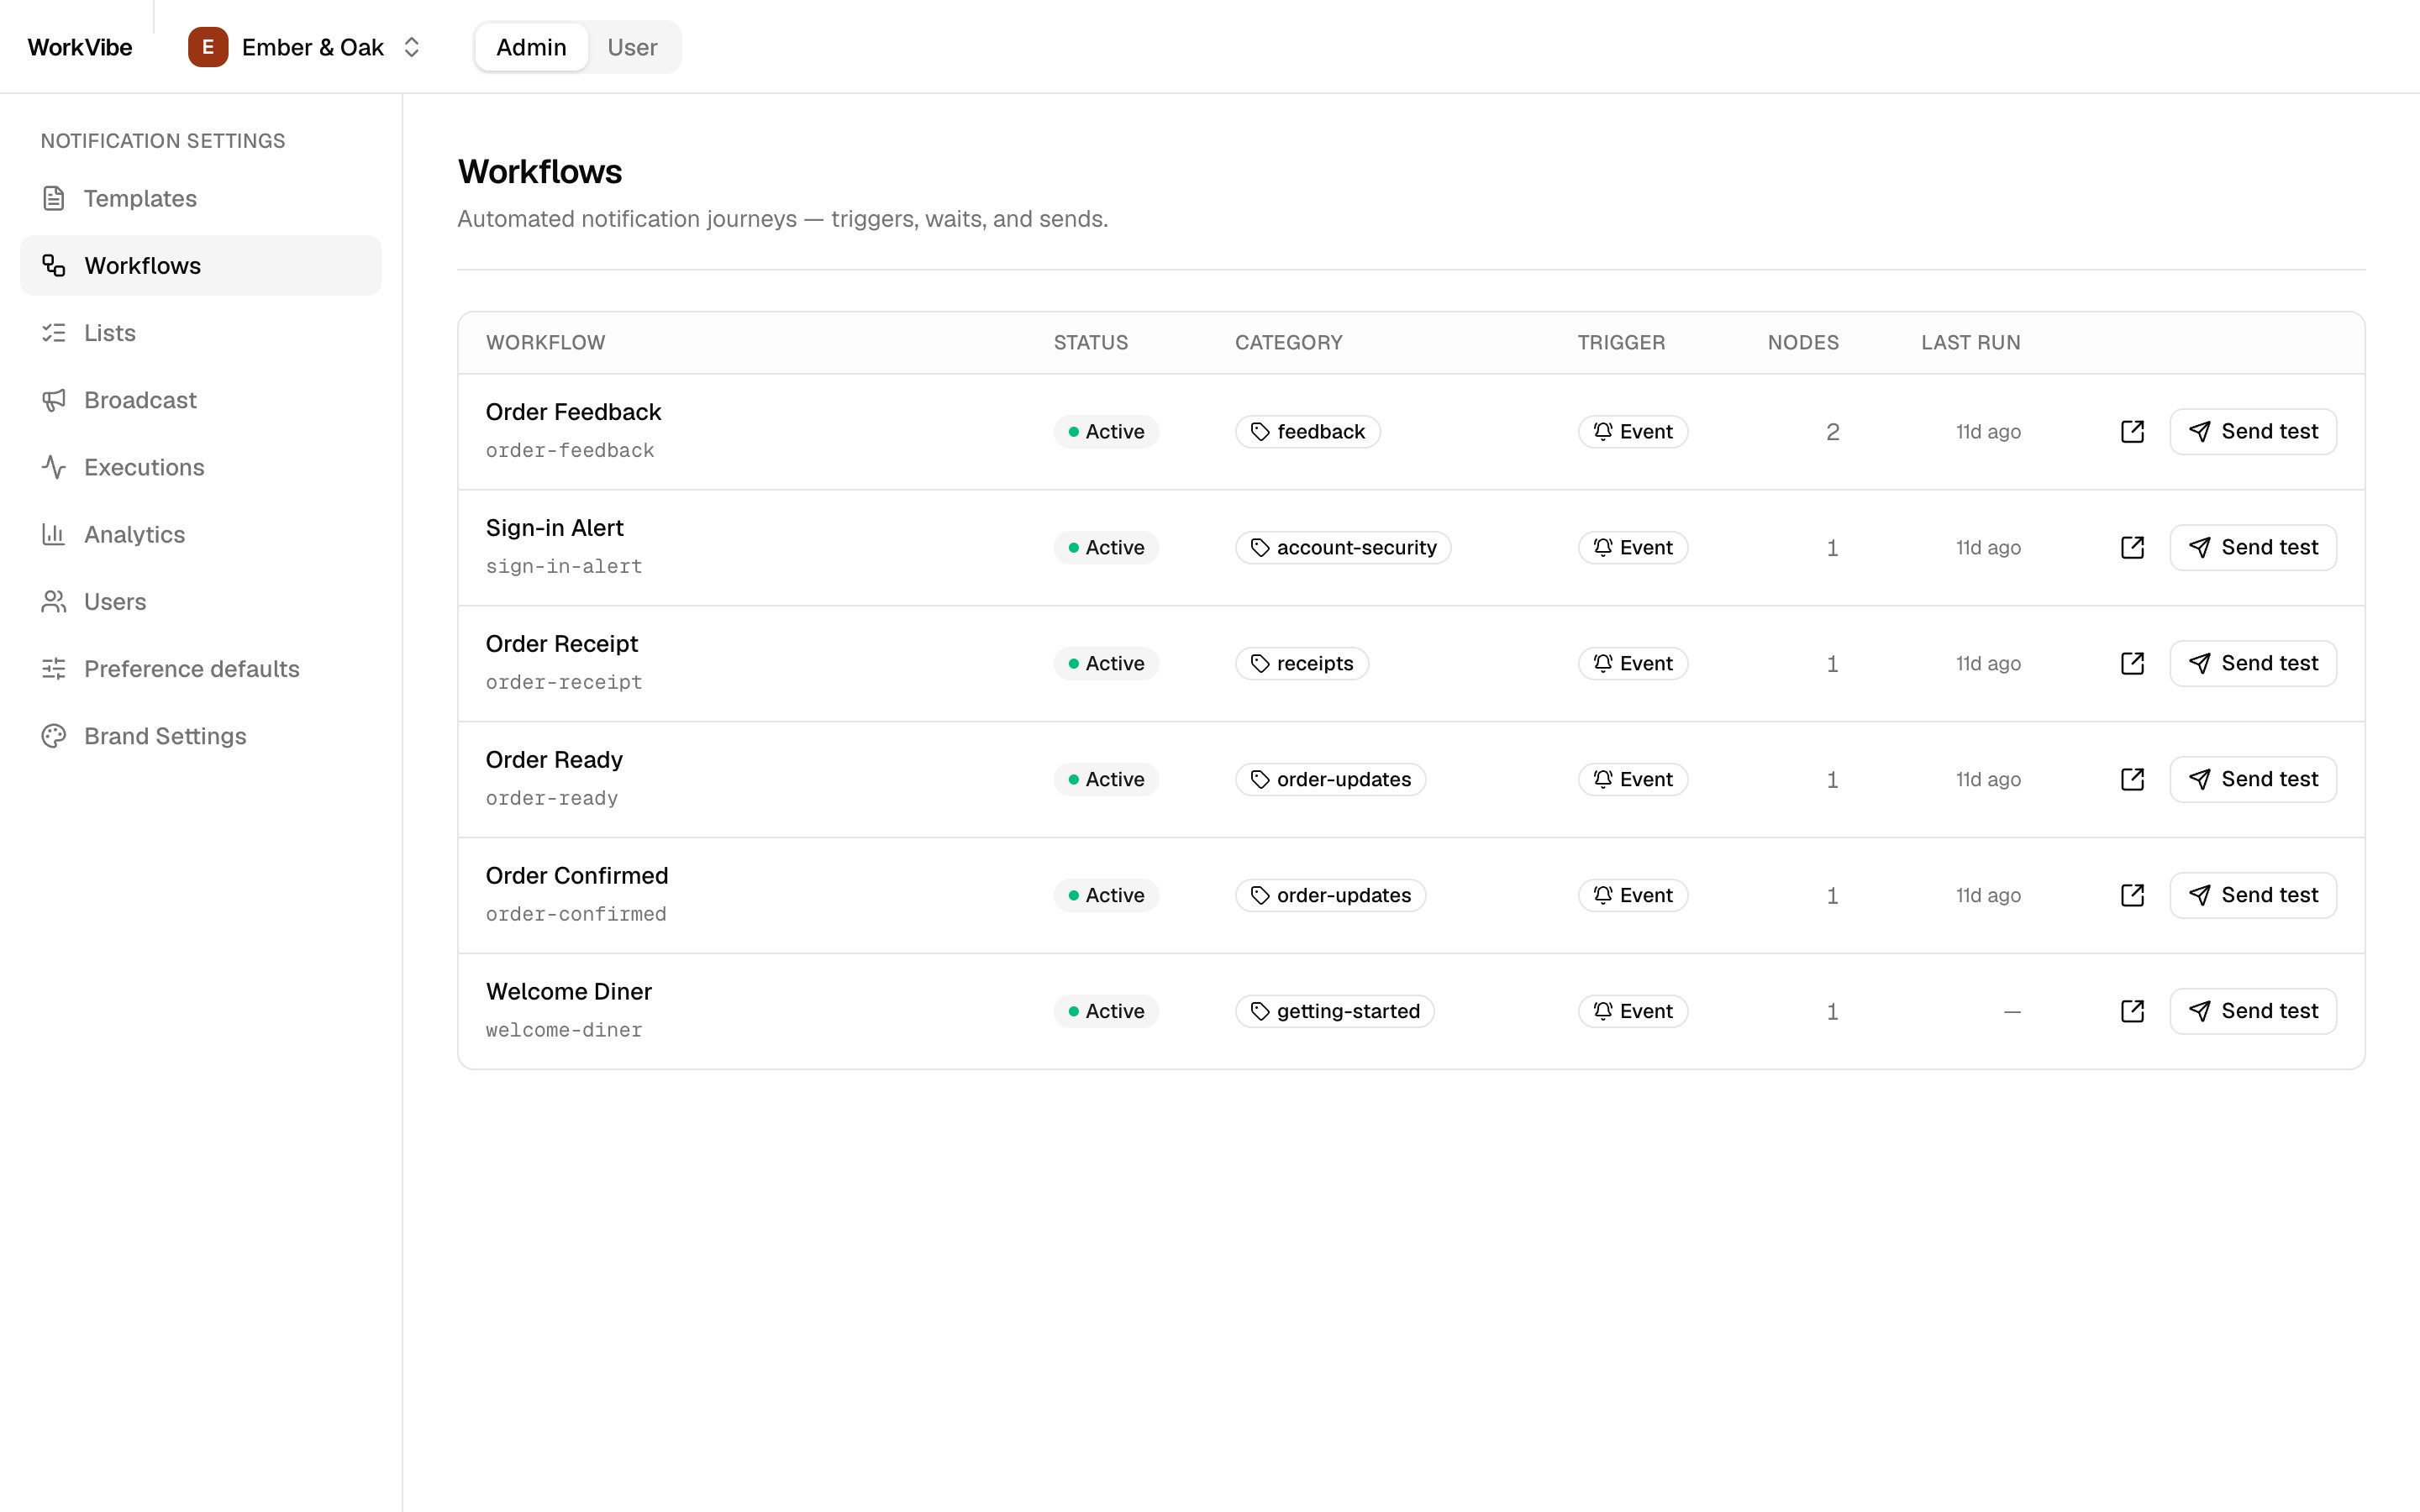
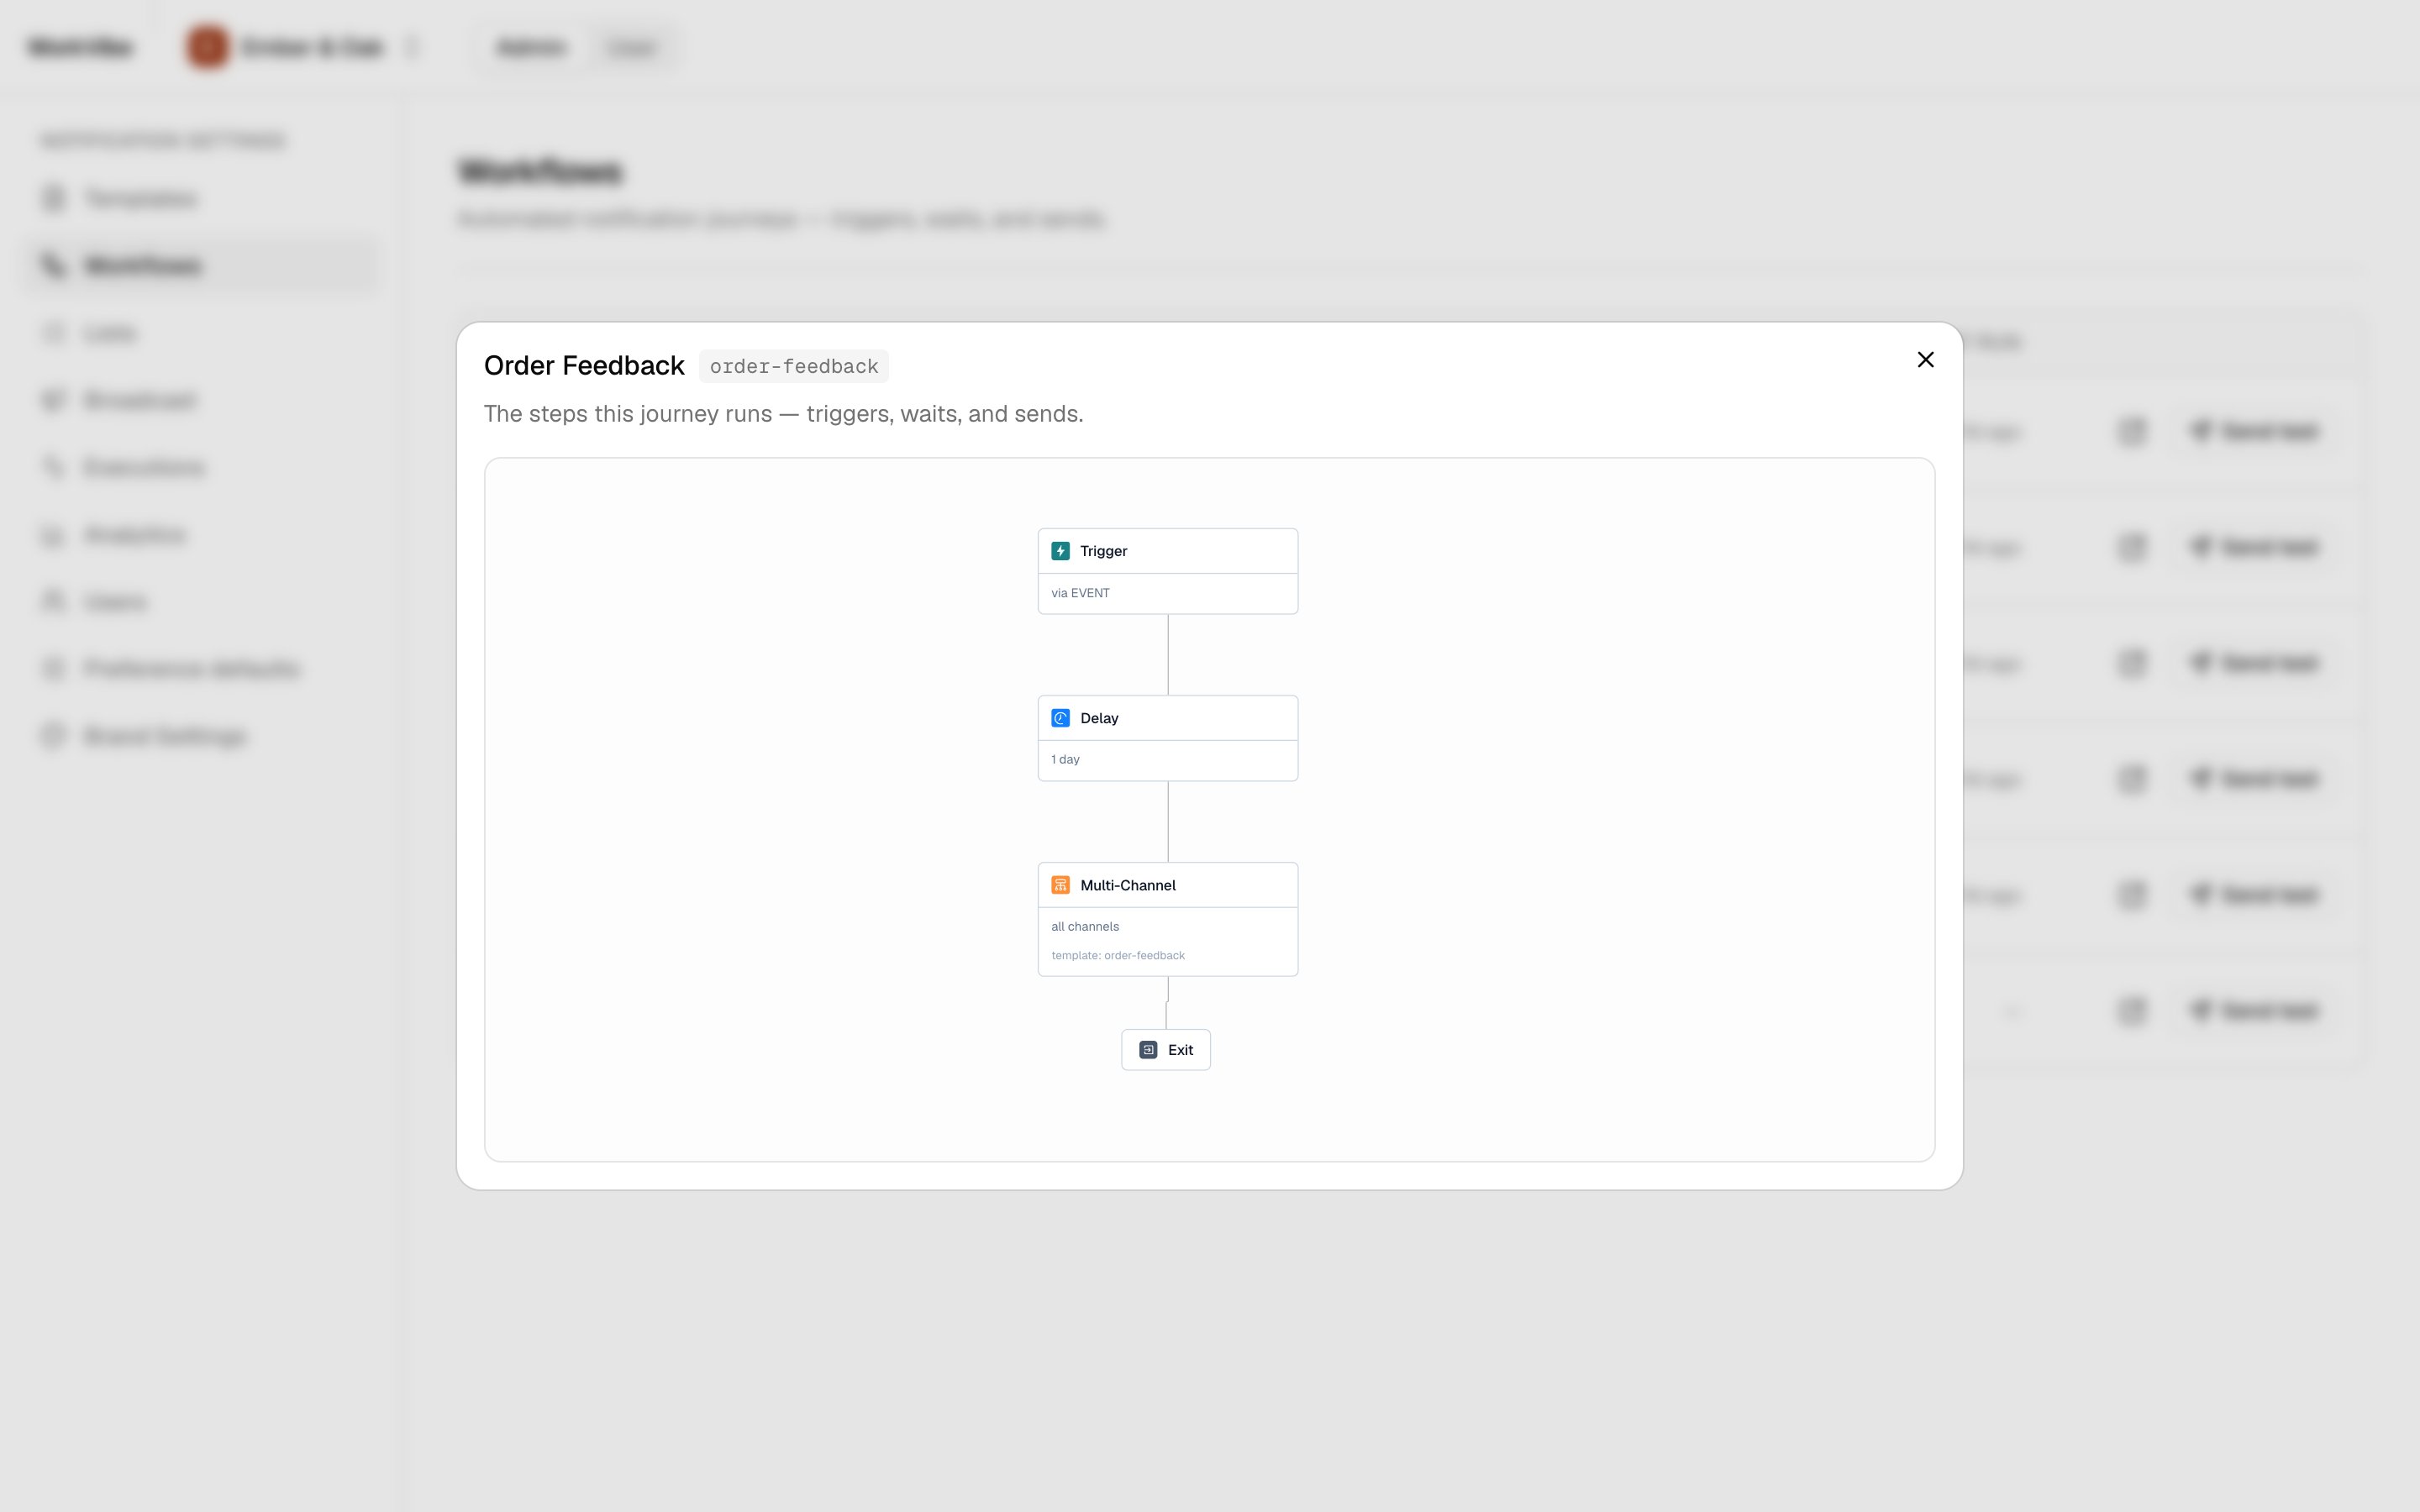
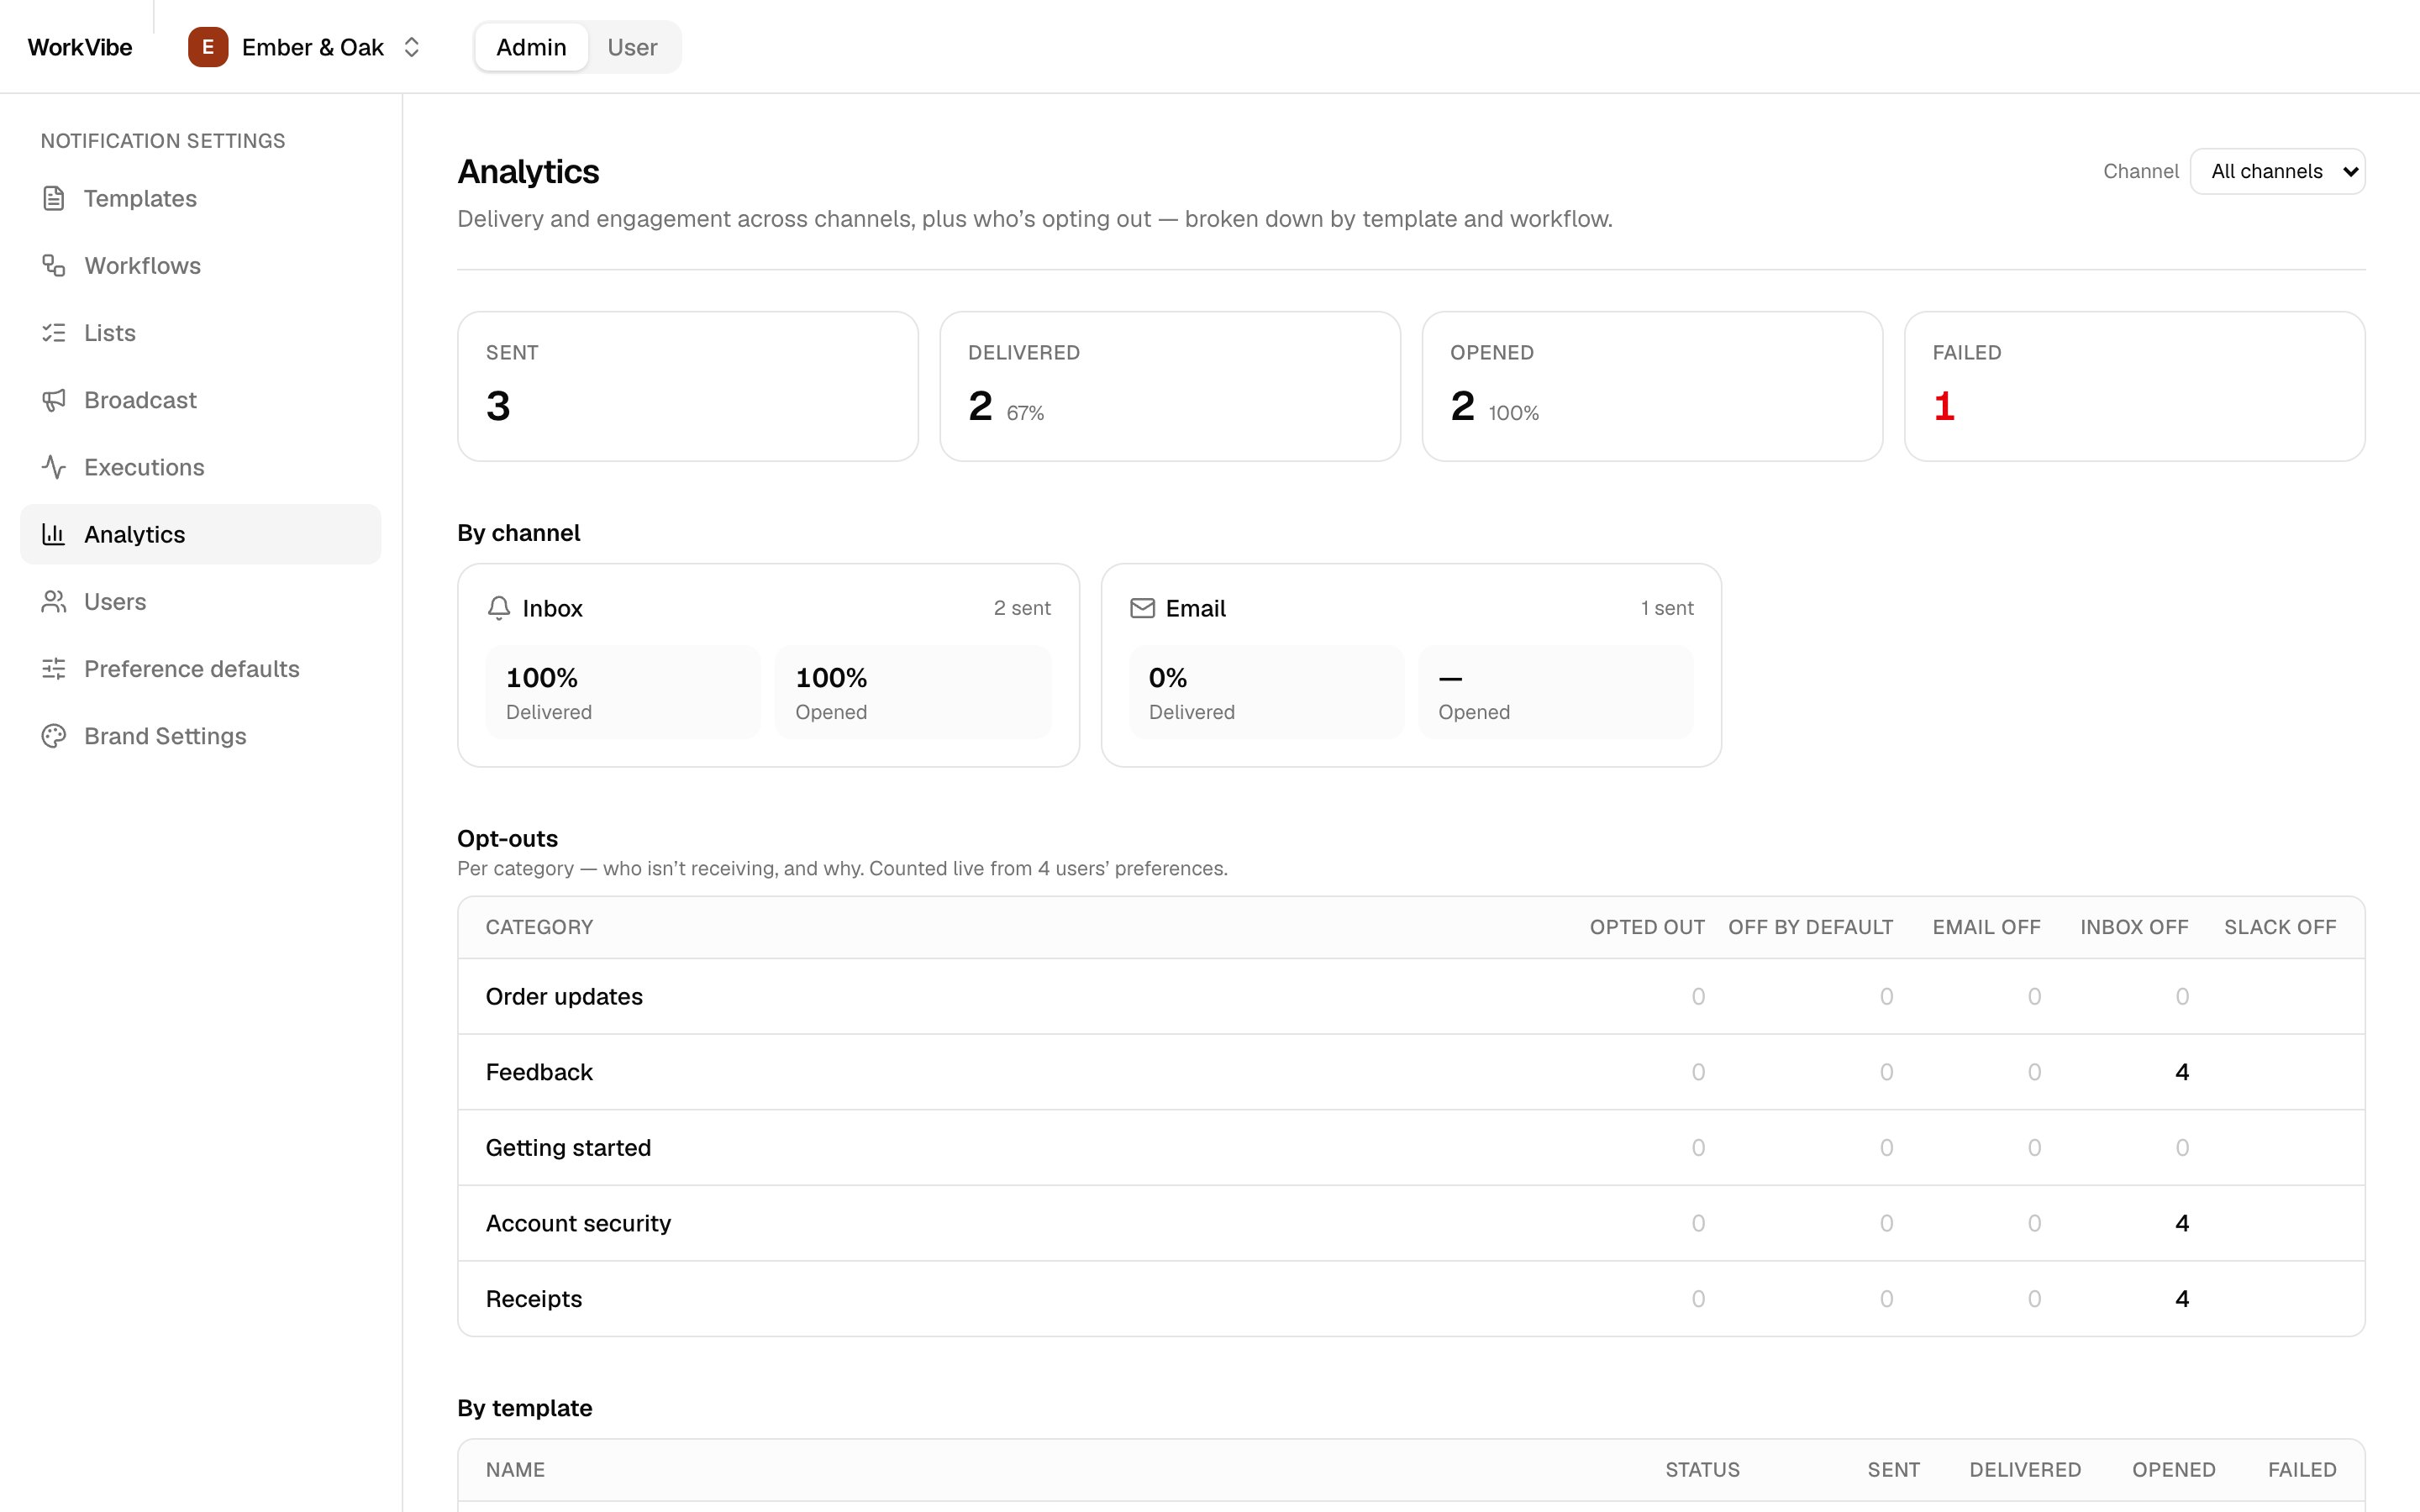
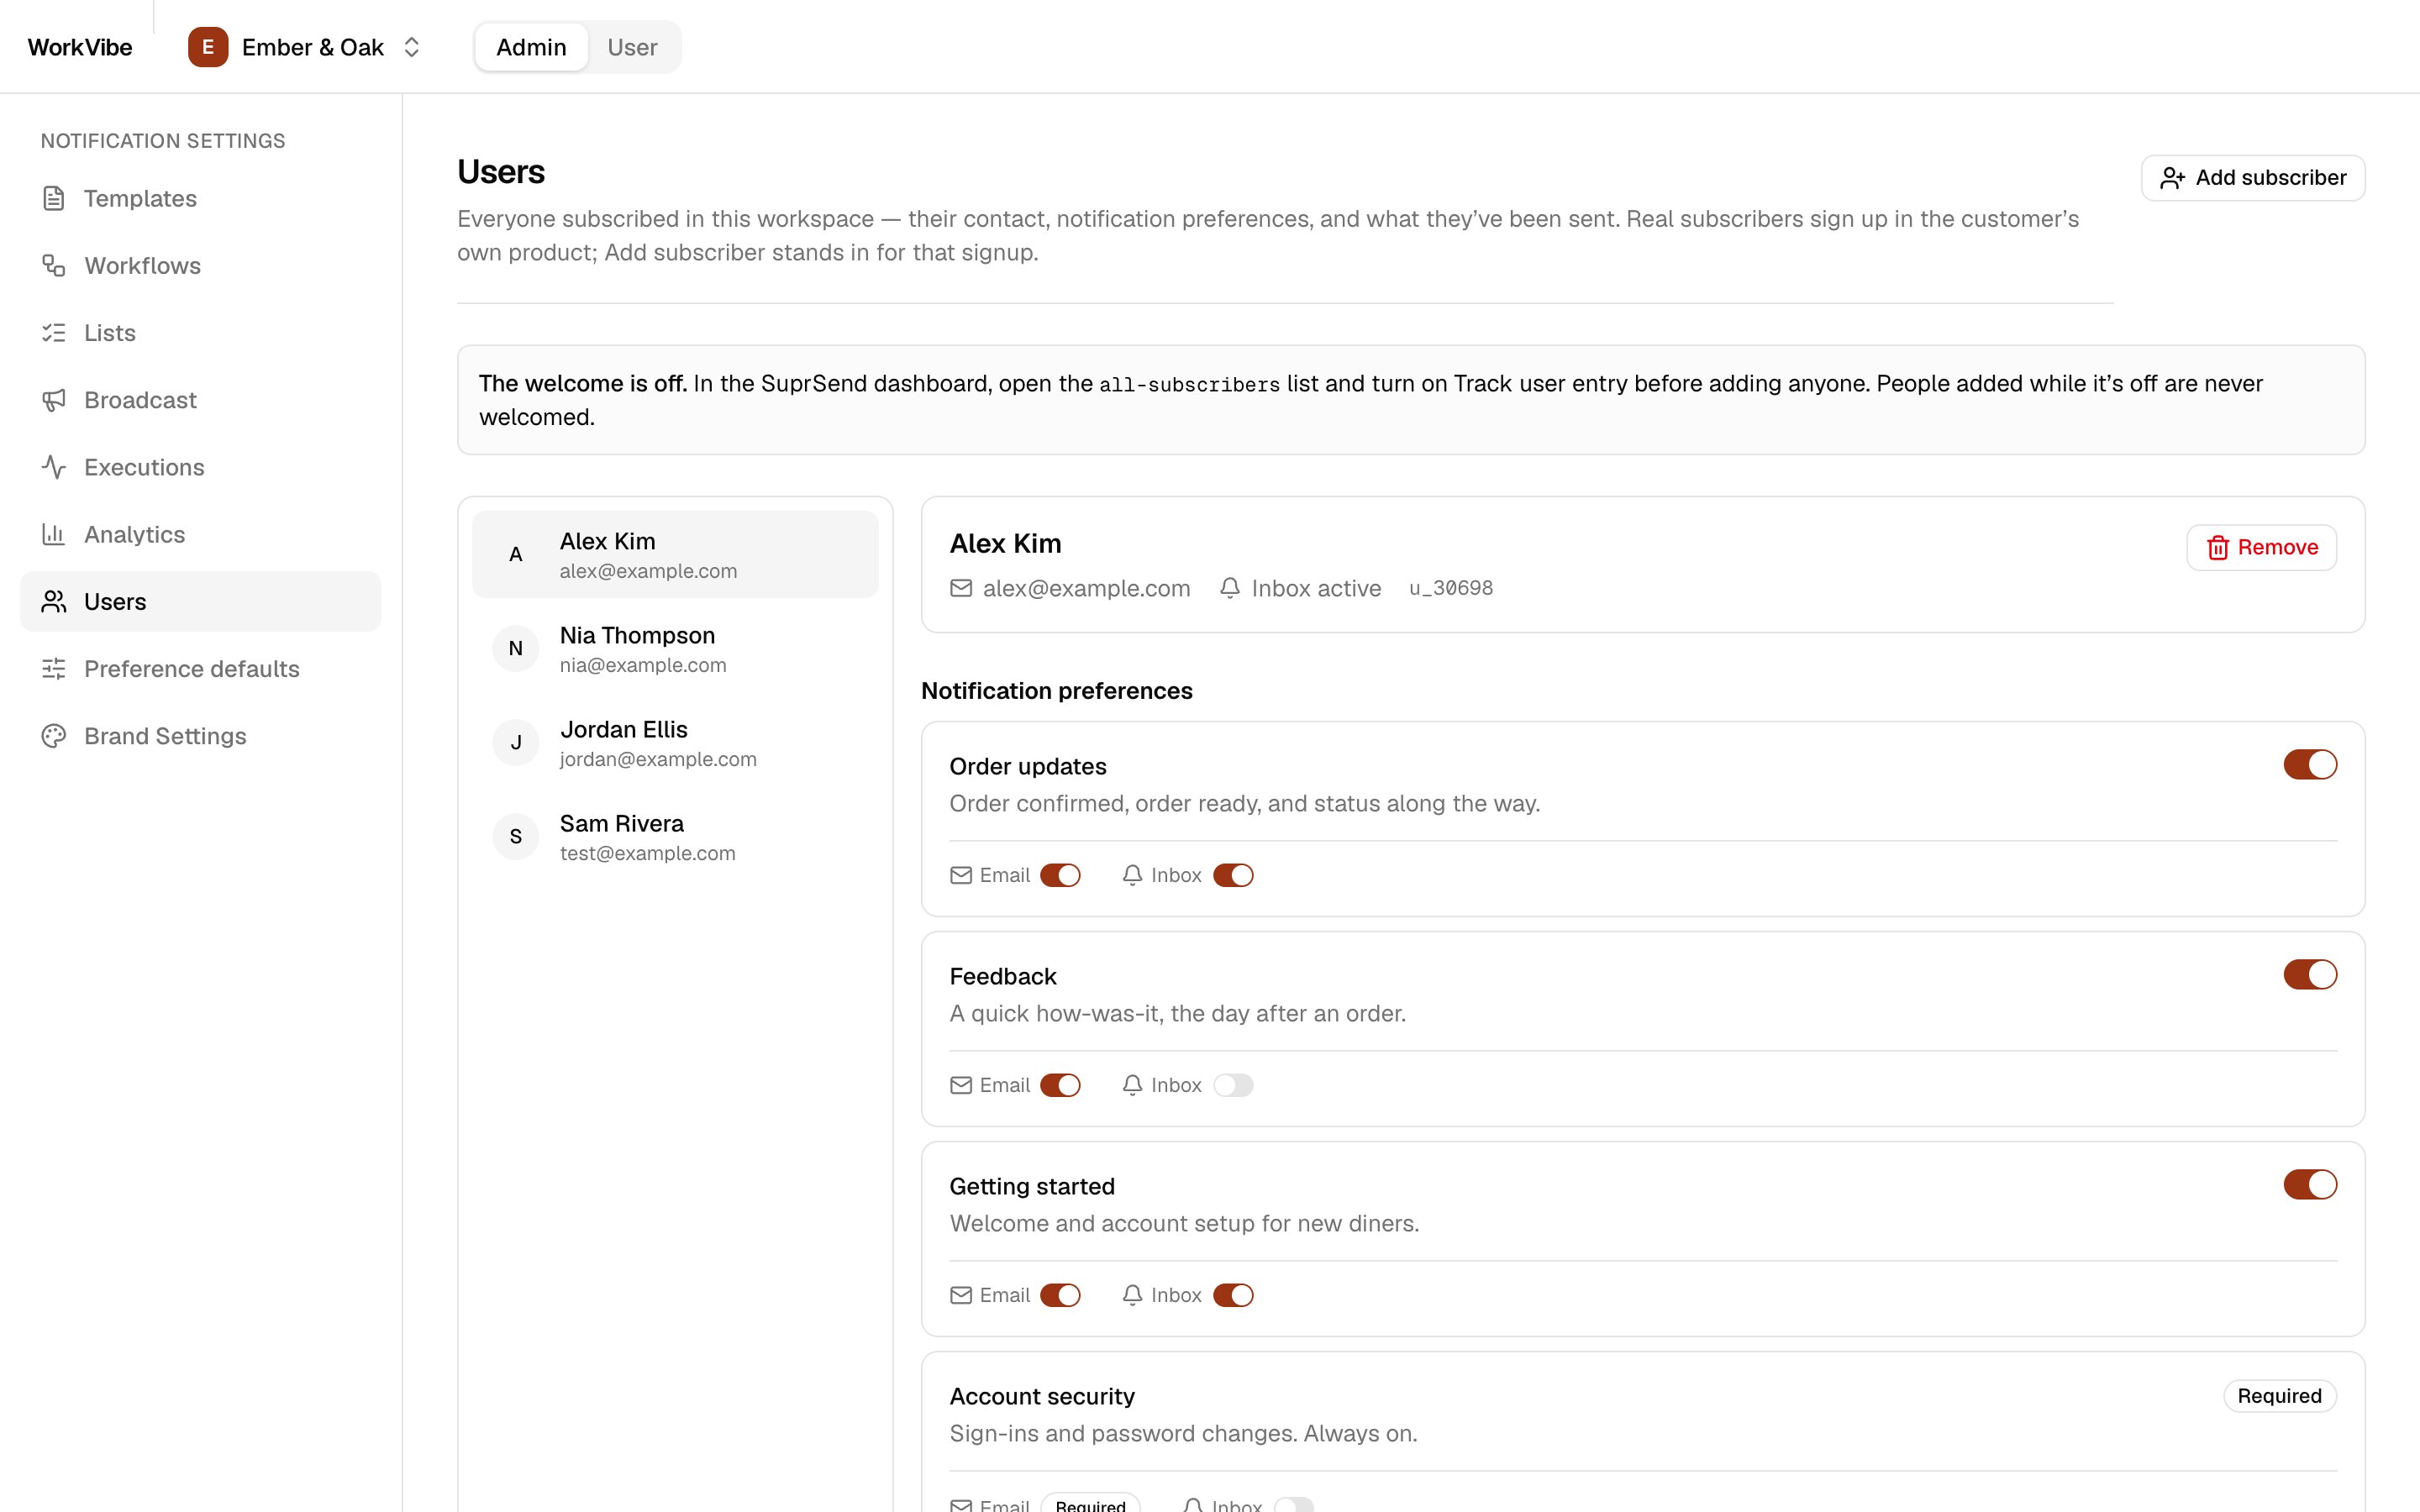
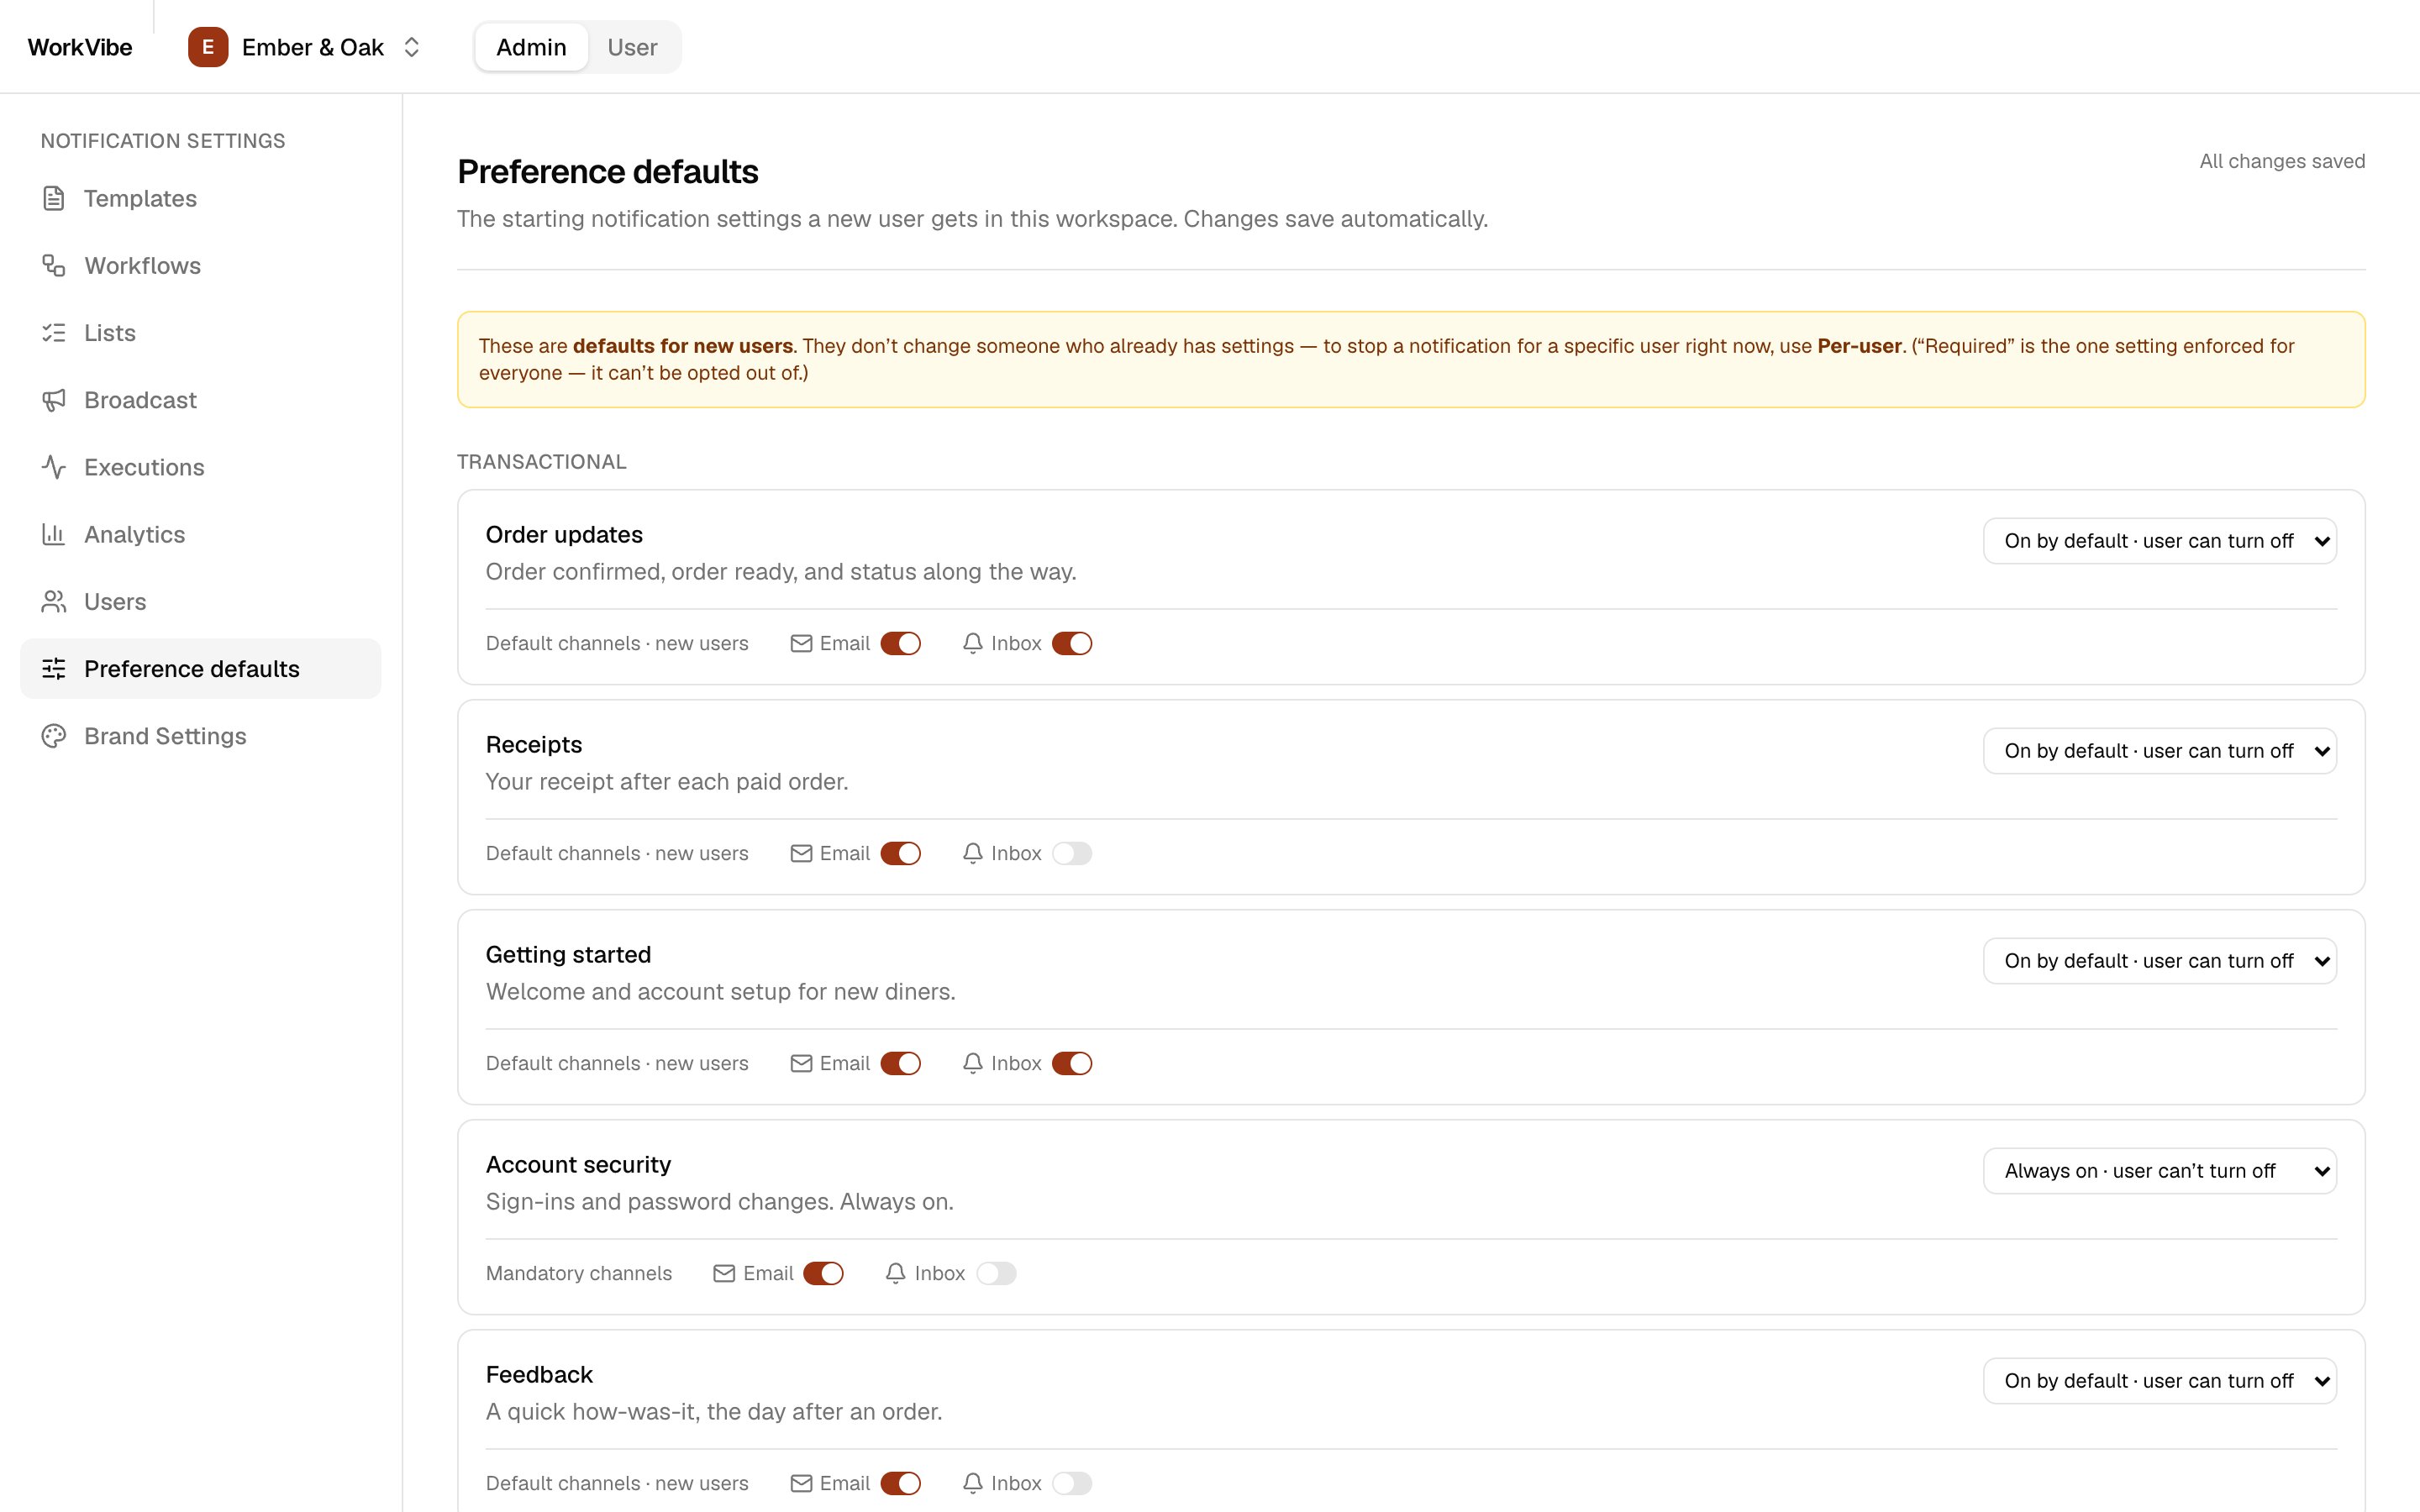
Run and explore WorkVibe, a Next.js reference app where each business customer is its own SuprSend workspace — templates, workflows, broadcasts, preferences, branding, inbox, and delivery logs.
WorkVibe is a demo restaurant platform. Its customers are restaurant chains, and its notifications reach their diners. This page shows you how to run it, what each screen does, and how you can build it using SuprSend.
WorkVibe
A B2B2C admin console and diner view, built on Next.js with the Node SDK, drop-in Inbox, and embedded template editor. GitHub code repository
WorkVibe sells to restaurant chains. Two people use it, so the app has two views:
Admin — the chain’s own team. They write the messages, decide which notifications exist and who they reach, and check what went out.
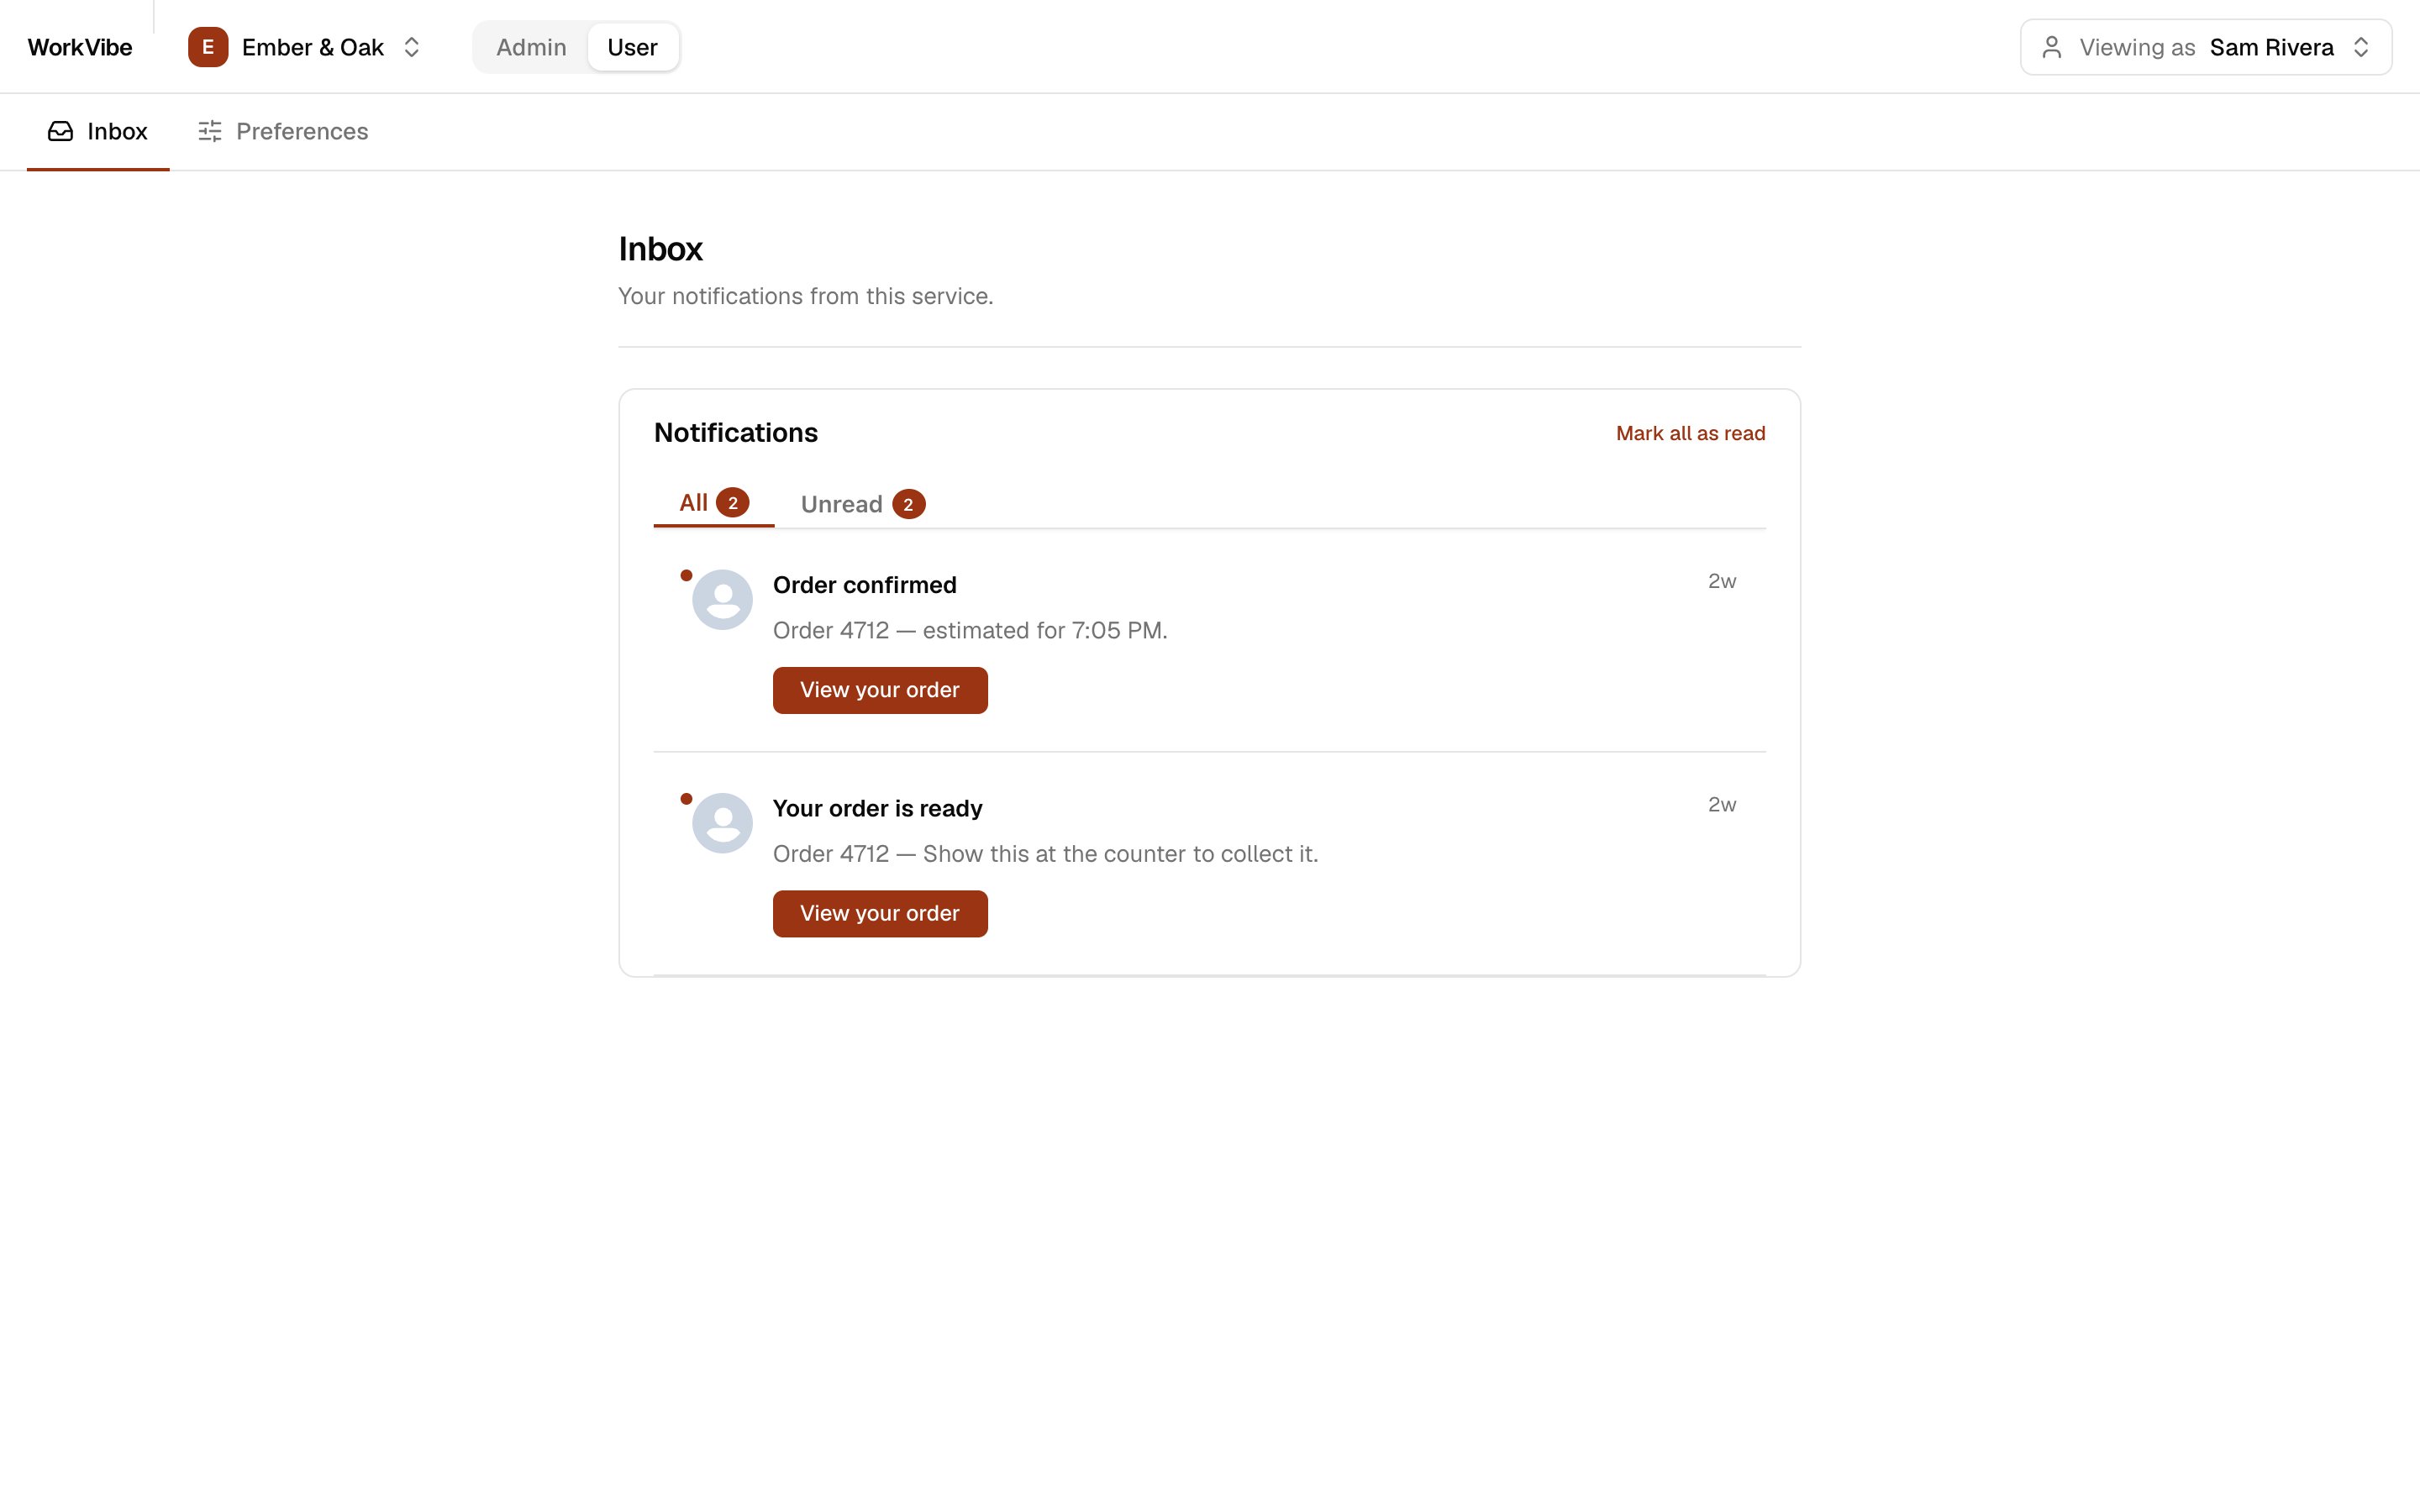
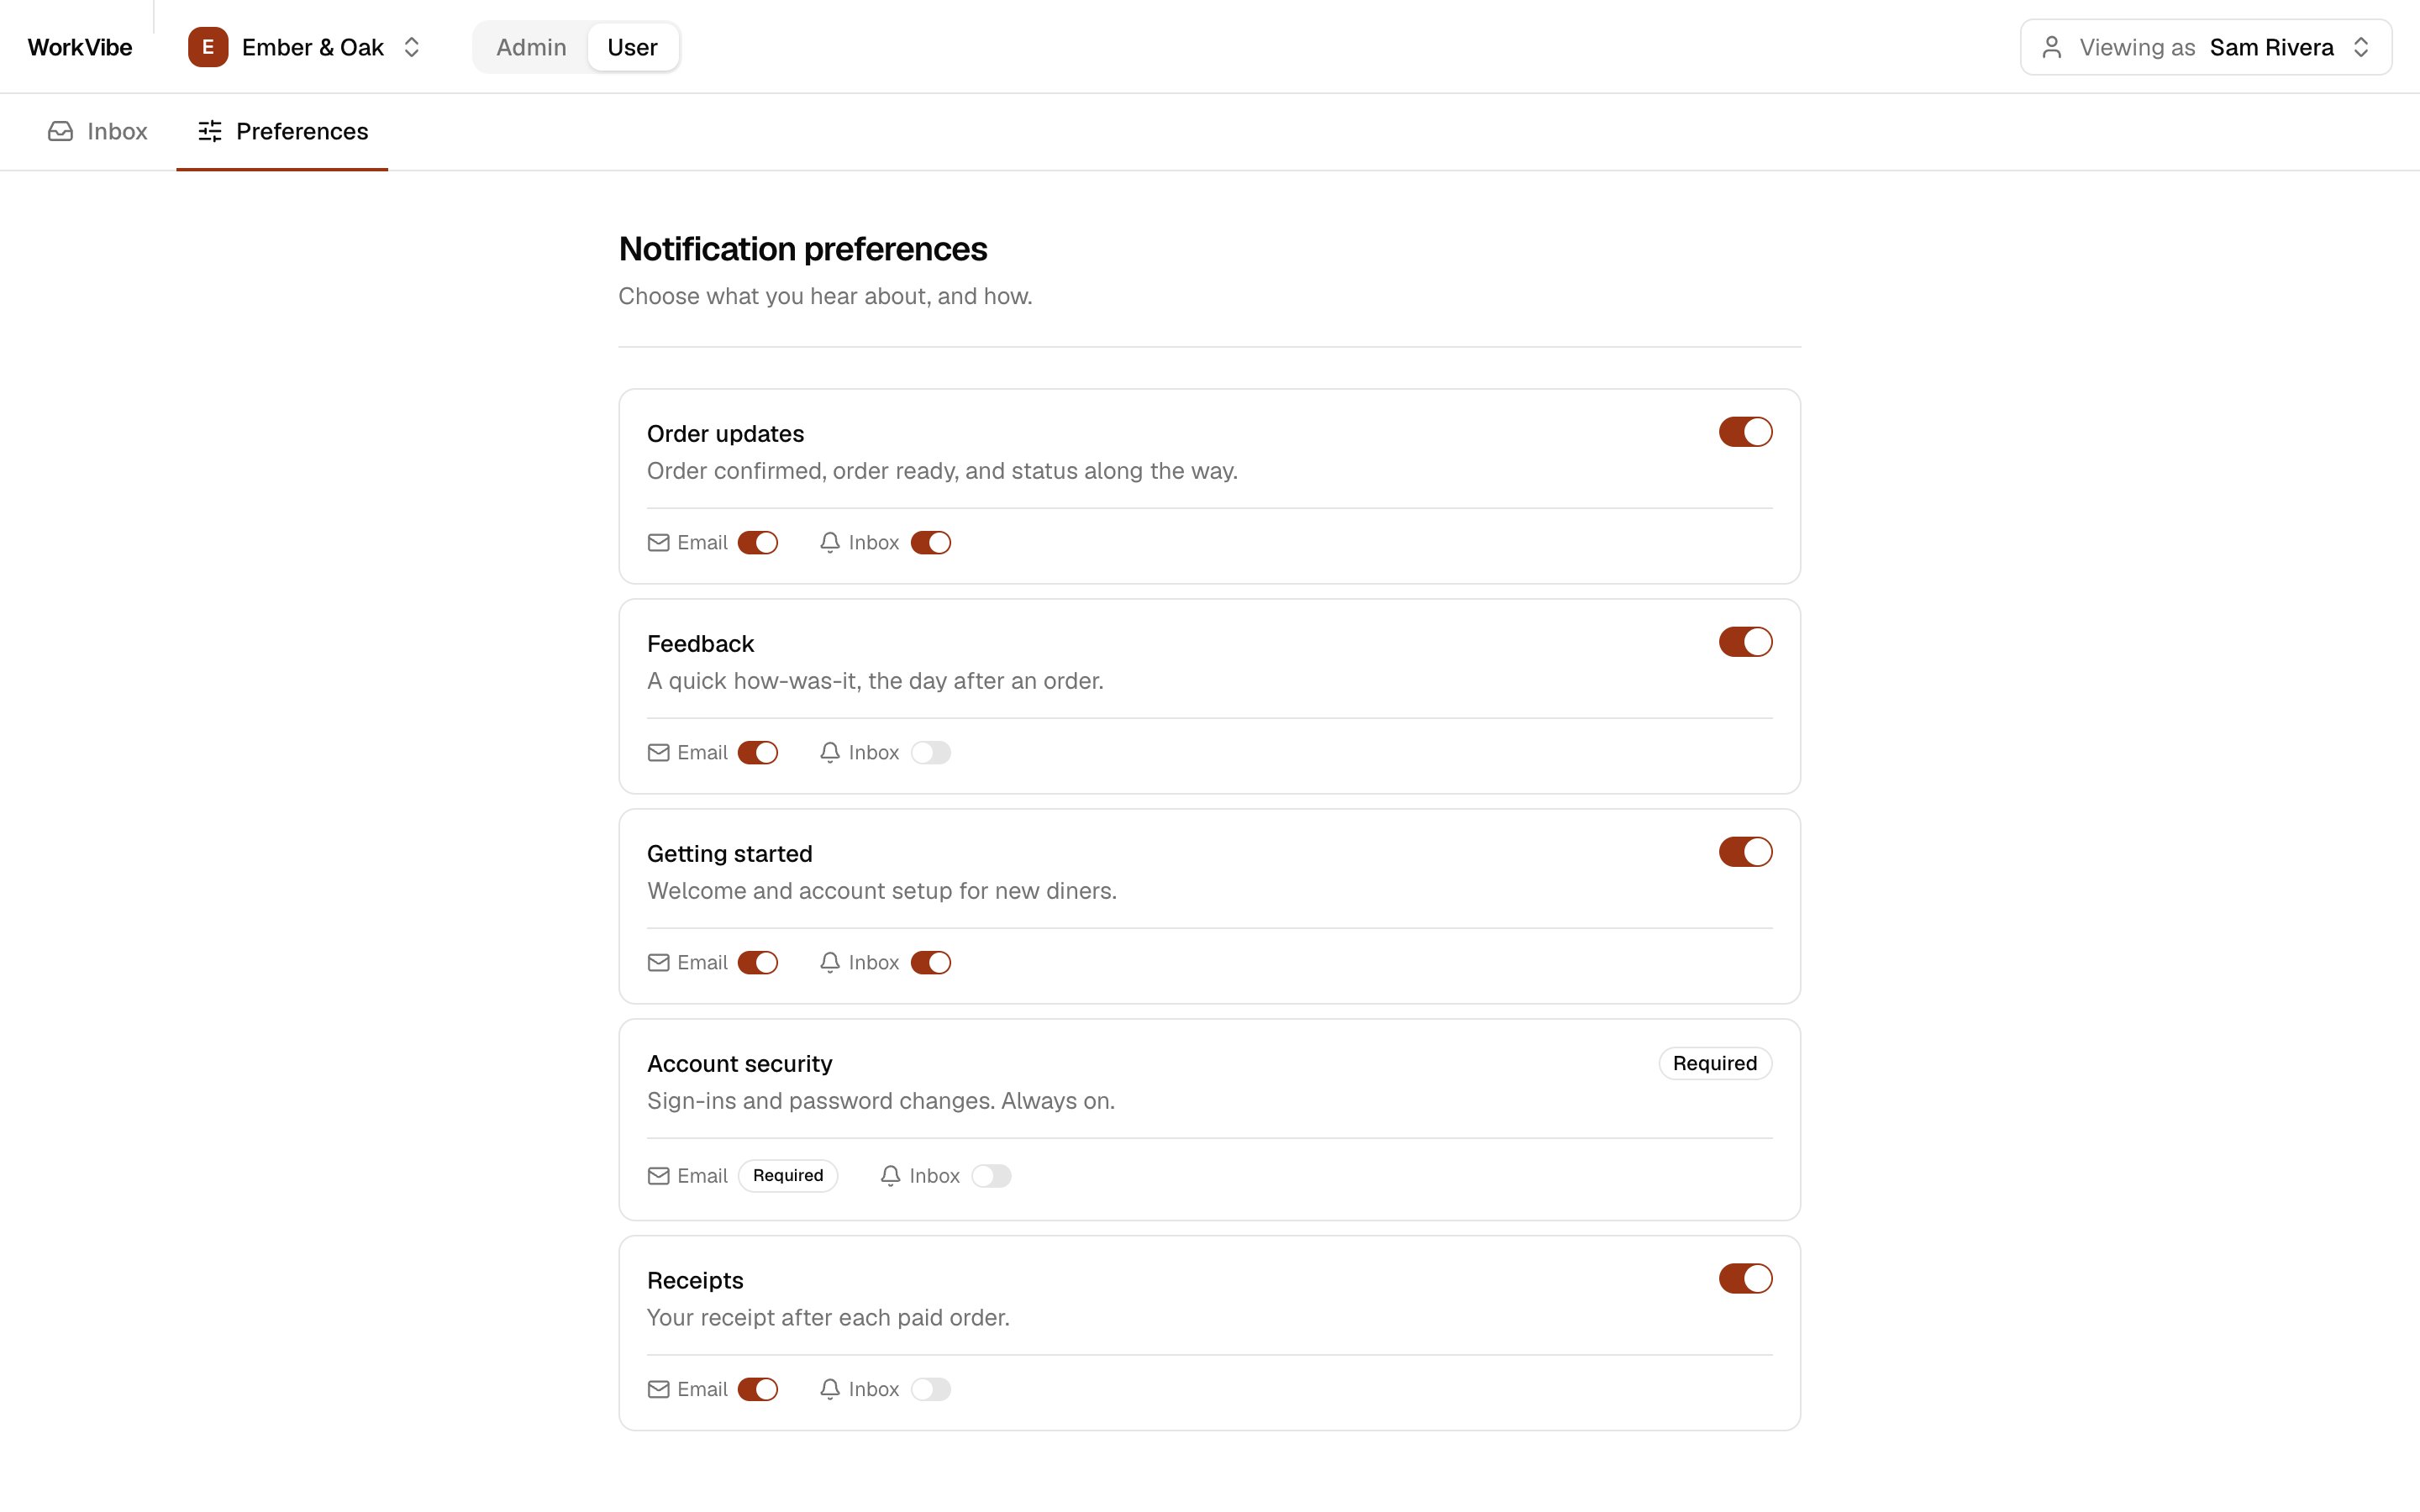
User — a diner. They read their notifications in an in-app inbox and choose what they want to hear about.
Each view is a set of screens, listed in App navigation. The app ships with two chains, Ember & Oak and Nolan’s Pizza. A switcher in the top bar changes which one you are working in.
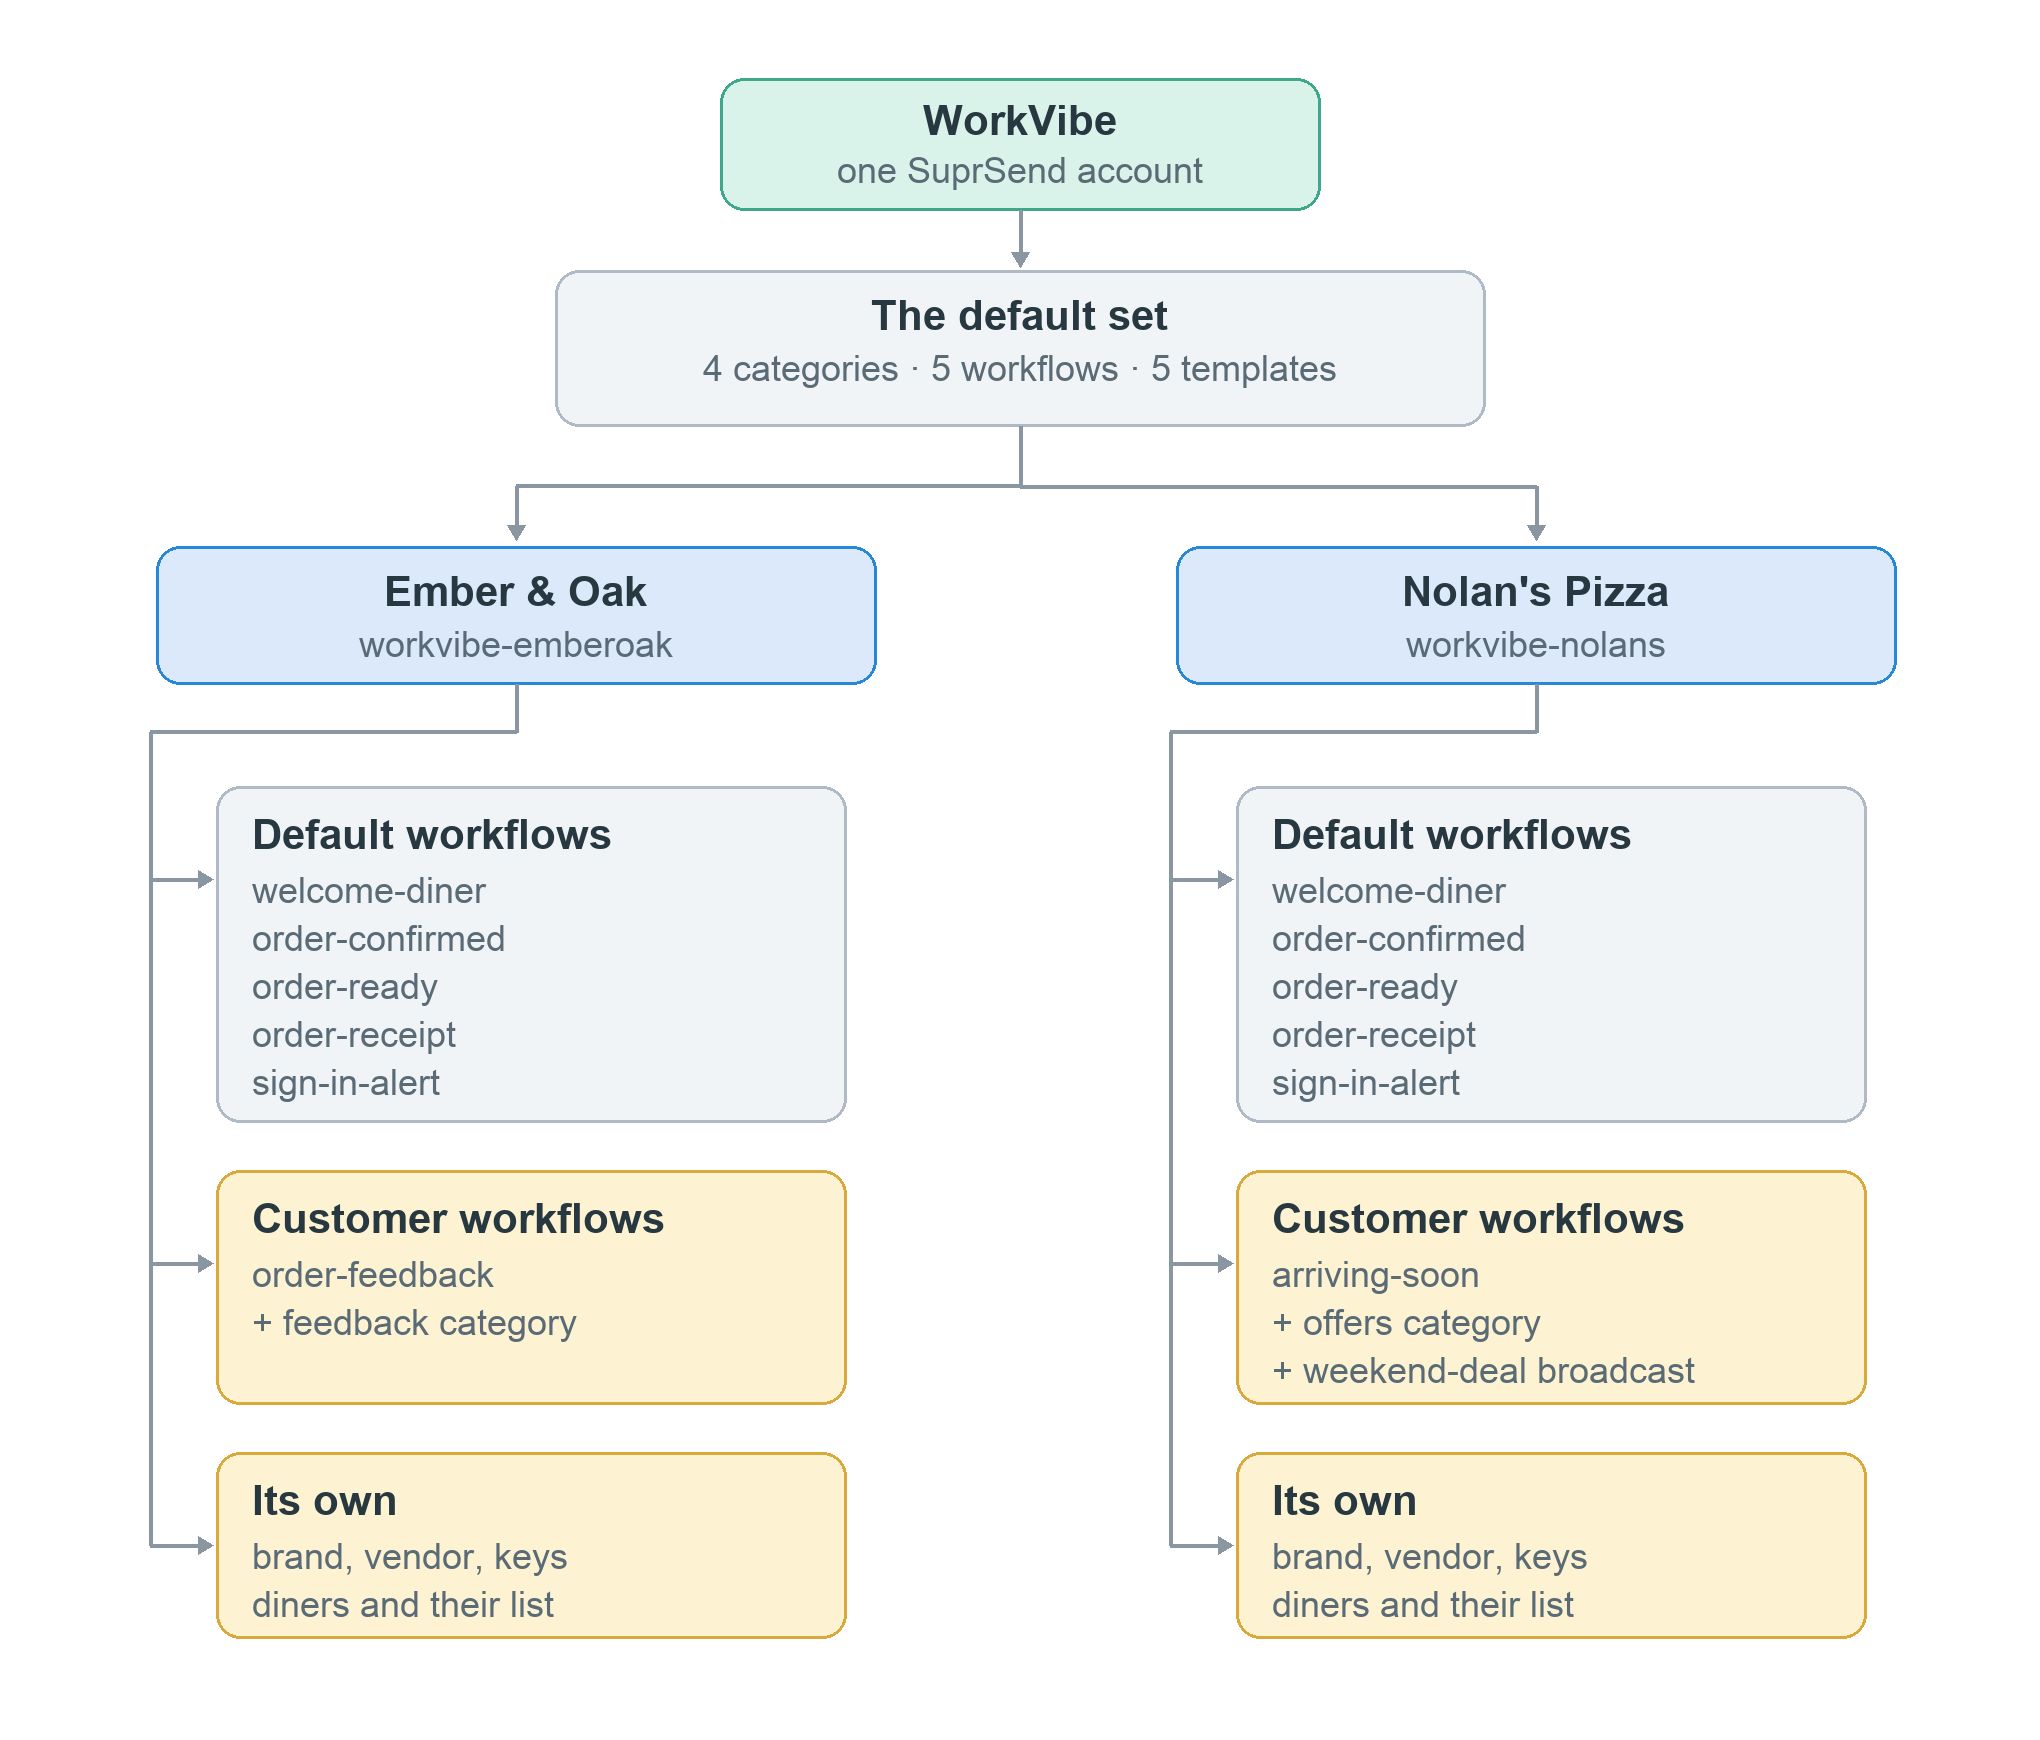
One SuprSend account holds the whole product. Each restaurant chain is a workspace of its own, with its own keys, diners, templates, workflows and delivery logs. Nothing is shared between them. When you switch chain in the app, everything you see — diners, templates, workflows, logs — comes from that chain’s workspace alone.
Both chains start from the same set of notifications, then add their own. To go deeper on modelling your customers in SuprSend, and on the concepts this app uses, read Designing notifications for B2B2C applications.
Get an account Service Token: Account Settings → Service Tokens. Copy the env template and paste the token into SUPRSEND_SERVICE_TOKEN.
cp .env.example .env.localnpm run create:workspaces
This creates two workspaces in your account, workvibe-emberoak and workvibe-nolans, and fills each Workspace Key in .env.local.
3
Paste the remaining keys
In the dashboard, switch to each workspace and open Developers → API Keys.
Variable
Where to find it
SUPRSEND_<WS>_WORKSPACE_SECRET
Workspace Key and Secret
NEXT_PUBLIC_SUPRSEND_<WS>_PUBLIC_KEY
Public Keys — starts with SS.PUBK
SUPRSEND_<WS>_SIGNING_KEY_UID
Signing Keys — the signing_key_… UID, not the ws_signk_… ID
SUPRSEND_<WS>_SIGNING_KEY_B64
Signing Keys — the private key PEM, base64-encoded
<WS> is WORKVIBE_EMBEROAK or WORKVIBE_NOLANS.The signing key downloads as a file with line breaks, and an env file holds one line per value. Encode it before you paste it:
base64 -i signing-key.pem | tr -d '\n'
4
Use the ready-made notifications
The repo ships a working set of notification categories, email and inbox templates, and workflows, in suprsend/. Push them and both workspaces have something to send from the first minute. Preview first, then push:
npm run push:assets -- --dry-runnpm run push:assets
Building your own instead? Create them in the SuprSend dashboard and the app picks them up — it reads whatever is live in the workspace. The rest of this page uses the ready-made set.
The repo ships the notifications, not the data. Each workspace starts empty: no branding, no diners. You add both from the app, and both are stored in SuprSend.
1
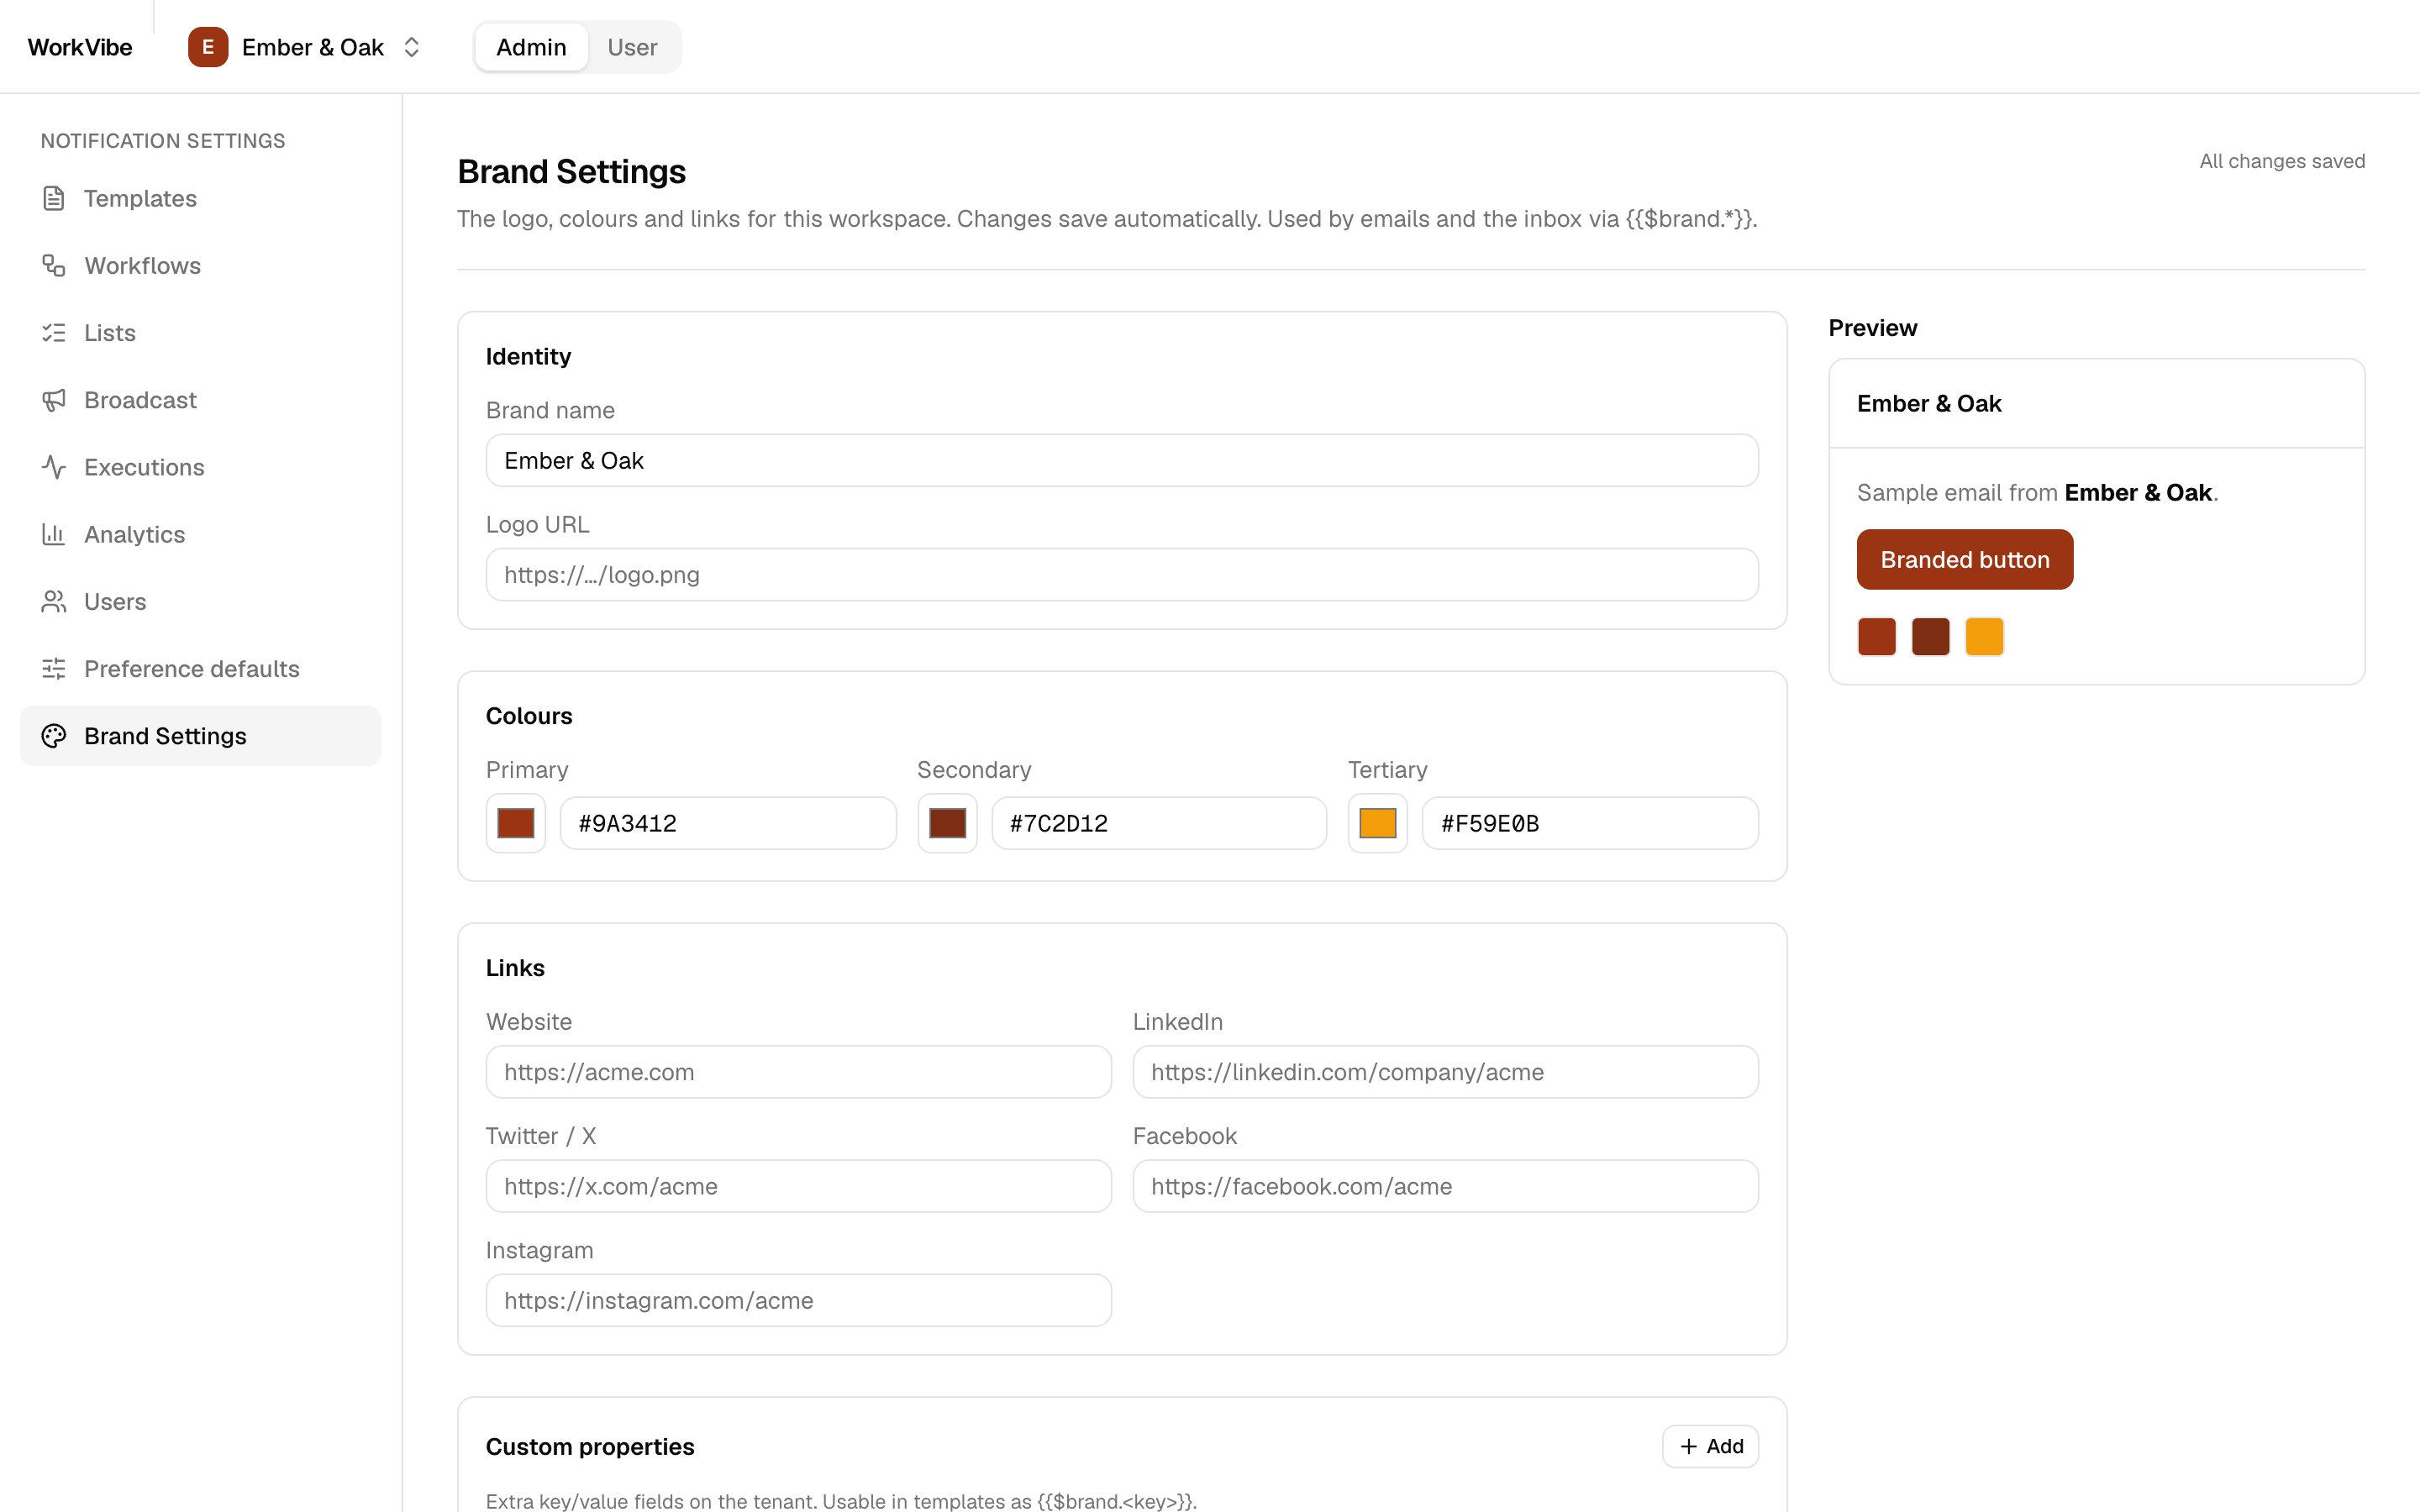
Set each workspace's brand
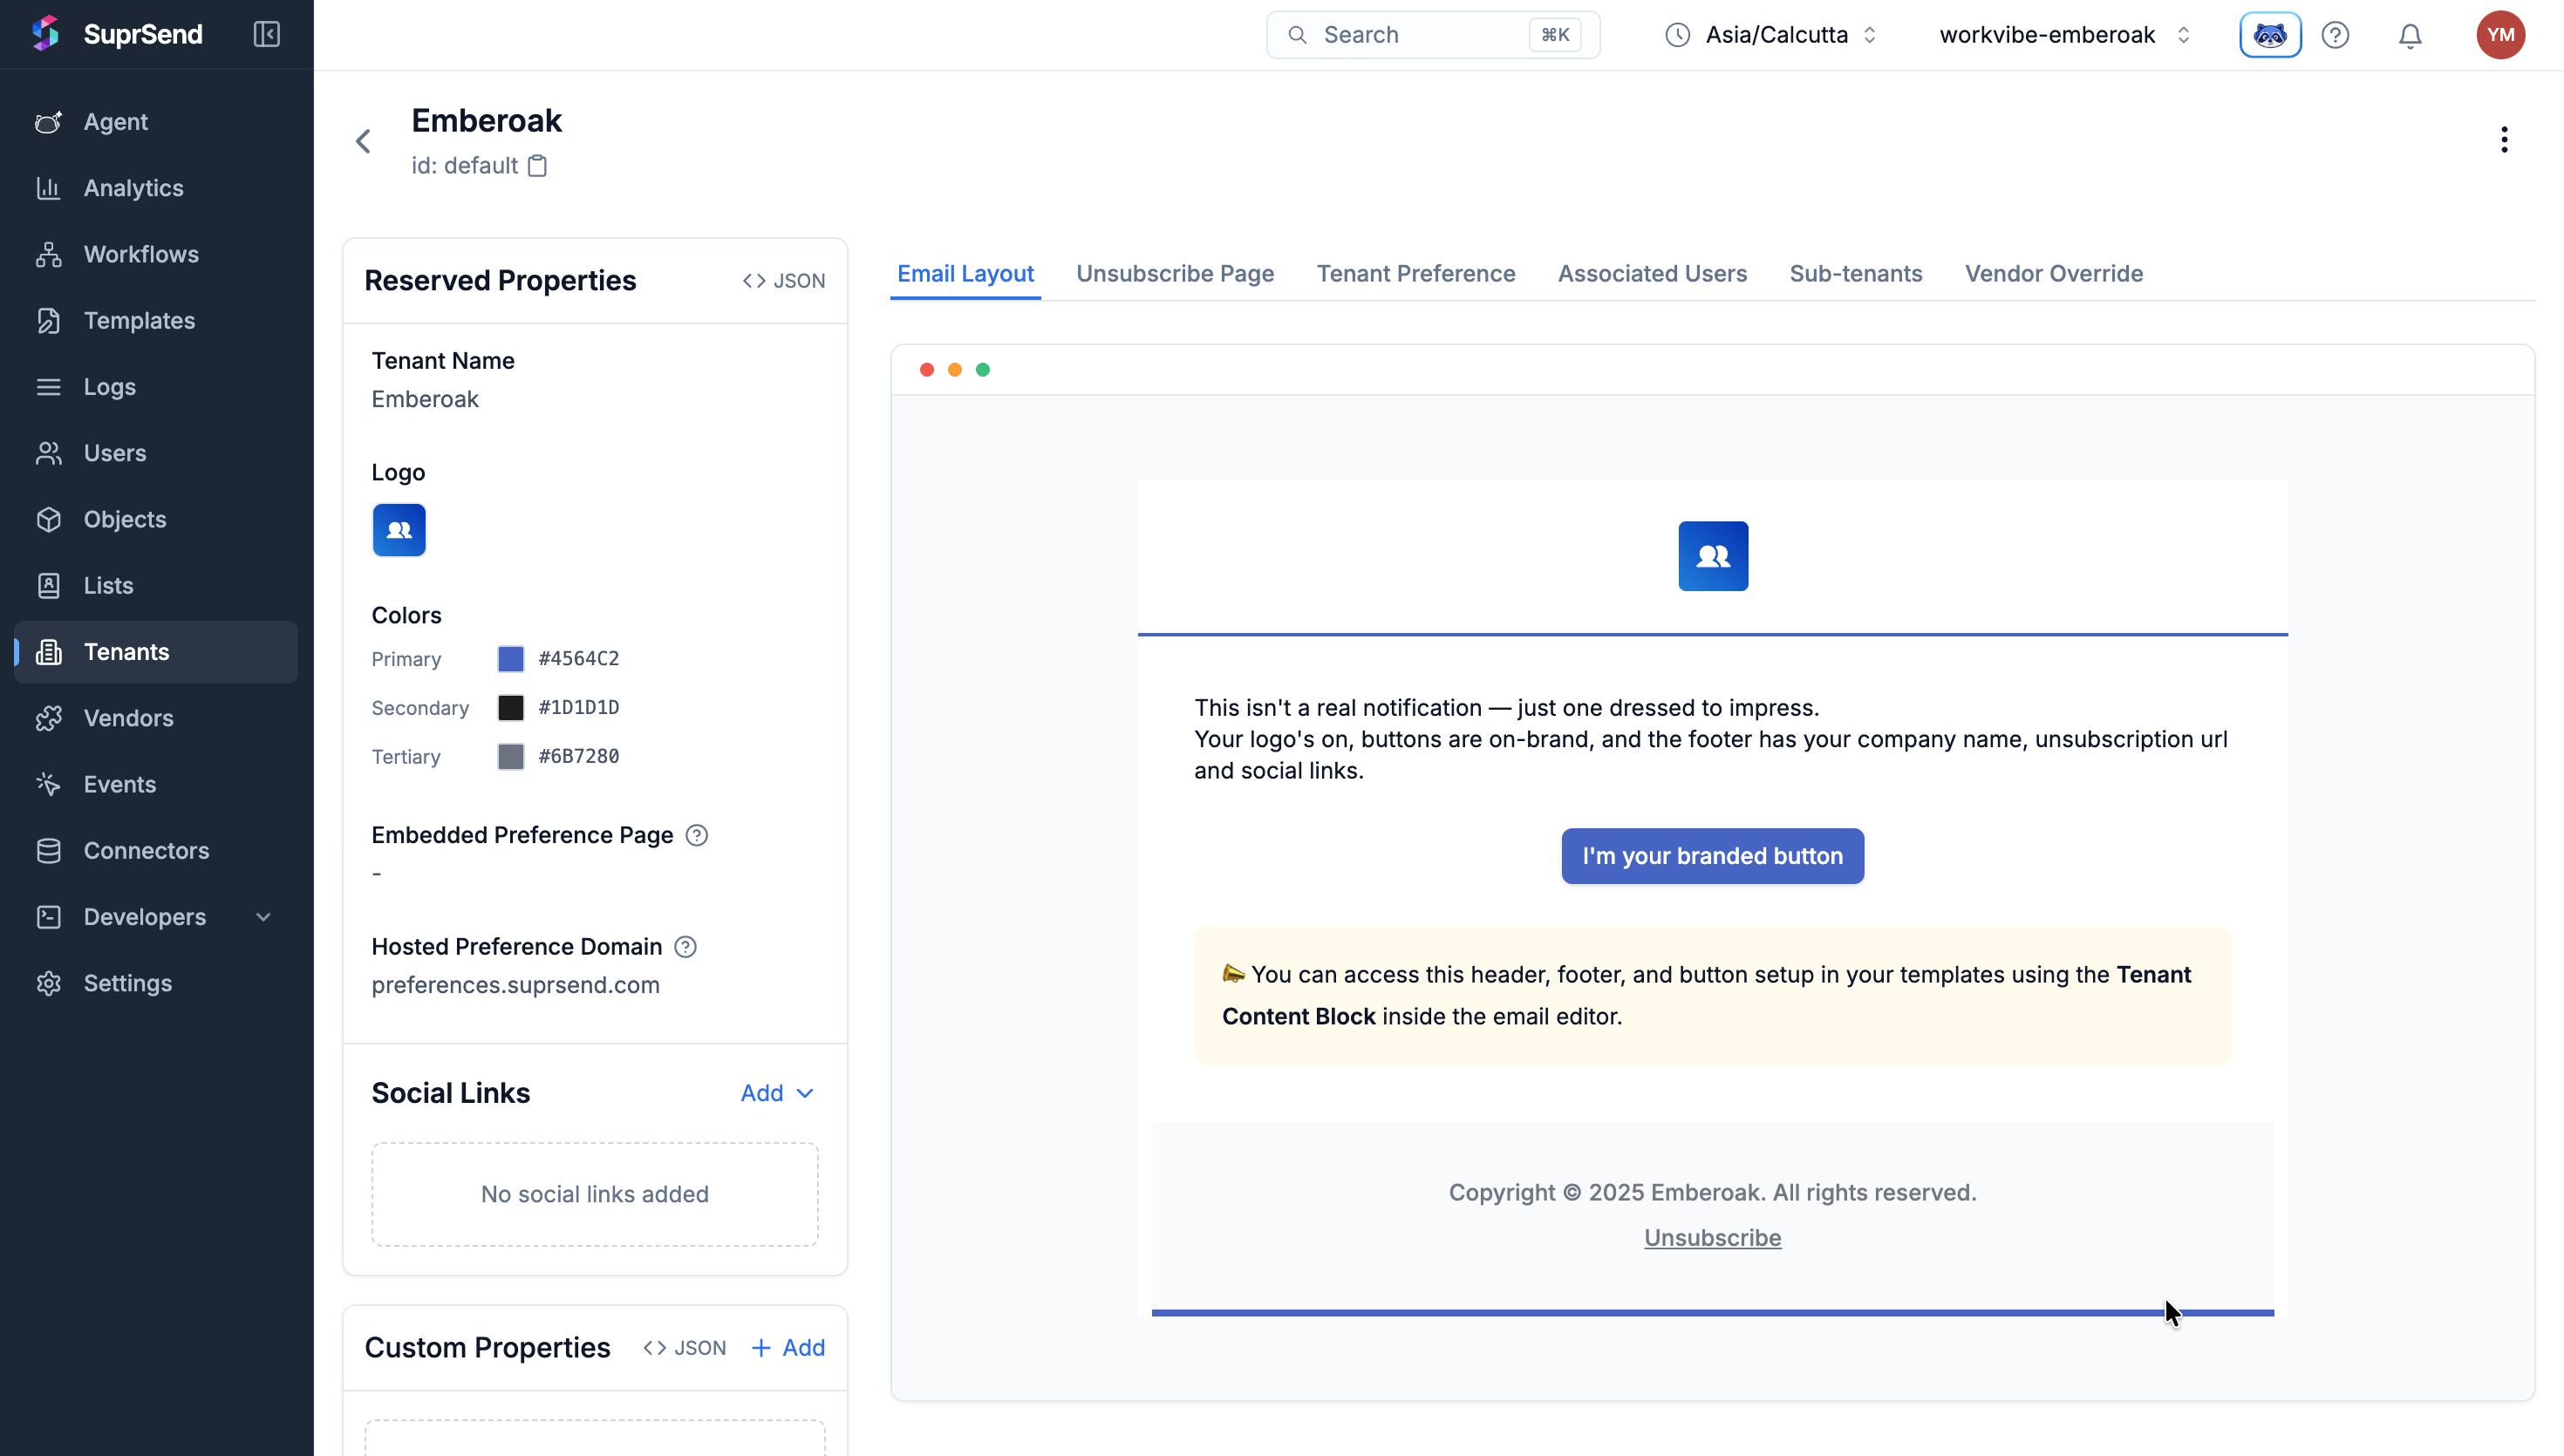
Open Brand Settings. Set name, colours, logo and website. Templates read these through {{$brand.*}}, so emails carry the chain’s own name and colours instead of your SuprSend account name.In SuprSend, the brand is saved on the workspace’s default tenant. You can see it in the dashboard under Tenants → default.
The Ember & Oak brand on the workspace's default tenant
2
Add subscribers
Open Users and use Add subscriber. Each person becomes a user in SuprSend and joins the all-subscribers list, which the app creates for you the first time you open this screen.A real diner would sign up in the chain’s own product. Add subscriber stands in for that signup.
3
Check it works
In Admin → Workflows, click Send test on order-ready and pick a subscriber.
Switch to User in the top bar, pick that person in Viewing as, and open Inbox. The message is there.
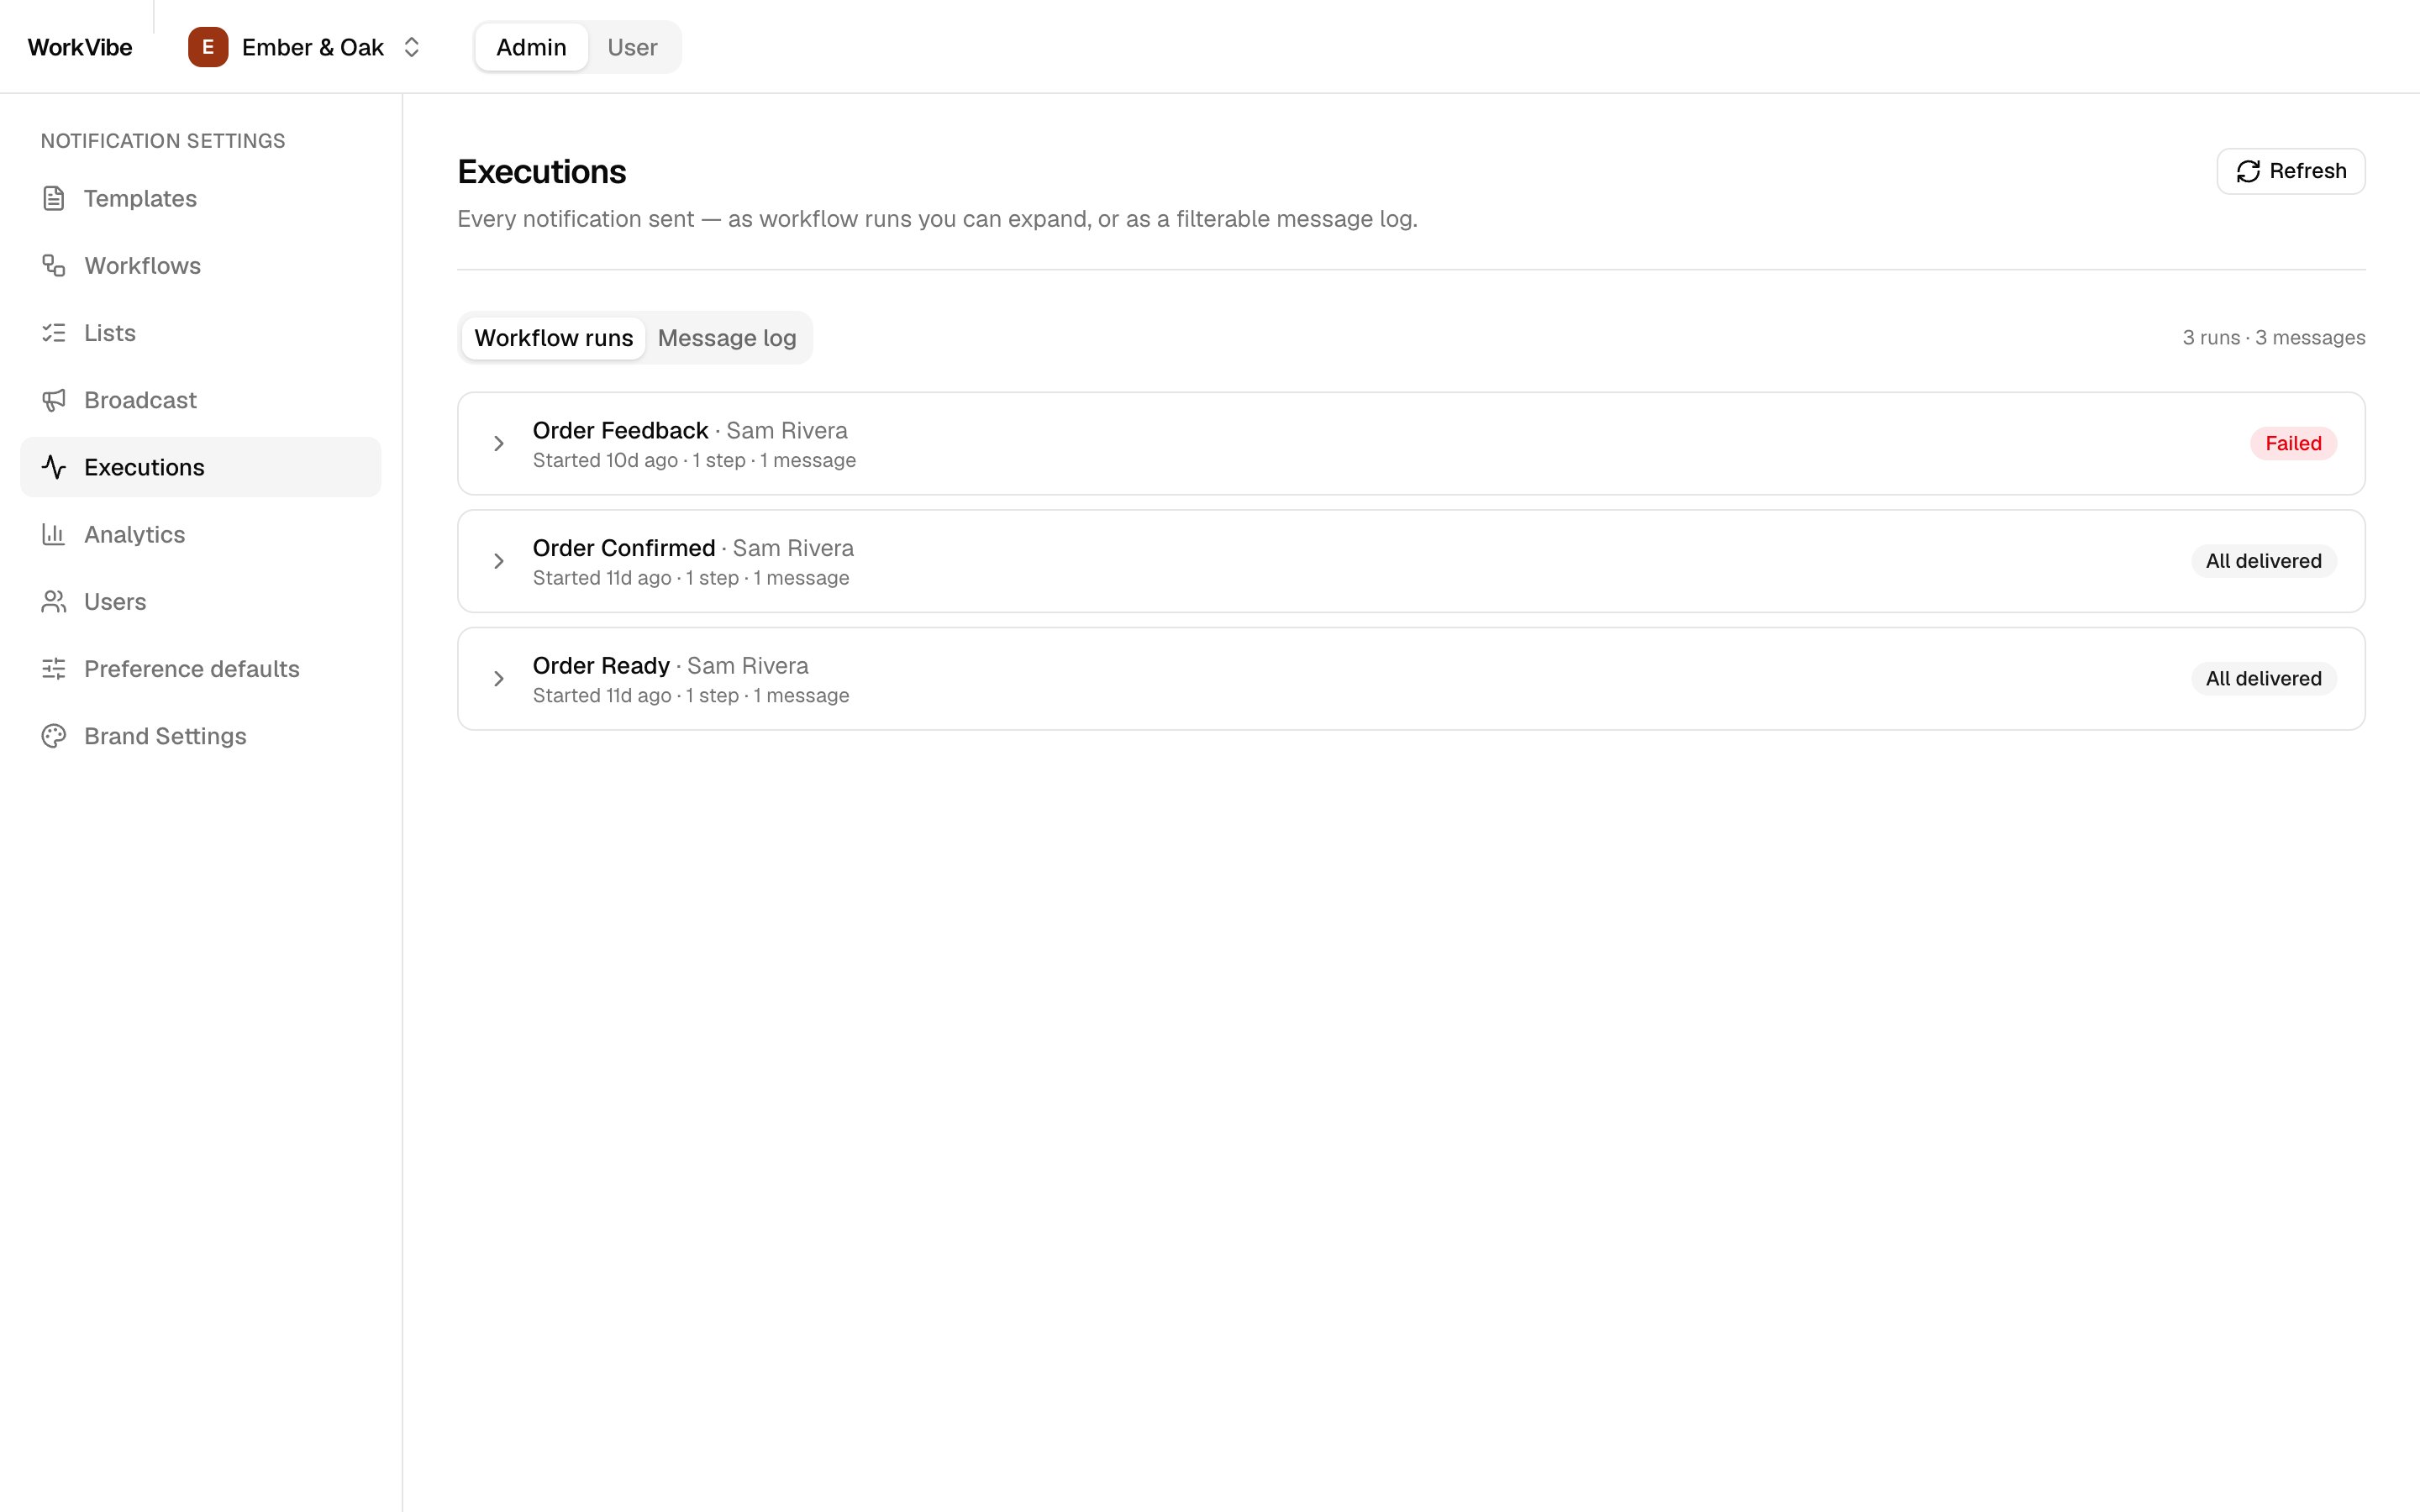
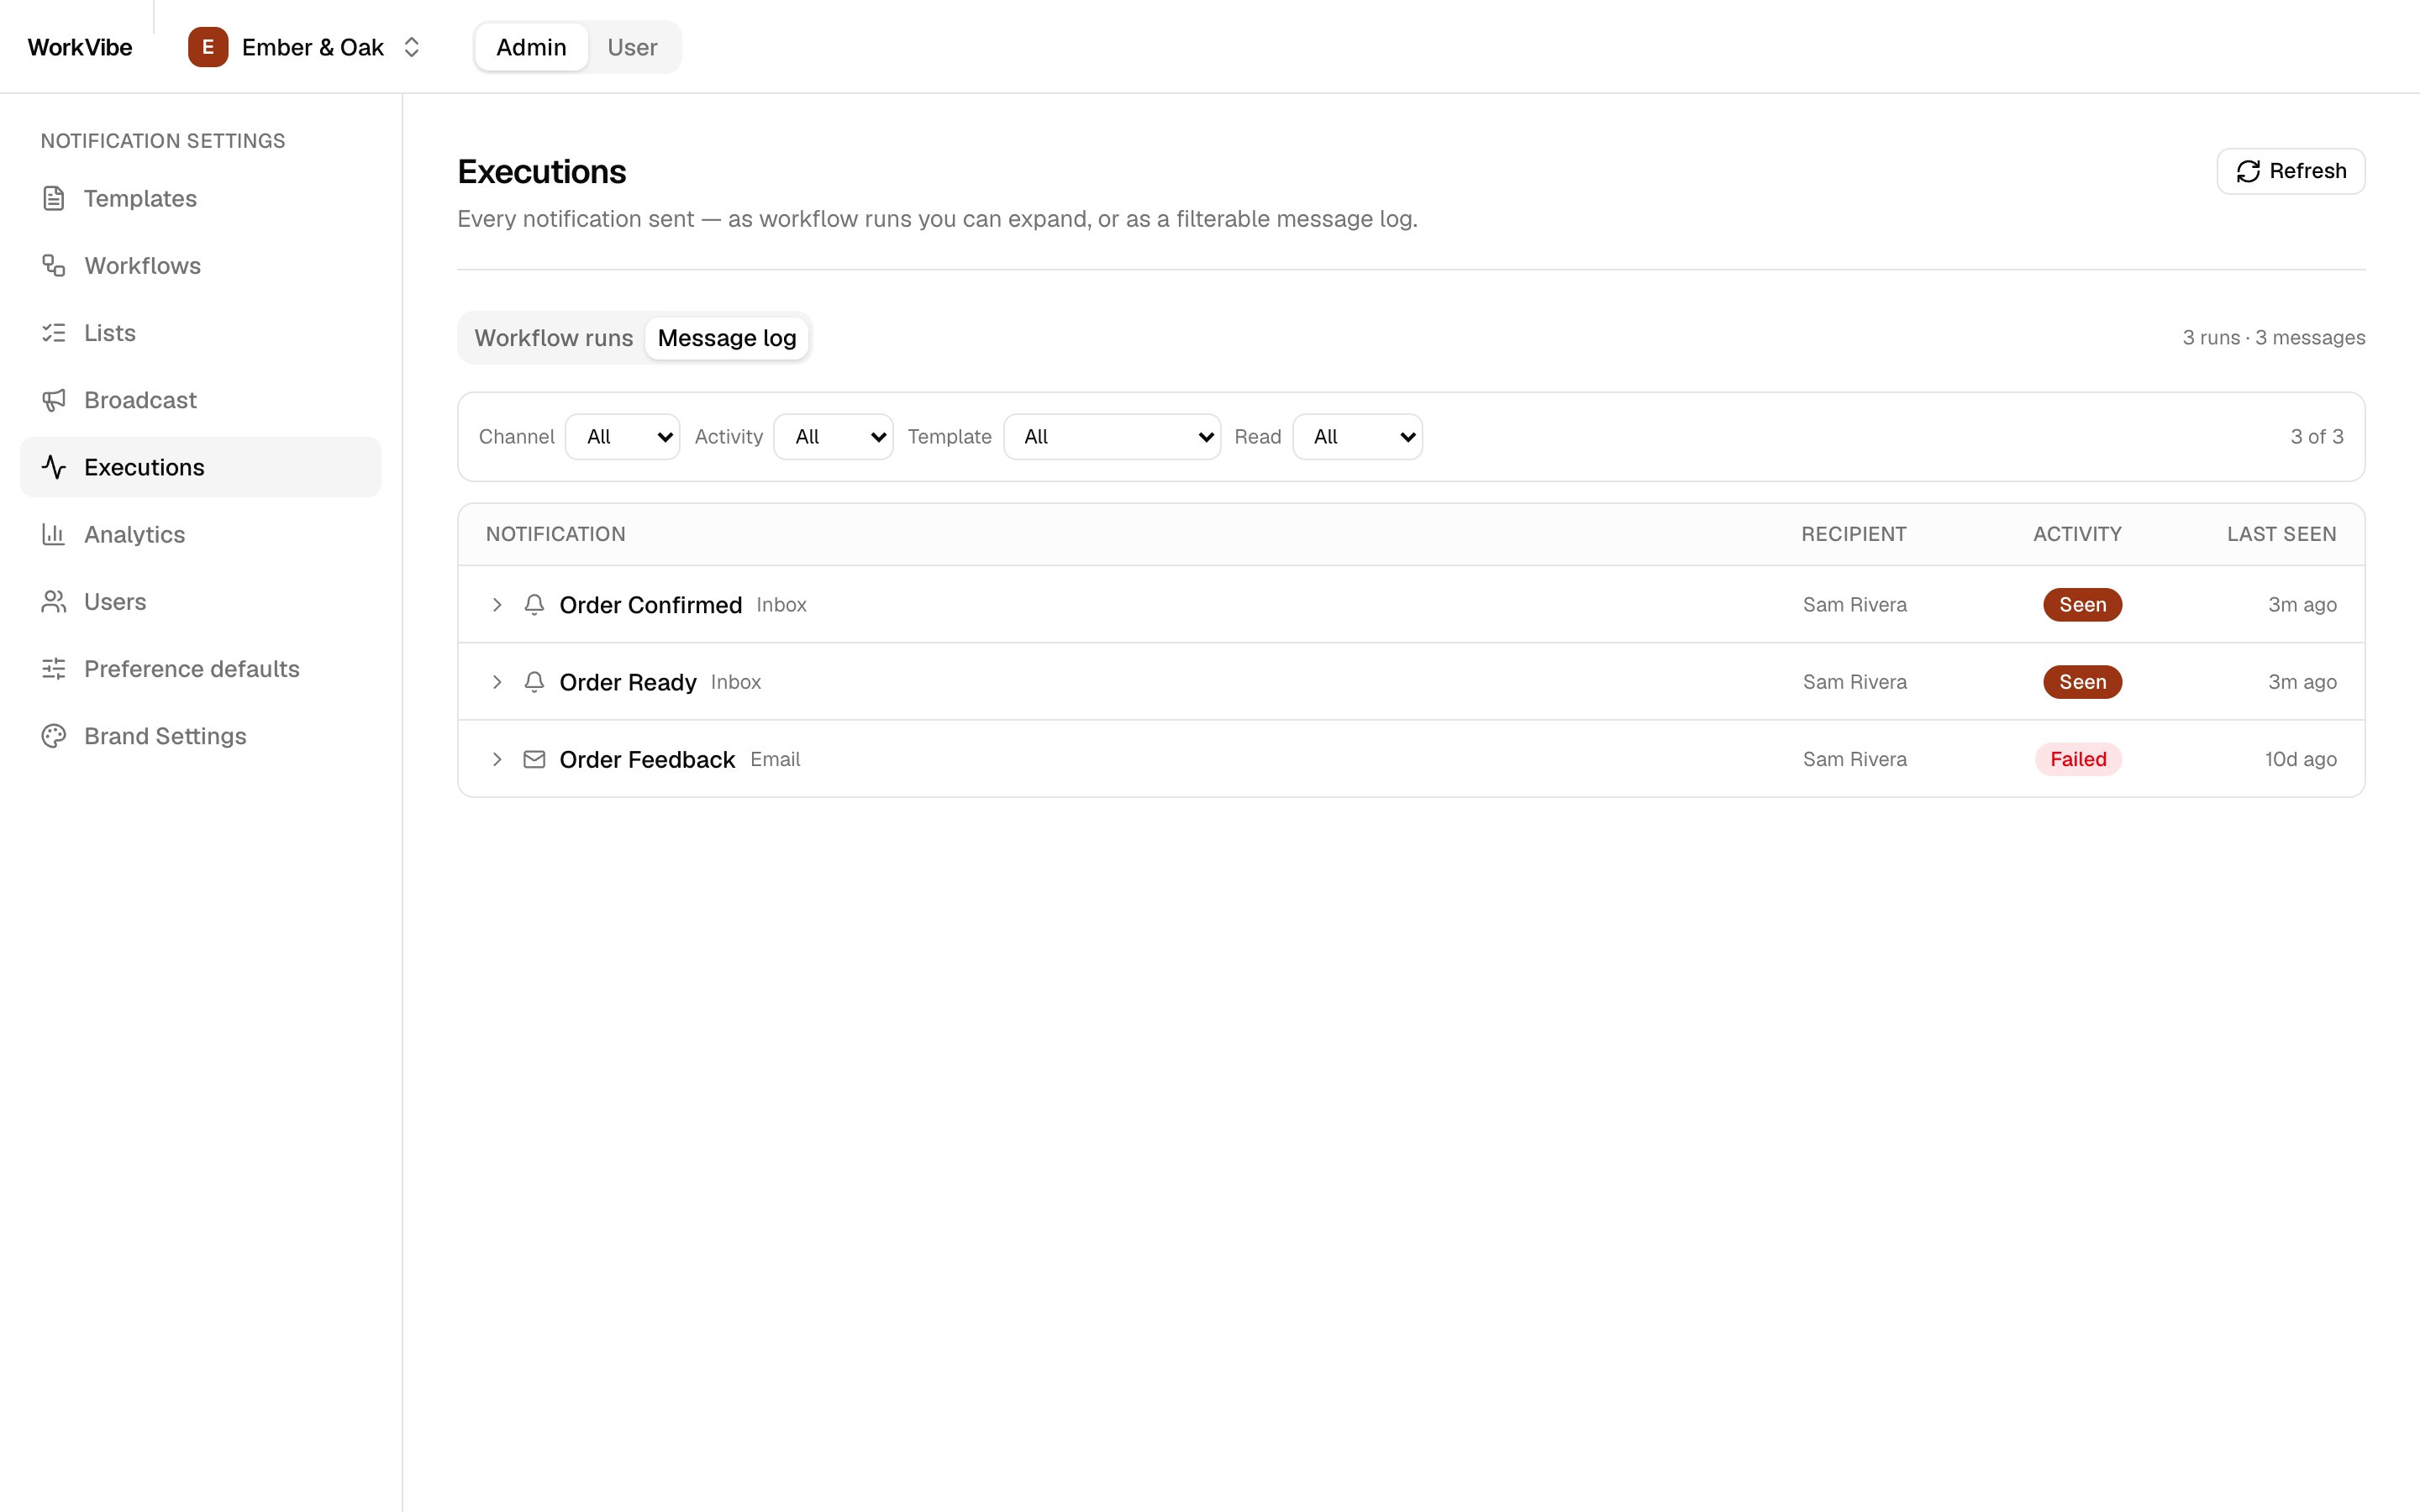
Executions shows the same send from the admin side.
Email needs an email vendor in the dashboard (Vendors). The inbox works without one.
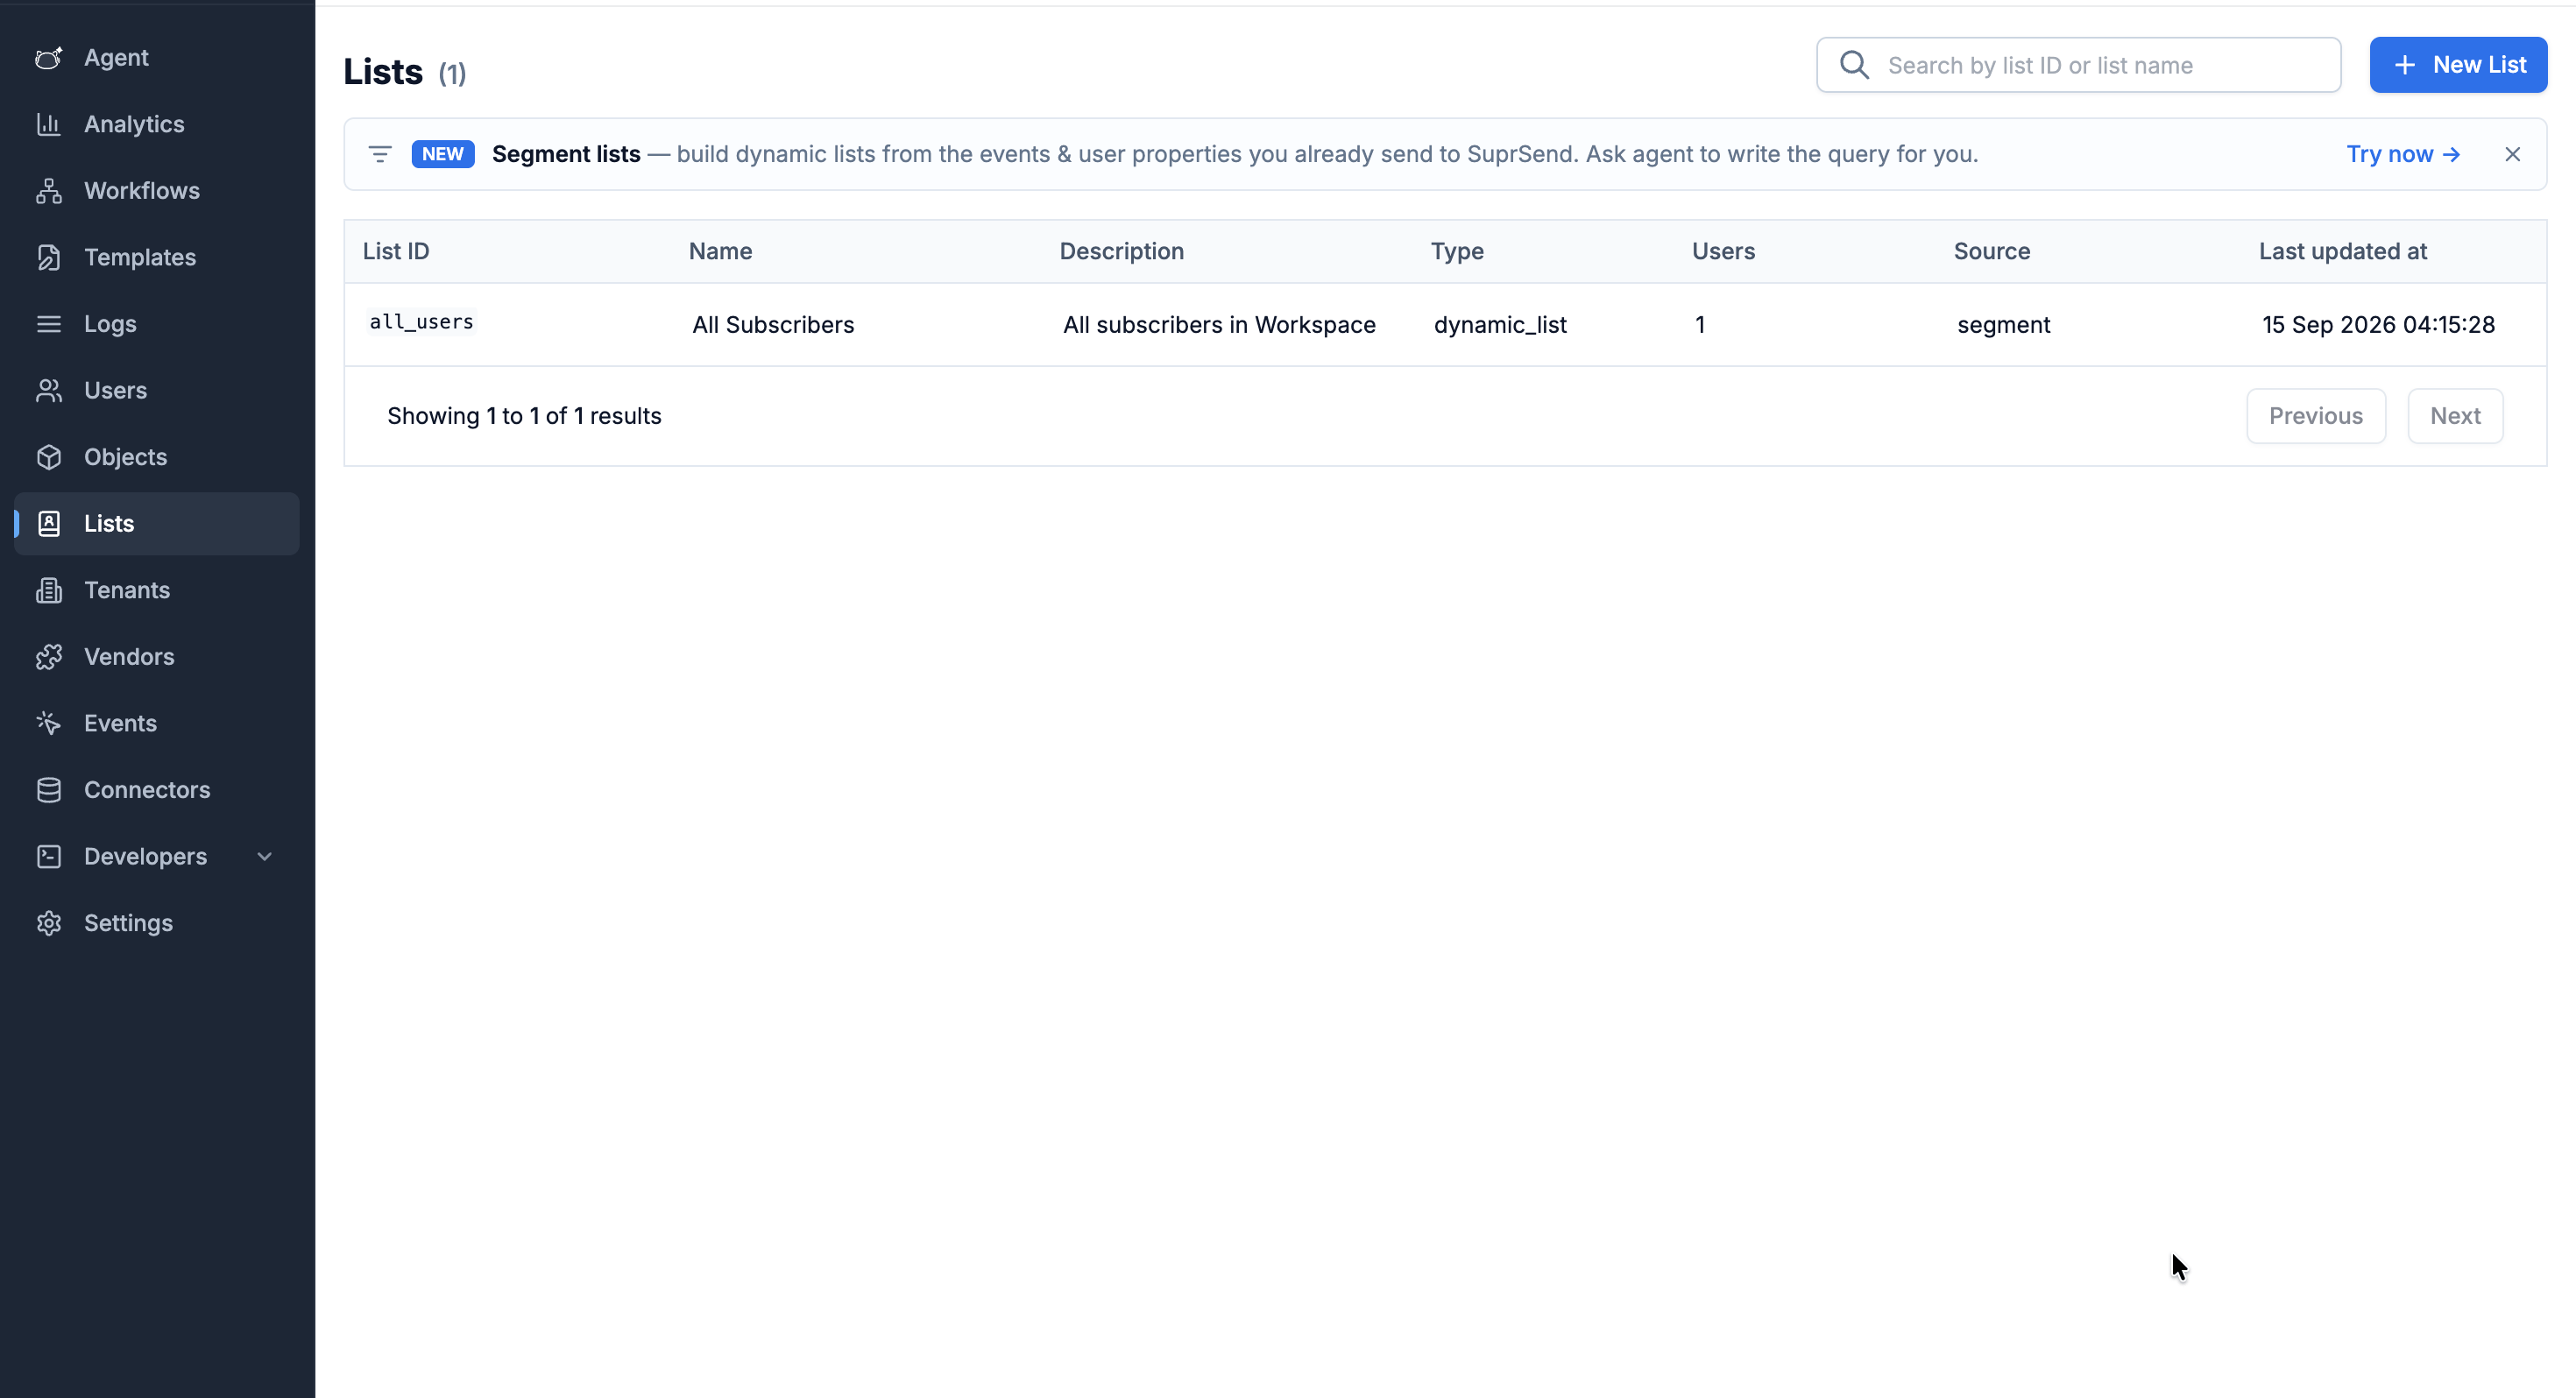
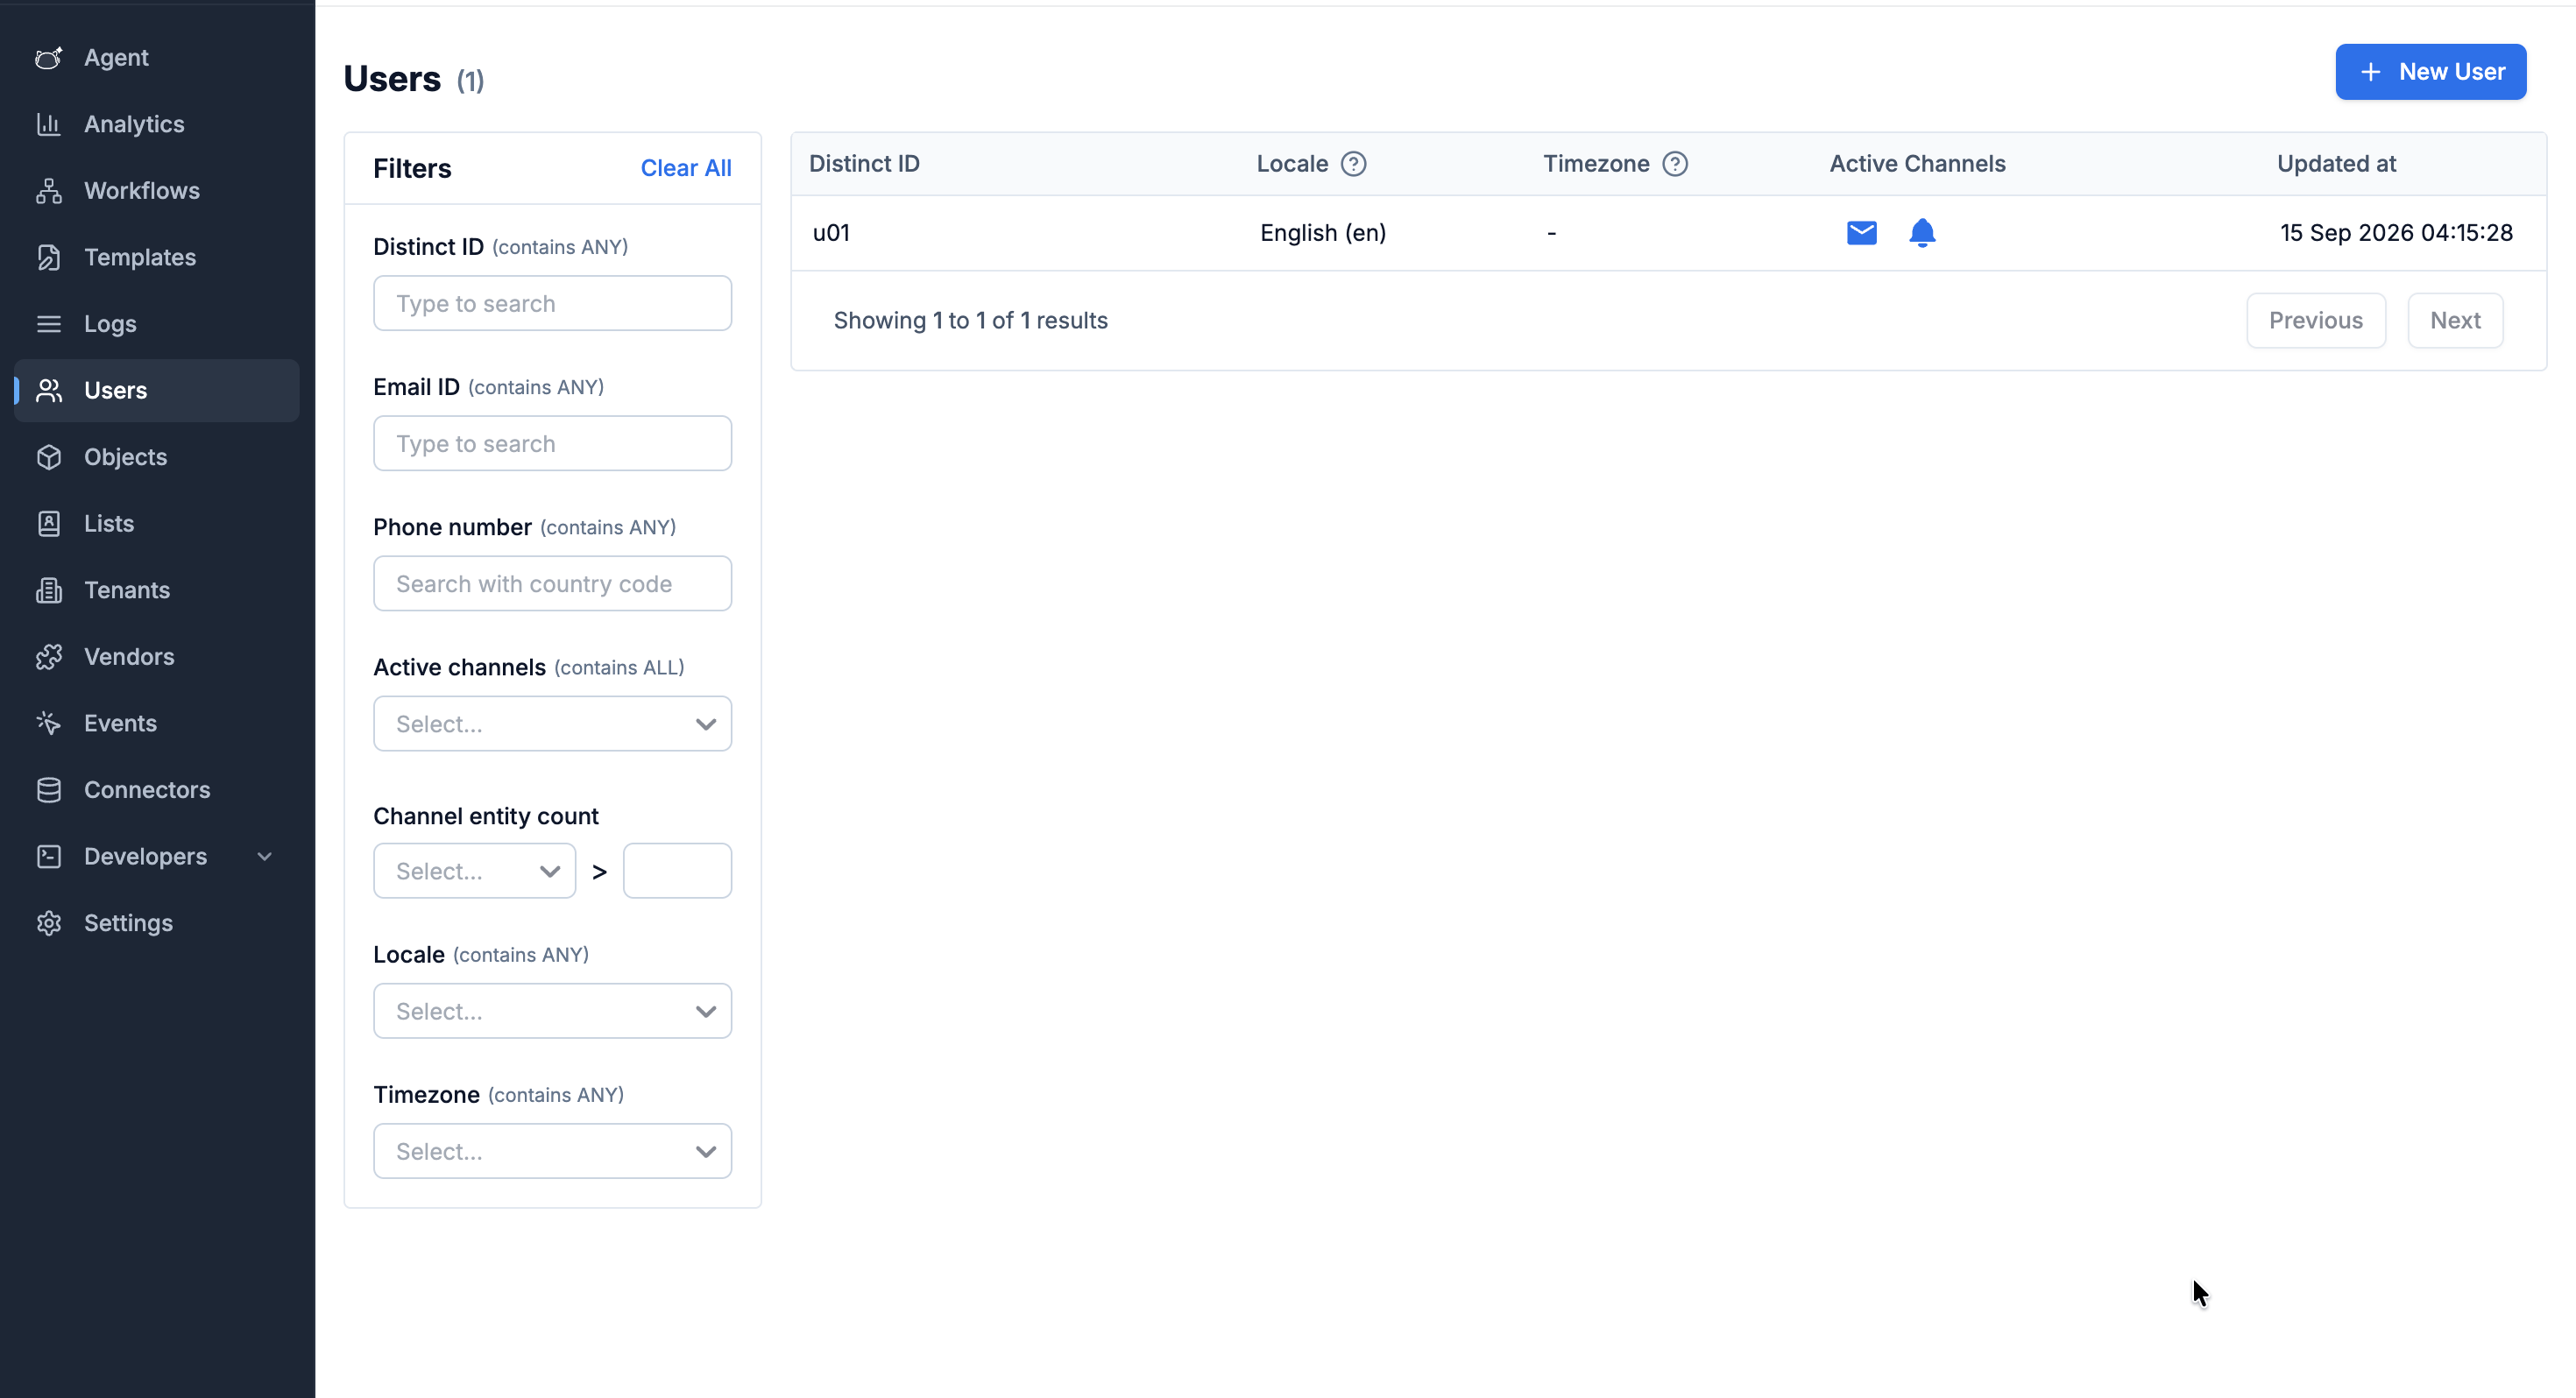
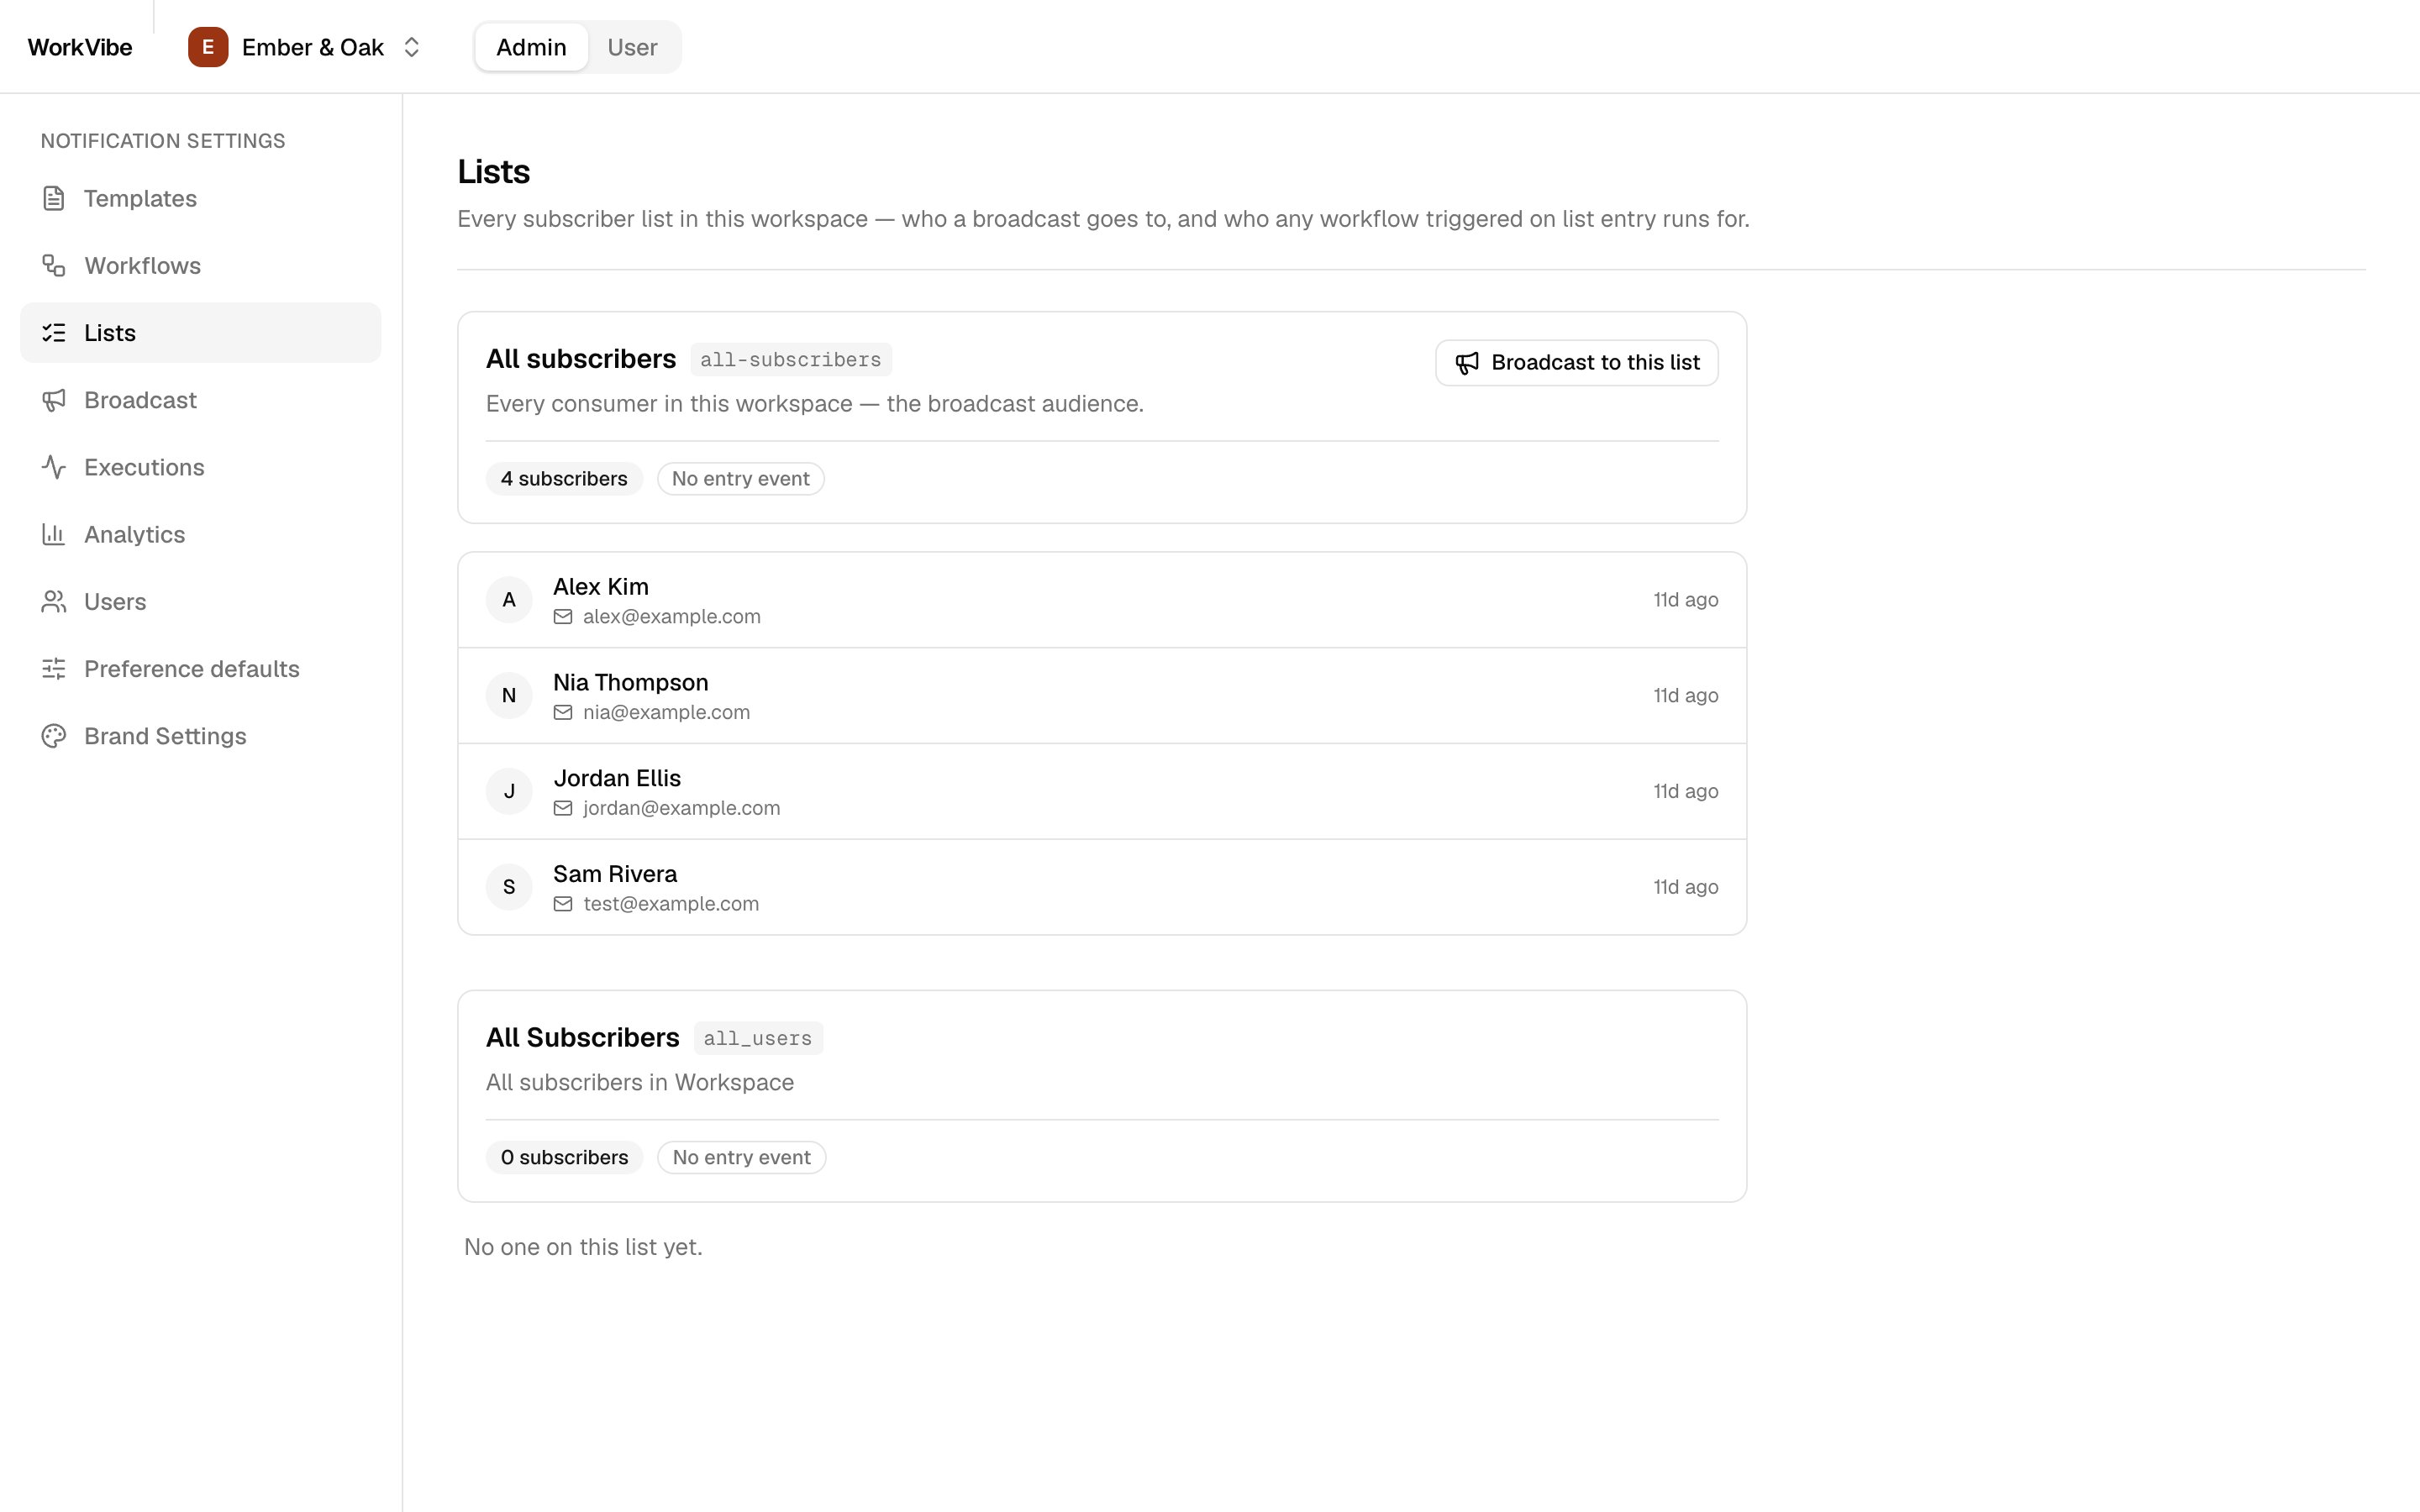
One workflow, welcome-diner, runs on its own when someone joins the all-subscribers list. It stays quiet until you switch on the event that starts it, and that switch lives on the list itself.In the SuprSend dashboard, open Lists, open all-subscribers, and turn on Track user entry.Lists and Users are separate sections of the dashboard. Users is every person in the workspace; Lists is the groups they belong to. This setting lives on the list, not on the person.
Lists
Users
Lists — open all-subscribers here to turn on Track user entry
Users — every person in the workspace, with their channels
Turn it on before you add anyone. Joining the list is the moment that triggers the welcome, so people added while it is off are never welcomed. The API can’t set this — only the dashboard can.
SuprSend’s backend APIs authenticate with the workspace key and secret, and those can’t sit in browser code where anyone can read them. So every call runs on the server: open Users, the browser asks the WorkVibe server for /api/users, and that route calls SuprSend and returns the result.For you that means all SuprSend code lives in app/api and lib/server, and the screens only ever call the app’s own routes. The exception is SuprSend’s browser components — the diner’s inbox and the template editor — which call SuprSend themselves using a short-lived token the server signs for them.
List members and user preferences: both come from the REST API, called directly from lib/server/. Use the same approach when you need them.
Preference categories: there is no call that updates one category. The save takes the whole category structure, so the app reads what is live, applies your one change to it, and sends all of it back. Changing a single toggle this way leaves every other category as it was.
These are the two screens that deliver a real message. Both prepare the request before it reaches SuprSend.
Send test fills every template variable from the template’s own sample data before sending, so the message renders fully even when you pass nothing. The recipient needs an email on their profile.
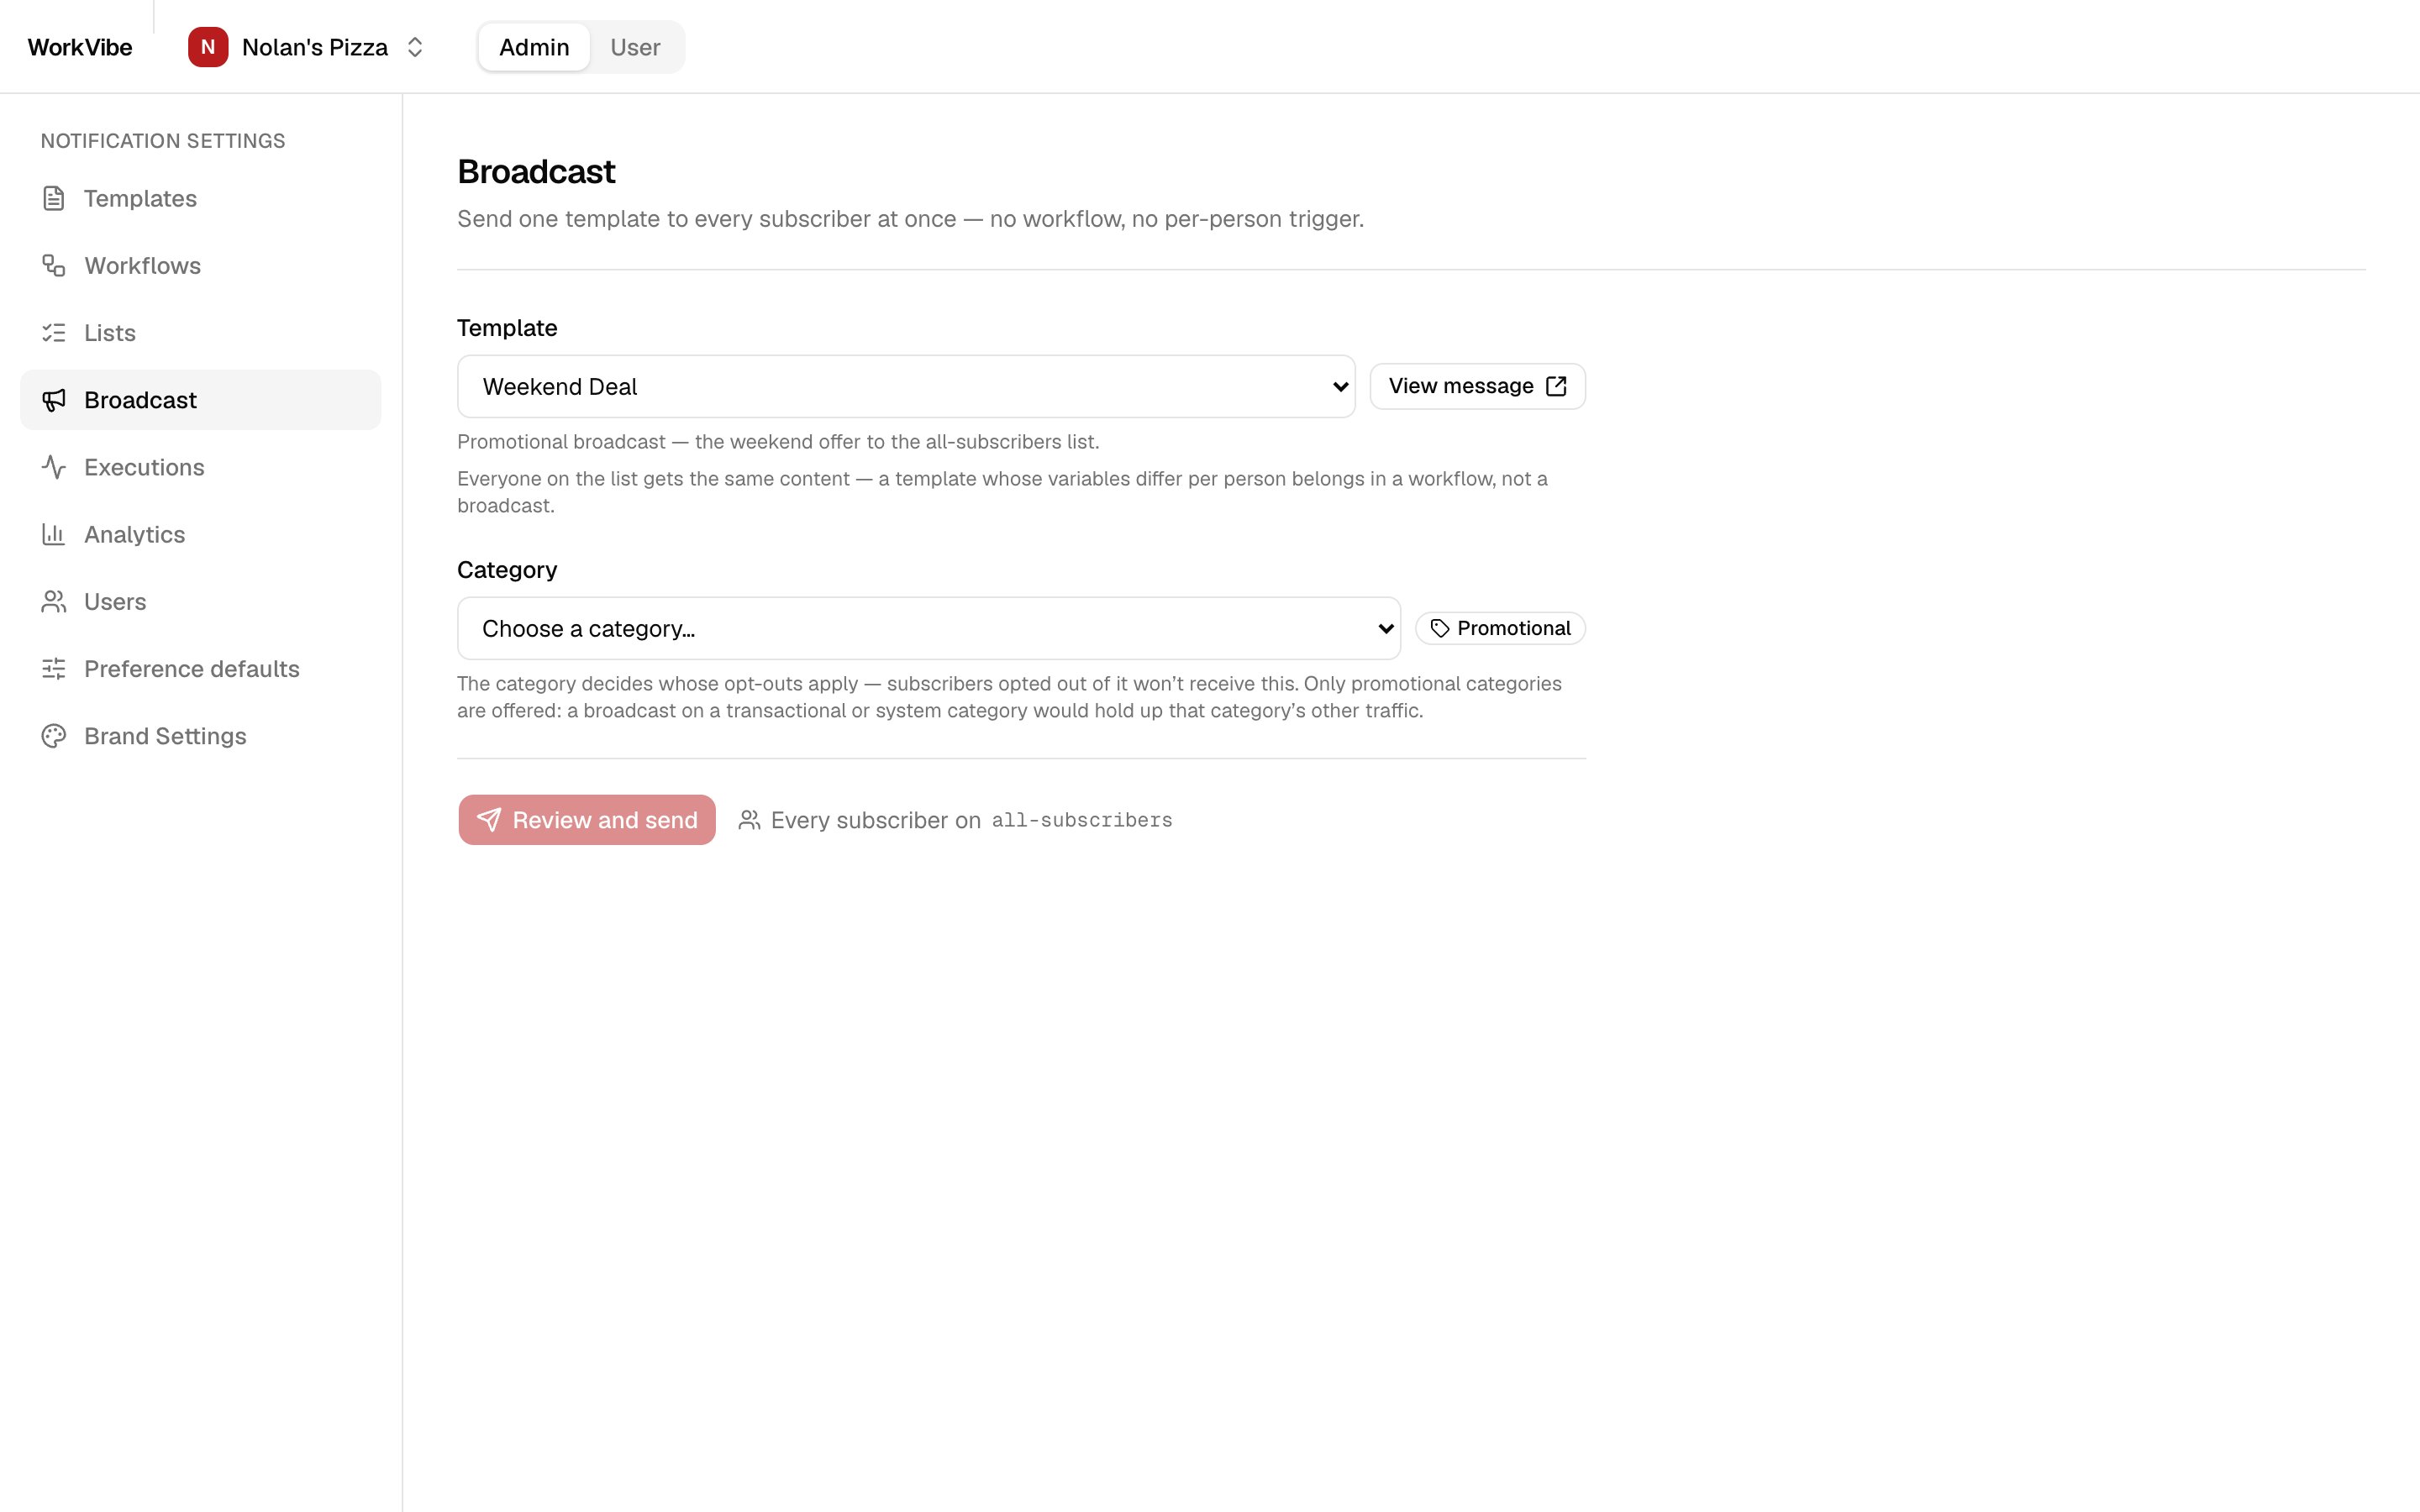
Broadcast sends on a promotional category, which is where a message to everyone belongs. That keeps transactional and system categories free for the messages people are waiting on.
POST /api/templates and POST /api/workflows (mode: "publish") publish a template or a workflow. The workflow route publishes that workflow’s templates first and stops if one fails, so a half-published journey never goes live. The screens read from SuprSend rather than publish to it, so these two are yours to call from a script or your own backend.
The app runs anywhere Next.js runs, for example Vercel. Add the same variables from .env.local to the deployment, and set NEXT_PUBLIC_APP_URL to the deployed URL.Put a password on it. WorkVibe has no login. Set DEMO_PASSWORD and every page and API route asks for it (proxy.ts). A deployed demo reads and writes your real SuprSend account.
Two routes sign the tokens that SuprSend’s browser components need. WorkVibe has no login, so both hand a token to whoever asks. Your product knows who is signed in, so tie both to that session before you ship them.
Route
What it’s for
In WorkVibe
In your product
/api/subscriber-token
Signs the token the diner’s inbox uses, which tells SuprSend whose notifications to show
Takes distinct_id from the query string, so a caller can ask for a token for anyone
Take distinct_id from the signed-in session
/api/editor-token
Signs the token the template editor uses, which tells SuprSend which templates may be edited
Open to any caller. The token it signs unlocks every template in the workspace, because entity_id is set to "*"
Limit it to admins, and set entity_id to the template they are editing
Full message: “No workspace is connected. Run npm run create:workspaces, paste the keys into .env.local, then restart the dev server.”A workspace shows only when SUPRSEND_<WS>_WORKSPACE_KEY matches its UID and_WORKSPACE_SECRET is set. Fix the keys, then restart the dev server.
"Couldn't read your workspaces"
Usually “Listing workspaces failed (HTTP 401)”. SUPRSEND_SERVICE_TOKEN is wrong or expired. Create a new one in Account Settings → Service Tokens.
"The welcome is off." on the Users screen
all-subscribers has Track user entry off. Turn it on in the dashboard. People added while it was off are not welcomed.
Inbox or template editor doesn't load
Error: “Missing signing-key env for …”. A signing key variable is empty. Check you used the signing_key_… UID, not the ws_signk_… ID, and base64-encoded the PEM on one line.Error: “public key not configured”. NEXT_PUBLIC_SUPRSEND_<WS>_PUBLIC_KEY is empty for this workspace.
Send test or editor preview fails
”… has no email — add one in the Users tab.” — test sends need a subscriber with an email.“This workspace has no subscribers to preview as.” — the editor previews as a real subscriber. Add one in Users first.
Broadcast: "isn't a promotional category"
Pick a category under the promotional root. Nolan’s Pizza ships with offers. Ember & Oak ships with none, so add one in Preference defaults or the dashboard first.
Sent, but no email arrives
Add an email vendor in the dashboard (Vendors). Open Executions → Message log for the failure reason.
Preferences show email only, no inbox
The workspace flag user_inbox_preference_enabled is off. npm run push:assets turns it on. If you pushed categories another way, set it with the Management API workspace config.