Segment
Guide to integrate Segment with SuprSend
The SuprSend segment integration enables you to sync users and events from Segment to SuprSend. This allows for seamless migration of users from Segment to SuprSend and the ability to use events from Segment to power automated workflows within SuprSend.
Getting Started
Login to SuprSend dashboard. Go to Settings -> Connectors. Select "Segment" from the connectors list. This is how segment integration page looks like.
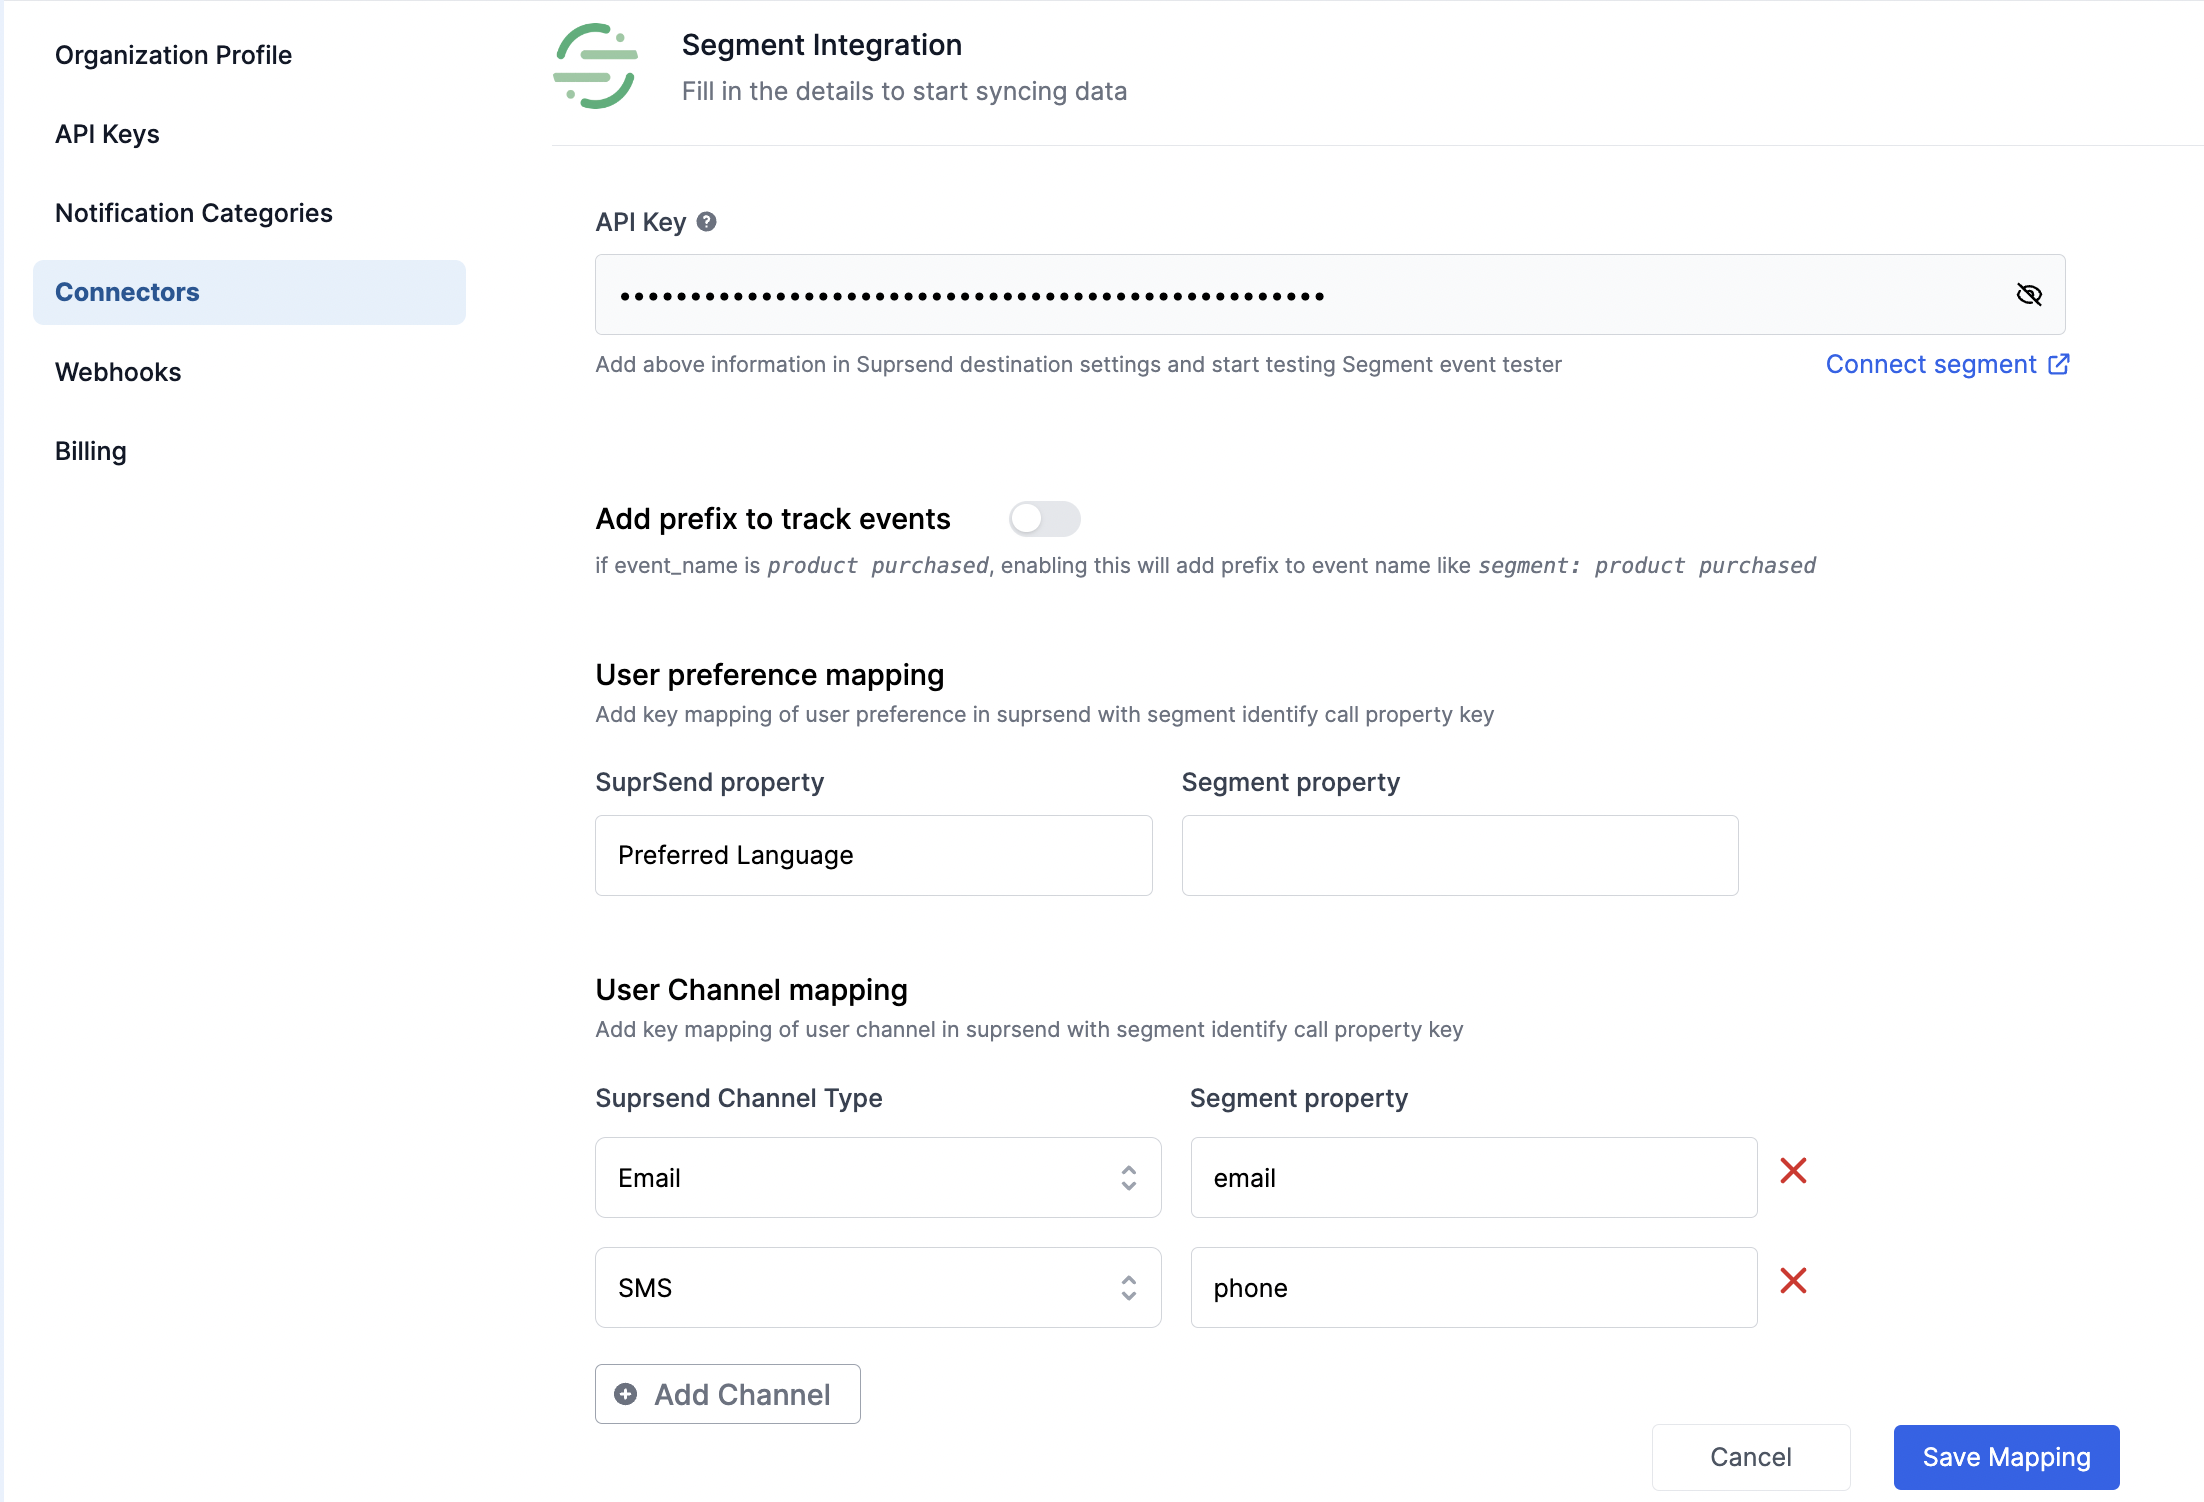
Before beginning the Segment integration, it is important to establish how Segment events and users will be mapped in SuprSend. The following form fields will assist in setting up the desired data mapping within SuprSend:
1. Add Prefix to track events
This option allows for distinguishing the events coming from multiple data sources such as SuprSend SDK and Segment, or any other connector. By enabling this feature, a prefix of segment : will be added to all event names coming from Segment. This is particularly useful for existing Segment and SuprSend users who are passing the same events from both SuprSend SDK and Segment. By default, SuprSend assumes that events coming from all sources are unique and does not add any prefix to the event name.
For example - if the segment track API call looks like this
{
  "type": "track",
  "event": "User Registered",
  "properties": {
    "plan": "Pro Annual",
    "accountType" : "Facebook"
  }
}
associated event JSON at SuprSend with add prefix enabled will look like this
event_name = "segment : User Registered"

properties = {
	"plan": "Pro Annual",
    "accountType" : "Facebook"
}
2. User preference mapping
There are certain reserved properties in SuprSend user profile, such as language preference. In order to map these reserved properties, you have to define the trait in Segment identify call whose value should be mapped to the reserved property.
For example. if you define language as the mapping key for Preferred Language in SuprSend. The value passed against language trait in Segment identify call will be mapped as user preferred language in SuprSend.
Example of Segment identify API call
{
  "type": "identify",
  "traits": {
    "name": "Peter Gibbons",
    "email": "[email protected]",
    "language": "hi",
    "plan": "premium",
    "logins": 5
  },
  "userId": "97980cfea0067"
}
associated user JSON at SuprSend will be.
- Segment
userIDis used to map thedistinct_idof user on SuprSend. - All properties inside
traitsare considered as user properties which can be further used to map user channels and preferences in SuprSend.
distinct_id = "97980cfea0067"

properties = {
  "name": "Peter Gibbons",
  "email": "[email protected]",
  "language": "hi",
  "plan": "premium",
  "logins": 5
}
and with language set as mapping key, hi will be set as the preferred_language in user profile

Key mapping in Segment Connector Settings
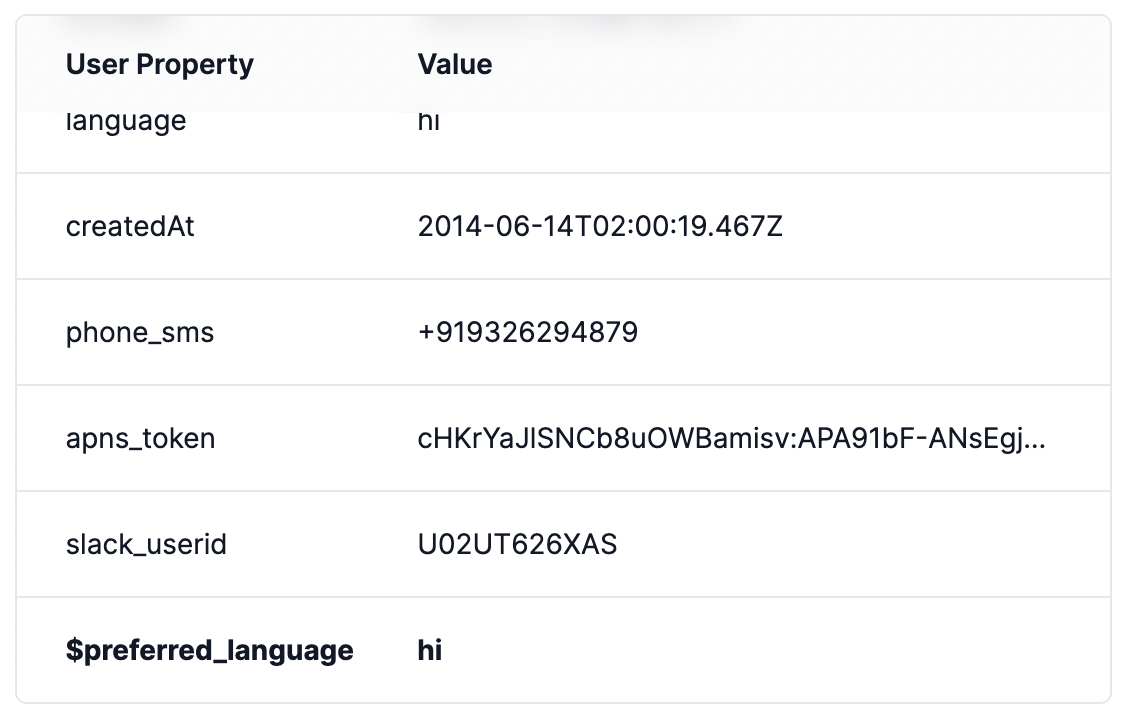
mapped value in user profile
Language is stored in ISO 639-1 standard language codes
Language is stored in ISO 639-1 standard language codes. So, if you pass any value in language which is not in this format, it will be ignored. You can refer to all the language codes here
3. User channel mapping
For existing segment users, you can use the same mapping that is used to track user channels in your segment identify call in SuprSend as well. Just map the channel keys in the Segment identify call with the corresponding communication channel in SuprSend interface.
By default, the email trait in the Segment identify call is mapped to the Email channel in SuprSend, and the phone trait is mapped to the SMS channel. You can add the mapping of other channels in the similar way
For new users setting up a fresh Segment integration, below table can be used as a reference for mapping user channels in both SuprSend and Segment:
| SuprSend User Channel | Segment key |
|---|---|
| SMS | phone |
| Slack (Email) | slackEmail |
| Slack (User ID) | slackUserID |
| Androidpush (FCM) | fcmAndroidpush |
| Androidpush (Xiaomi) | xiaomiAndroidpush |
| iospush (APNS) | apnsIospush |
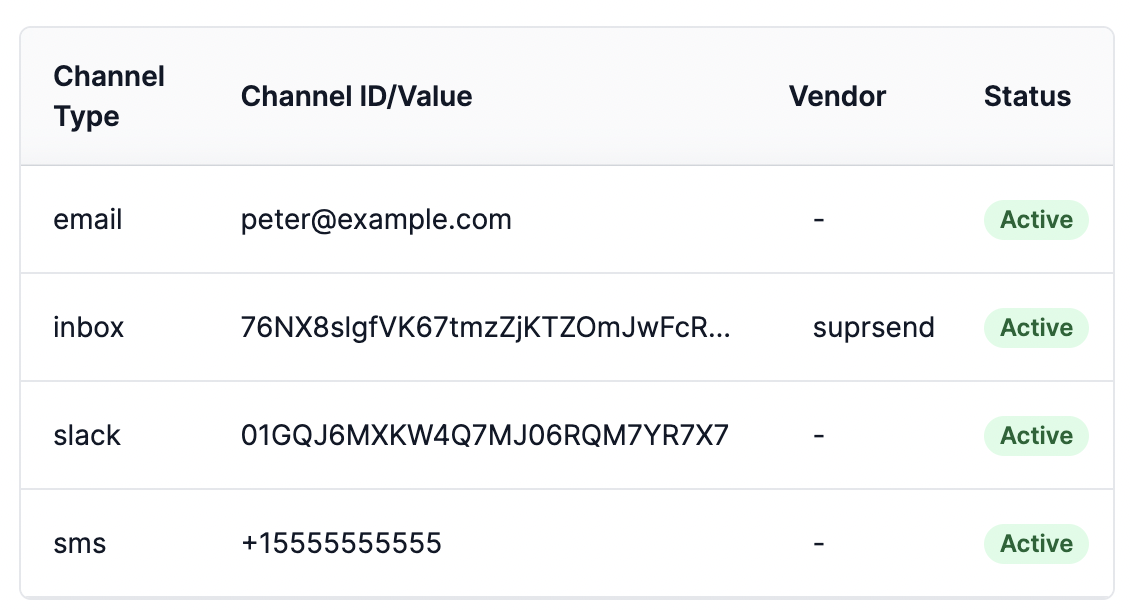
Example of Segment identify API call
{
  "type": "identify",
  "traits": {
    "name": "Peter Gibbons",
    "email": "[email protected]",
    "phone":"+15555555555",
    "slack_email":"[email protected]",
    "language": "hi",
    "plan": "premium",
    "logins": 5
  },
  "userId": "97980cfea0067"
}
with below User Channel mapping
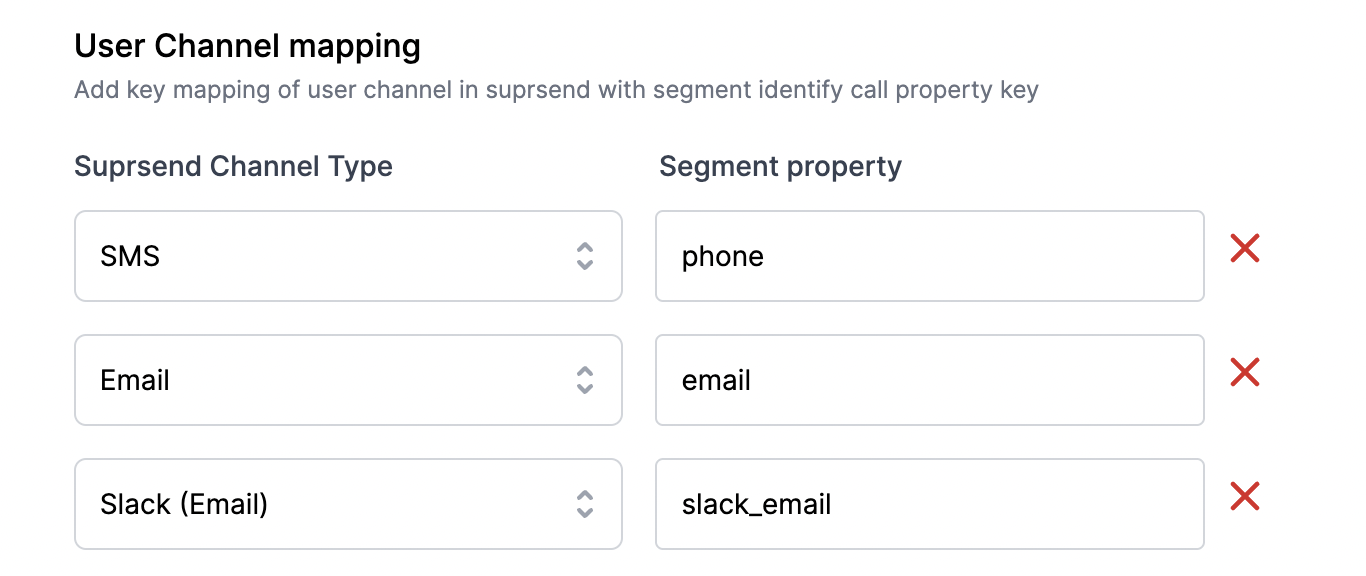
Communication channels in user profile will look like this
Click on "Save Mapping" to save the changes
Changes in mapping keys will be applied to future syncs
It's important to note that any changes made to channel or preference mapping will only be applied to future user syncs. If the mapping is changed, you'll have to replay all past user syncs in order to update the data in the user profile for existing users.
Also, we don't override channel information. So, if a user's email or any other channel value is changed in user profile, it will be appended to the user channel list and notification will be sent on both old and new email. This is to ensure that no communication is lost during the change and users can continue to receive notifications on their preferred channels.
Now that the desired mapping of Segment events and users in SuprSend has been established, the next step is to start Segment integration.
Segment Integration
You'll have to configure SuprSend as a destination in Segment.
Use webhooks destination to connect with SuprSend
Since, we are in beta and we don't have a first-party integration with Segment yet, you can use webhooks in Segment destination list to connect with SuprSend.
Follow below steps to configure SuprSend Destination in Segment:
- Login to your Segment account. Select Connections -> Destinations from the side navigation menu and click on "Add Destination"

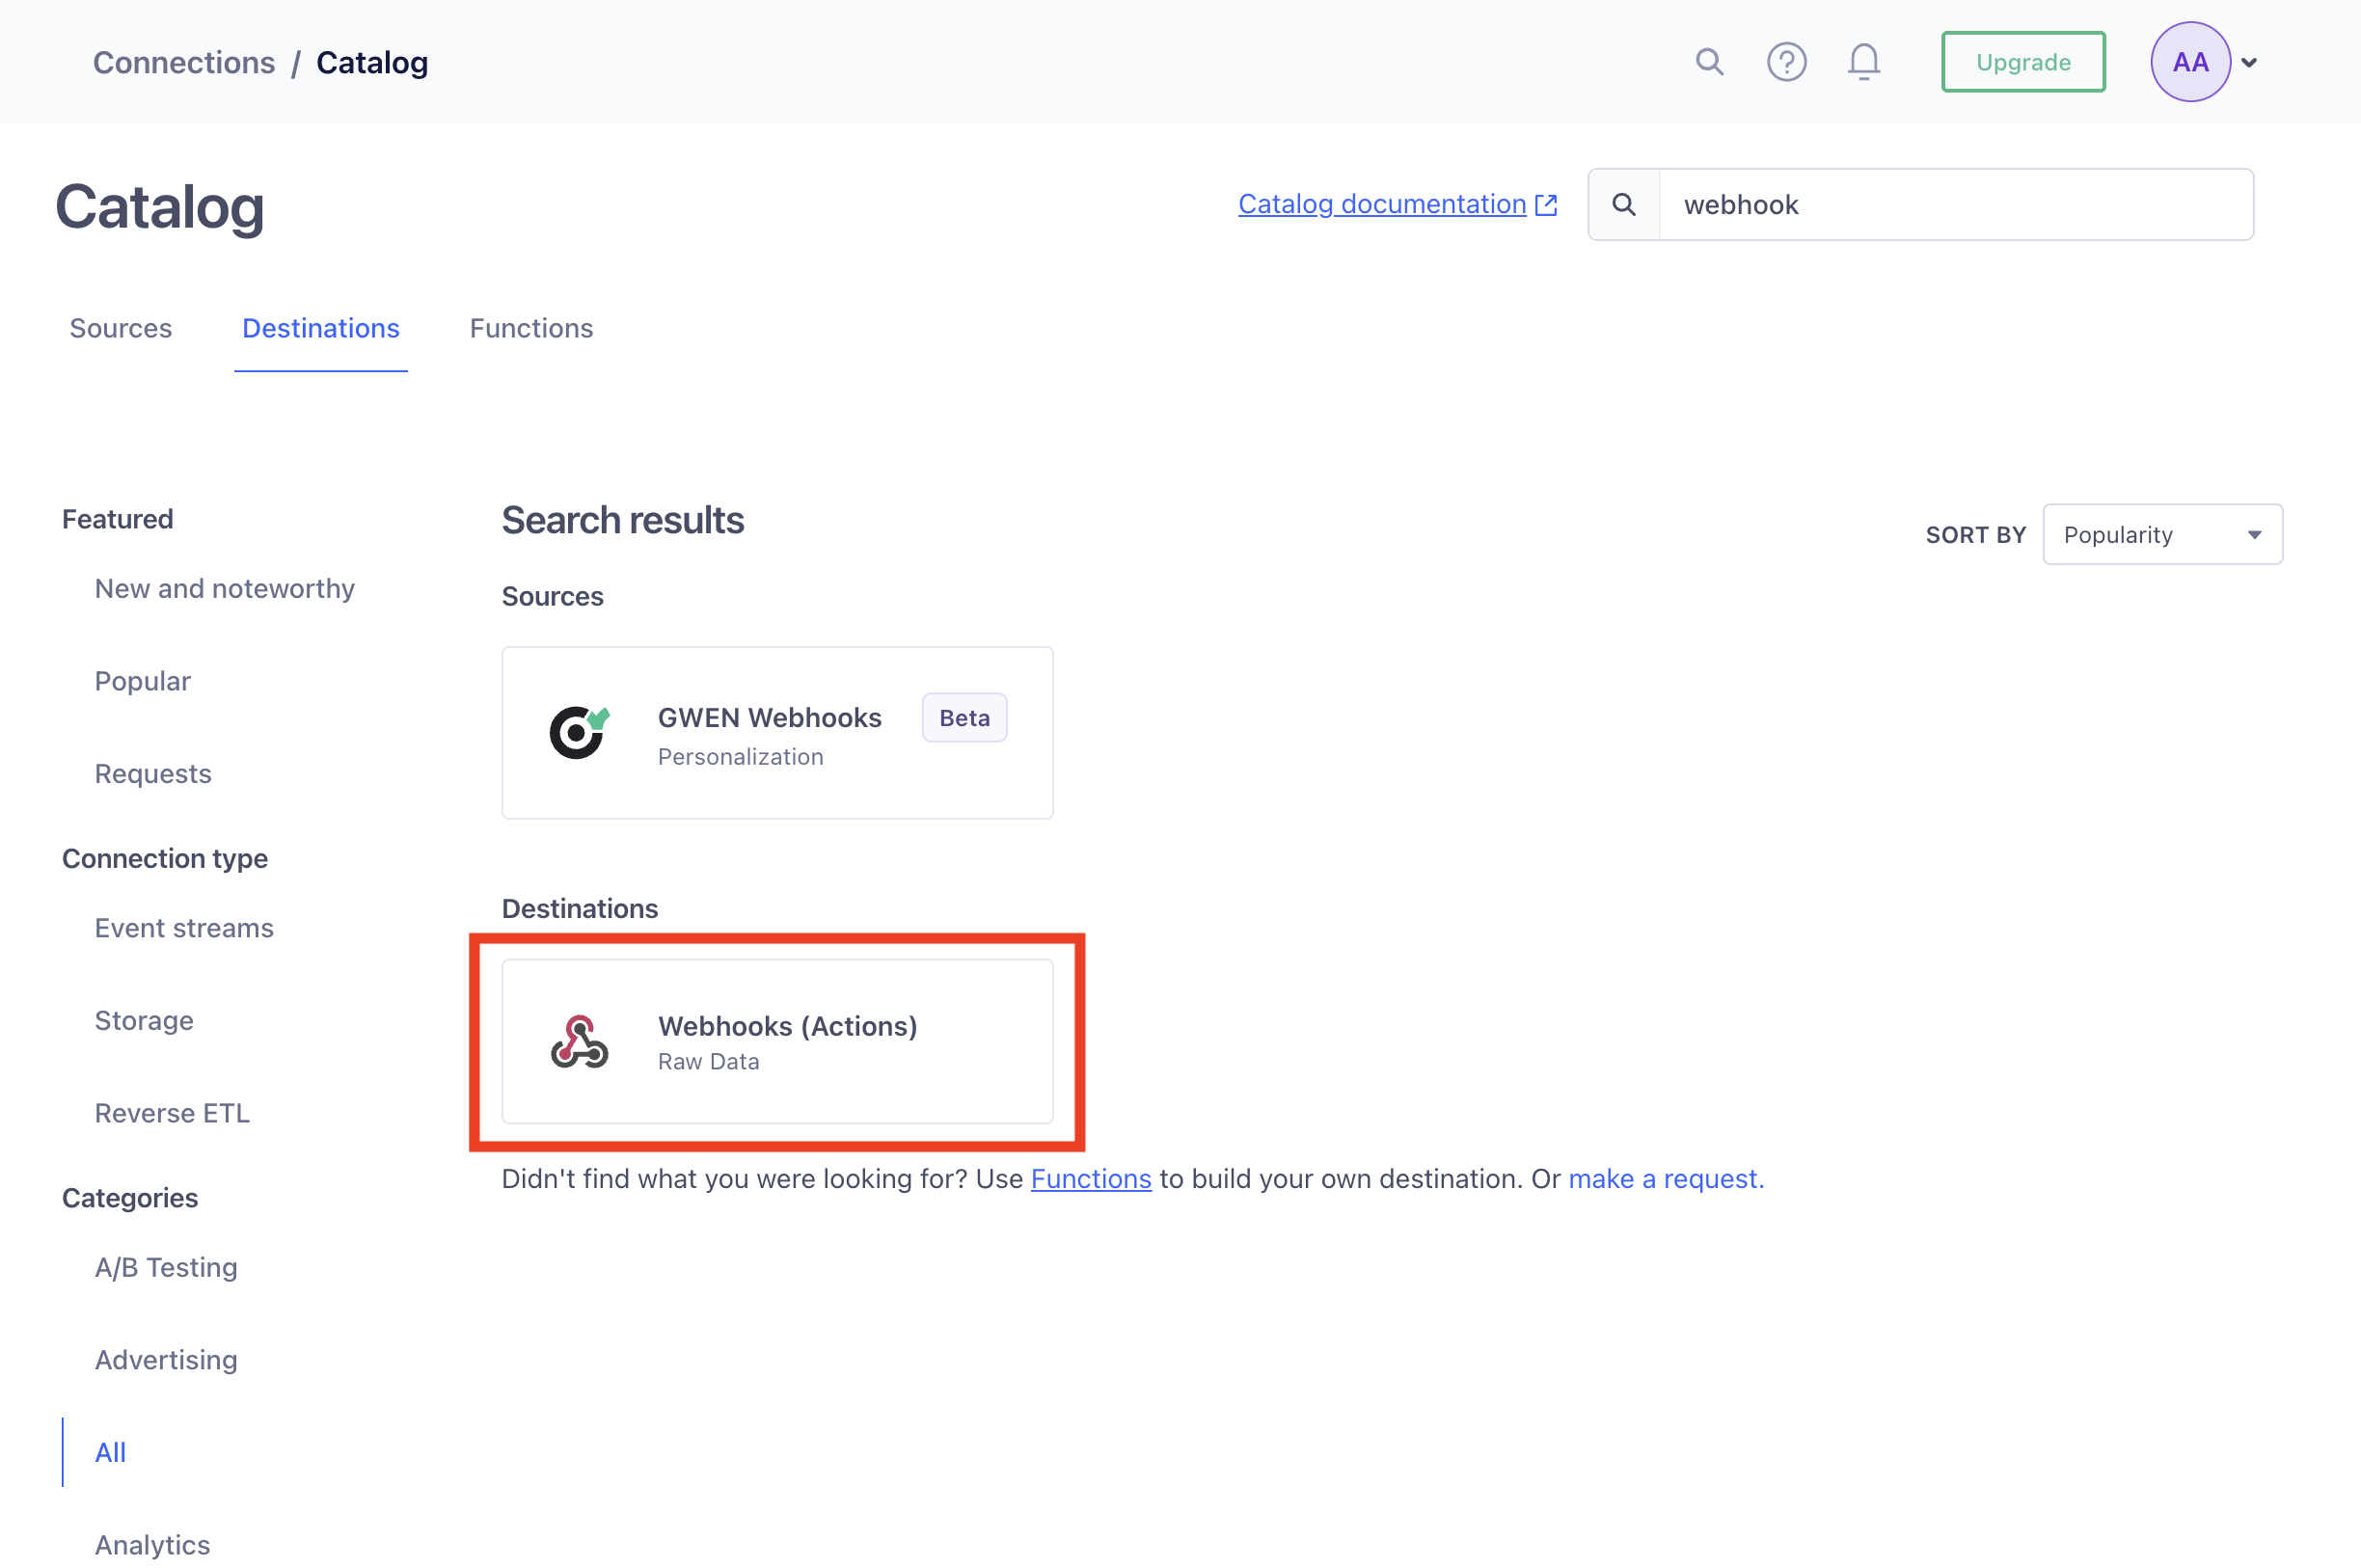
- This will open destinations catalog. Search for webhook and select "Webhooks (Actions)"
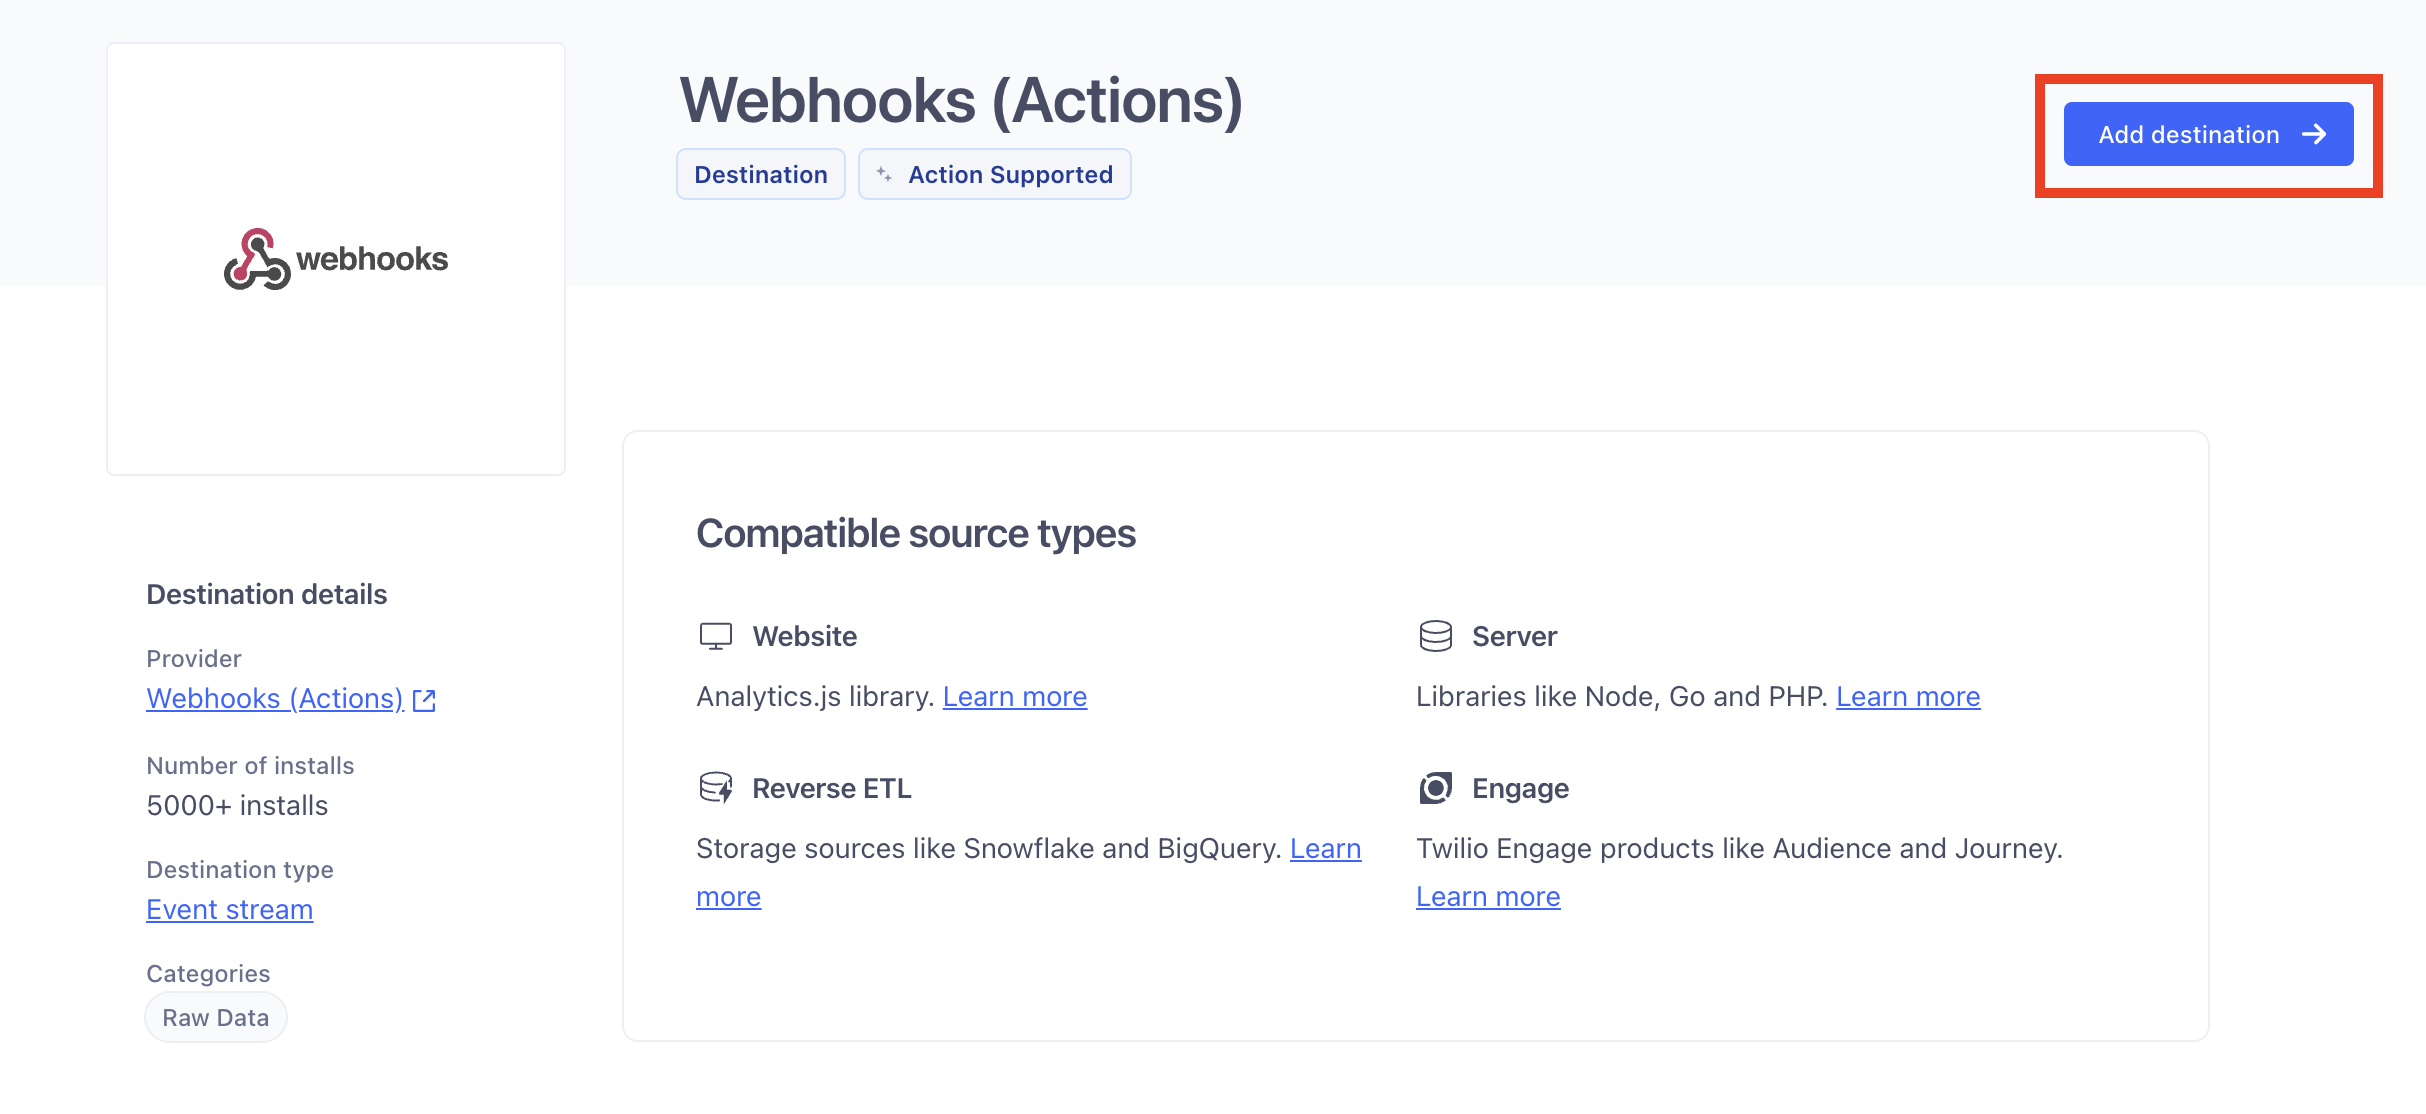
- On the Webhooks page, click on "Add destination"
- Select the data source from which you are syncing your user and event data and click on "Next"
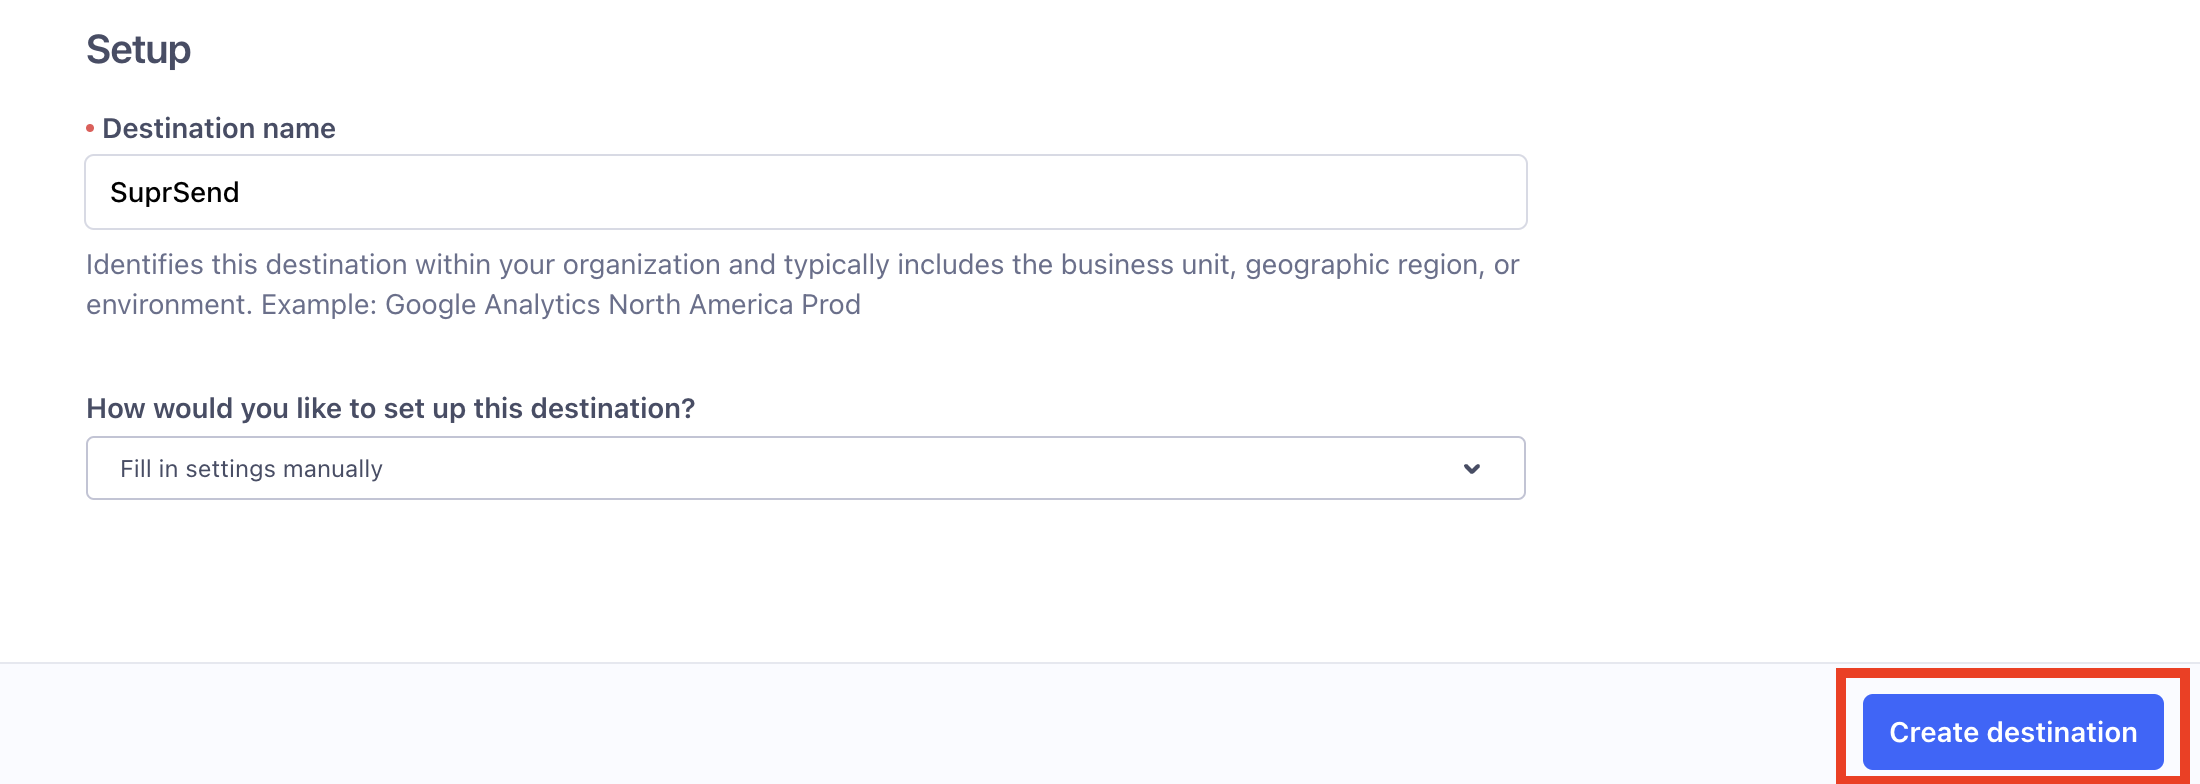
- On the setup screen, add Destination name. Destination name can be "SuprSend {workspace}". For example - For staging workspace, the destination name can be "SuprSend Staging". Choose "Fill in settings manually" and click on "Create destination".
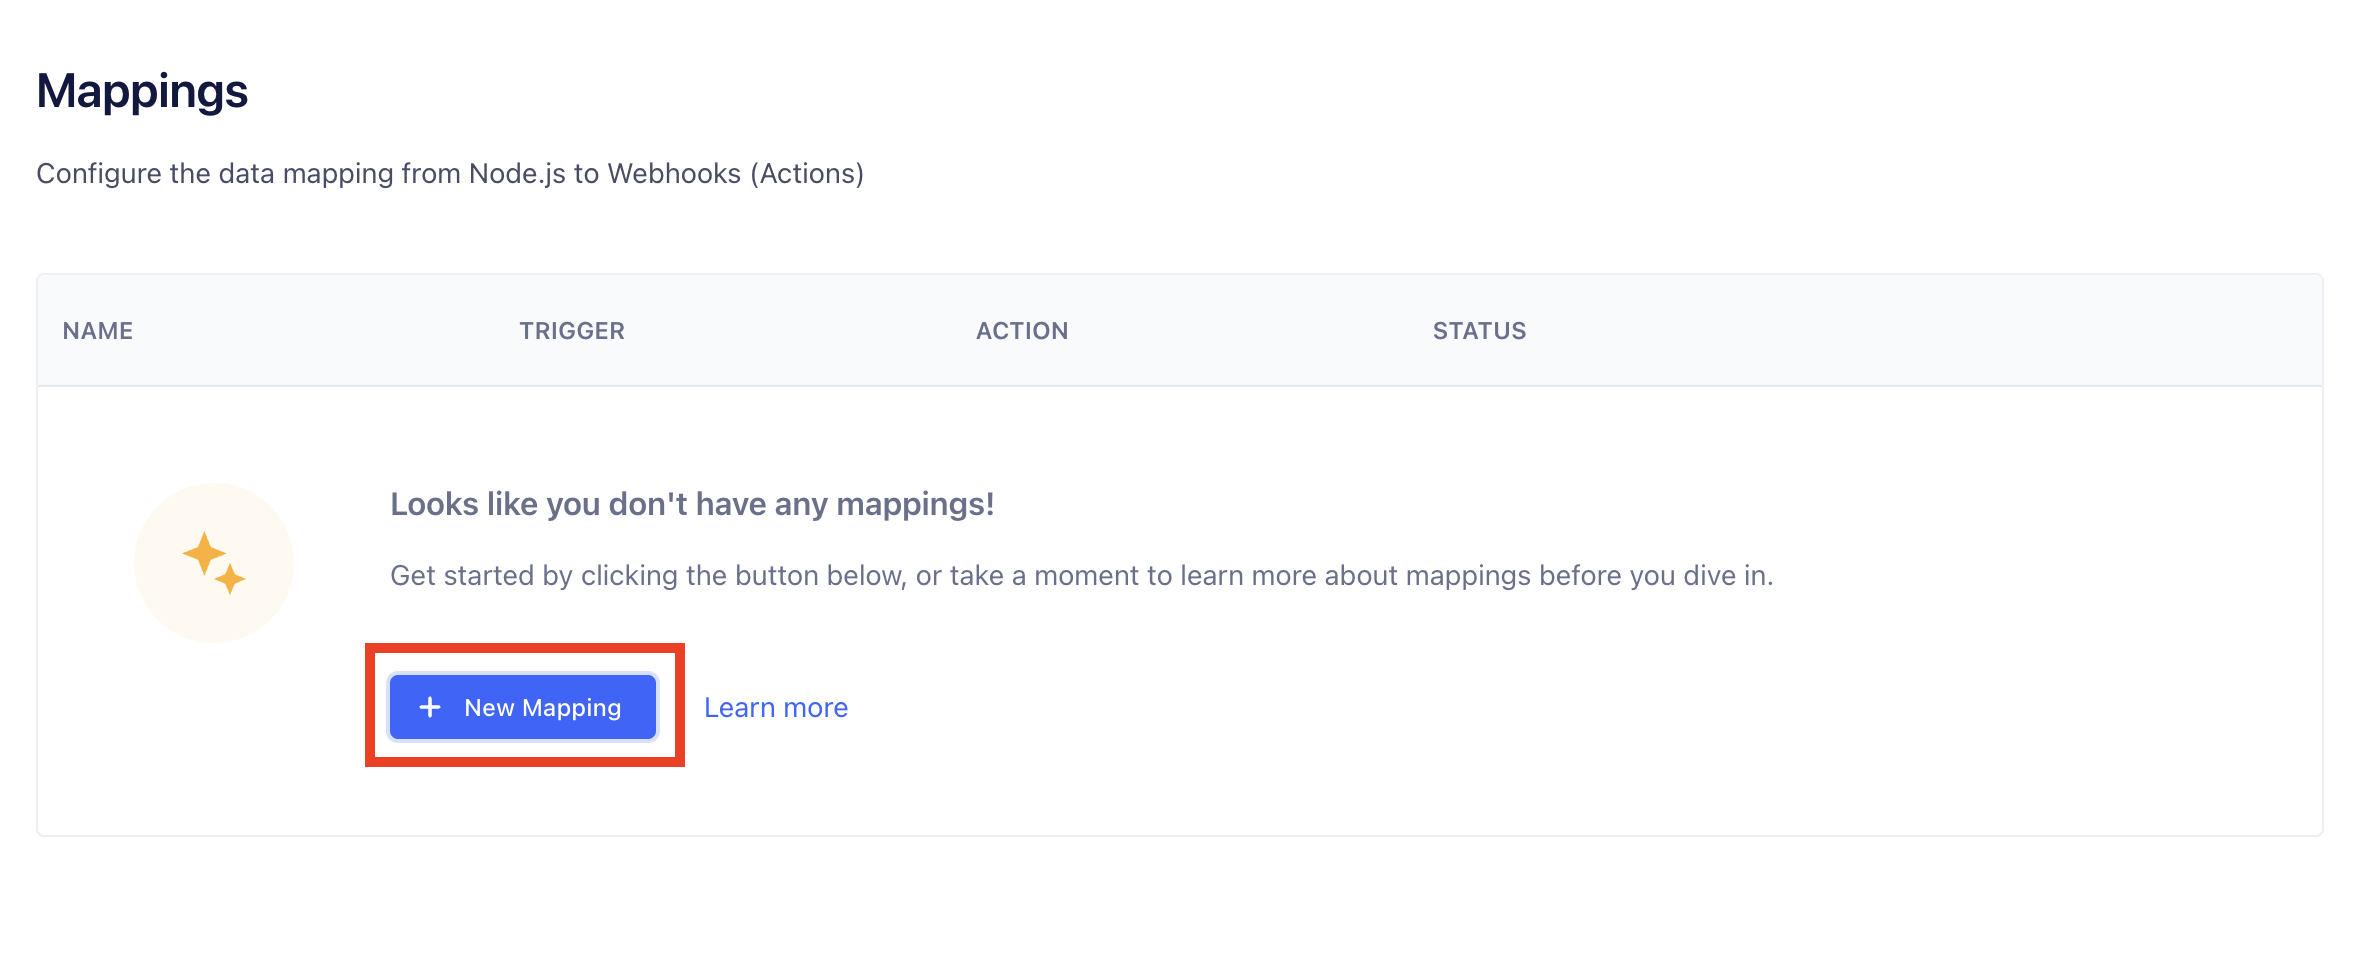
- Now, on your webhook destination page, go to Mappings tab and create a +New Mapping.
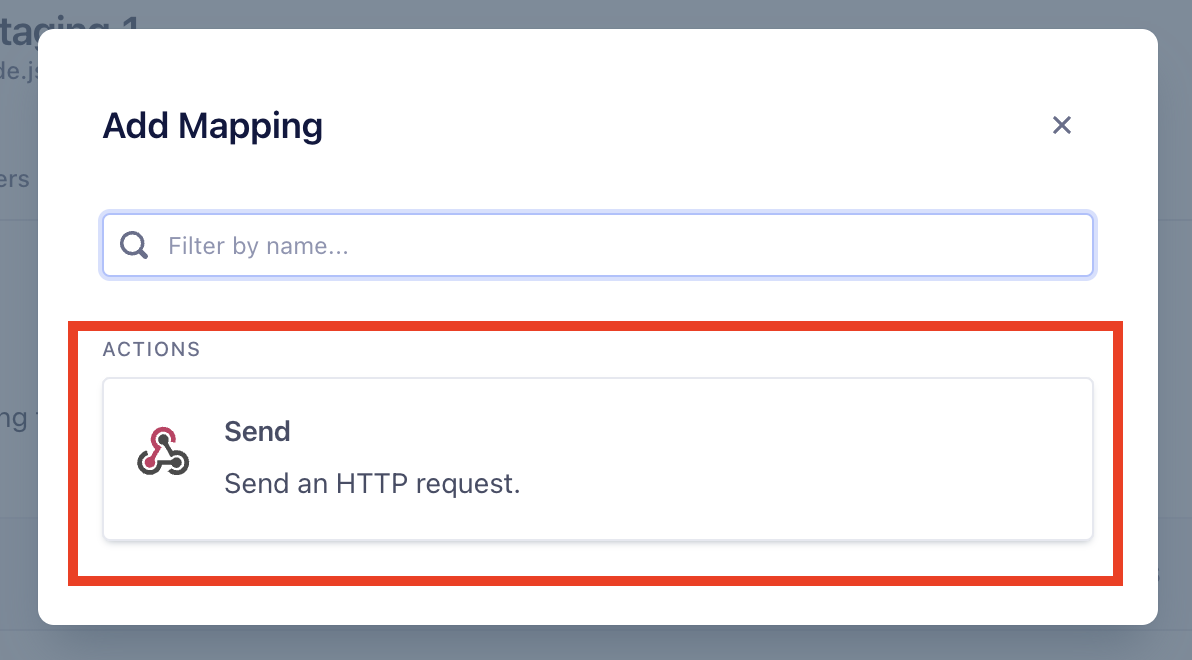
- Select Send an HTTP request in Add Mapping modal and add below details
- Add below mapping in the send request:
- Select any of event type - track and identify

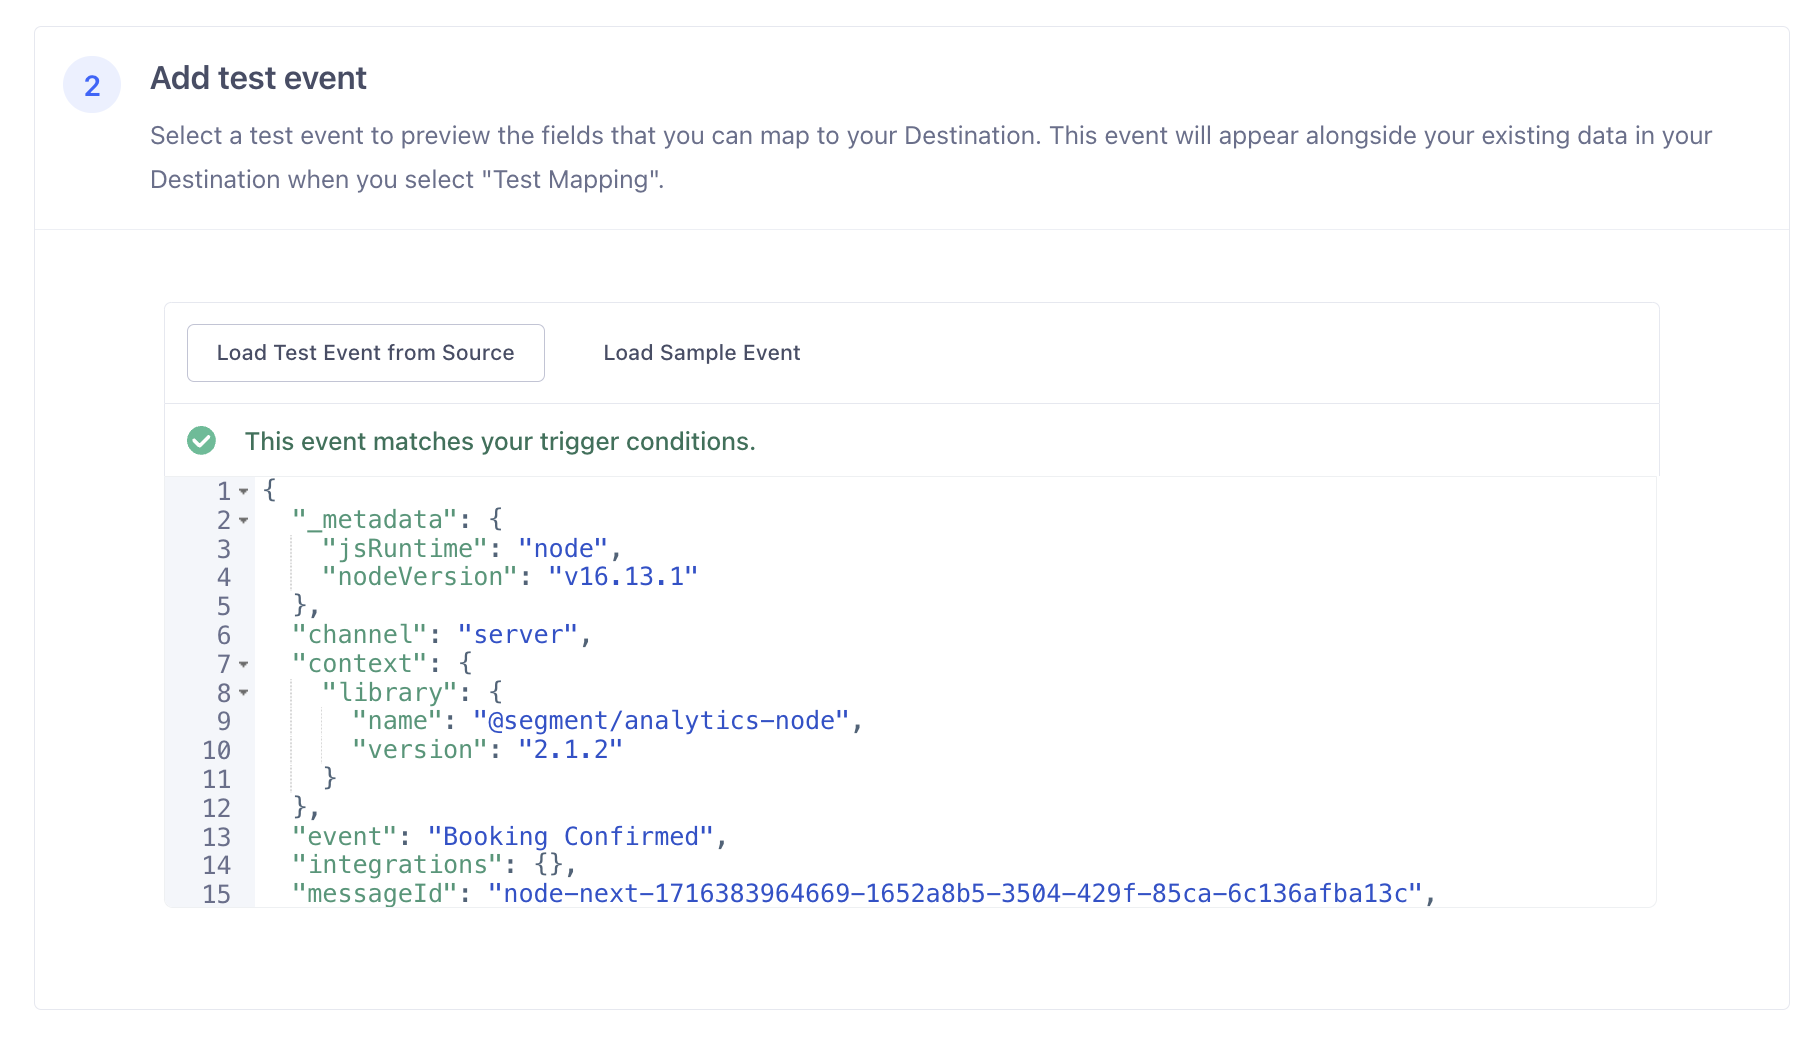
- In Add test event, select Load Test Event from Source
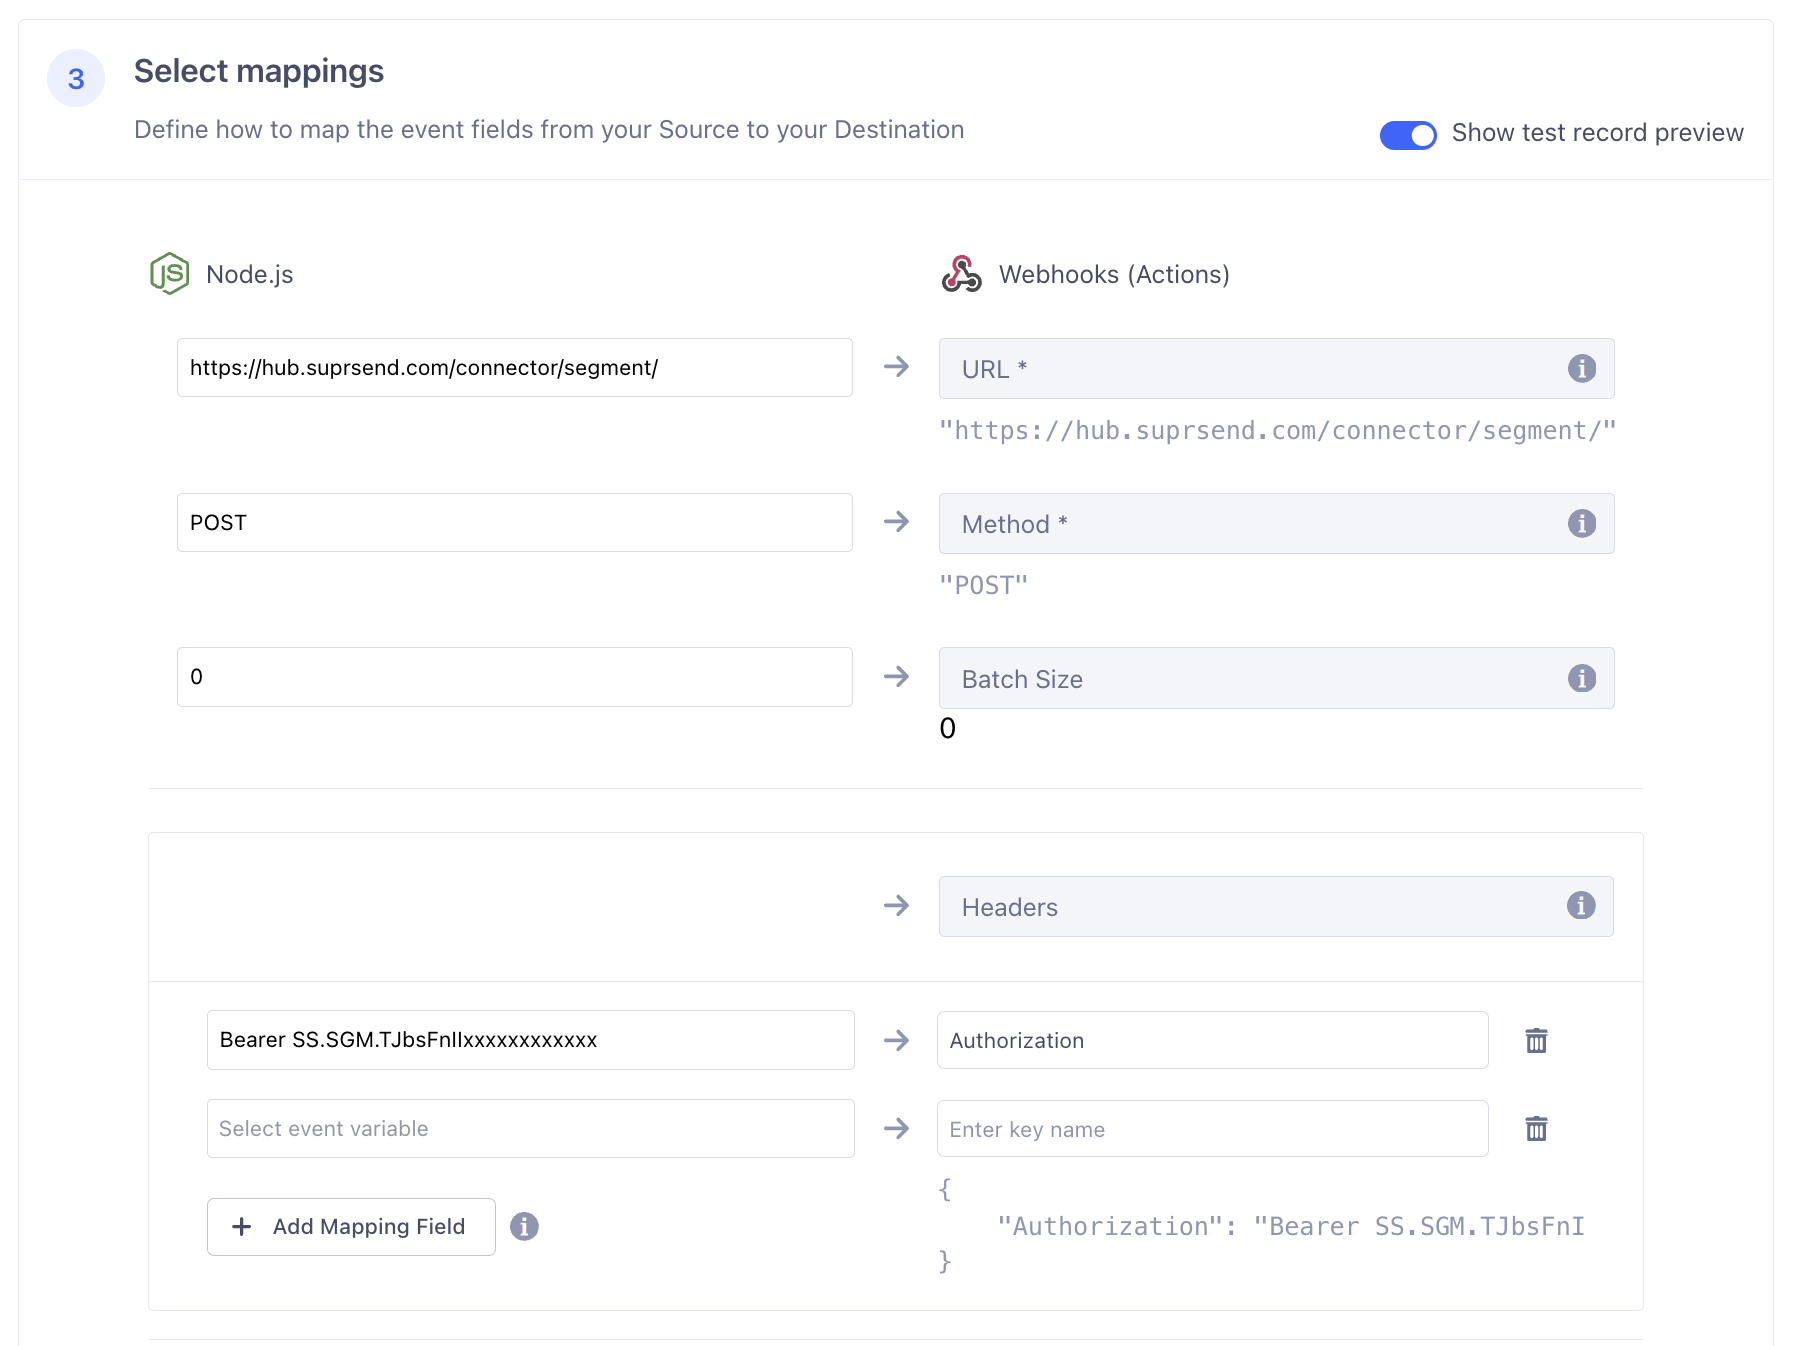
- In Select Mappings, add below details:
https://hub.suprsend.com/connector/segment/-> URLPOST-> MethodBearer _api_key_->Authorizationin headers. Please make sure to replace "api_key" with actual api key from segment connector settings page.
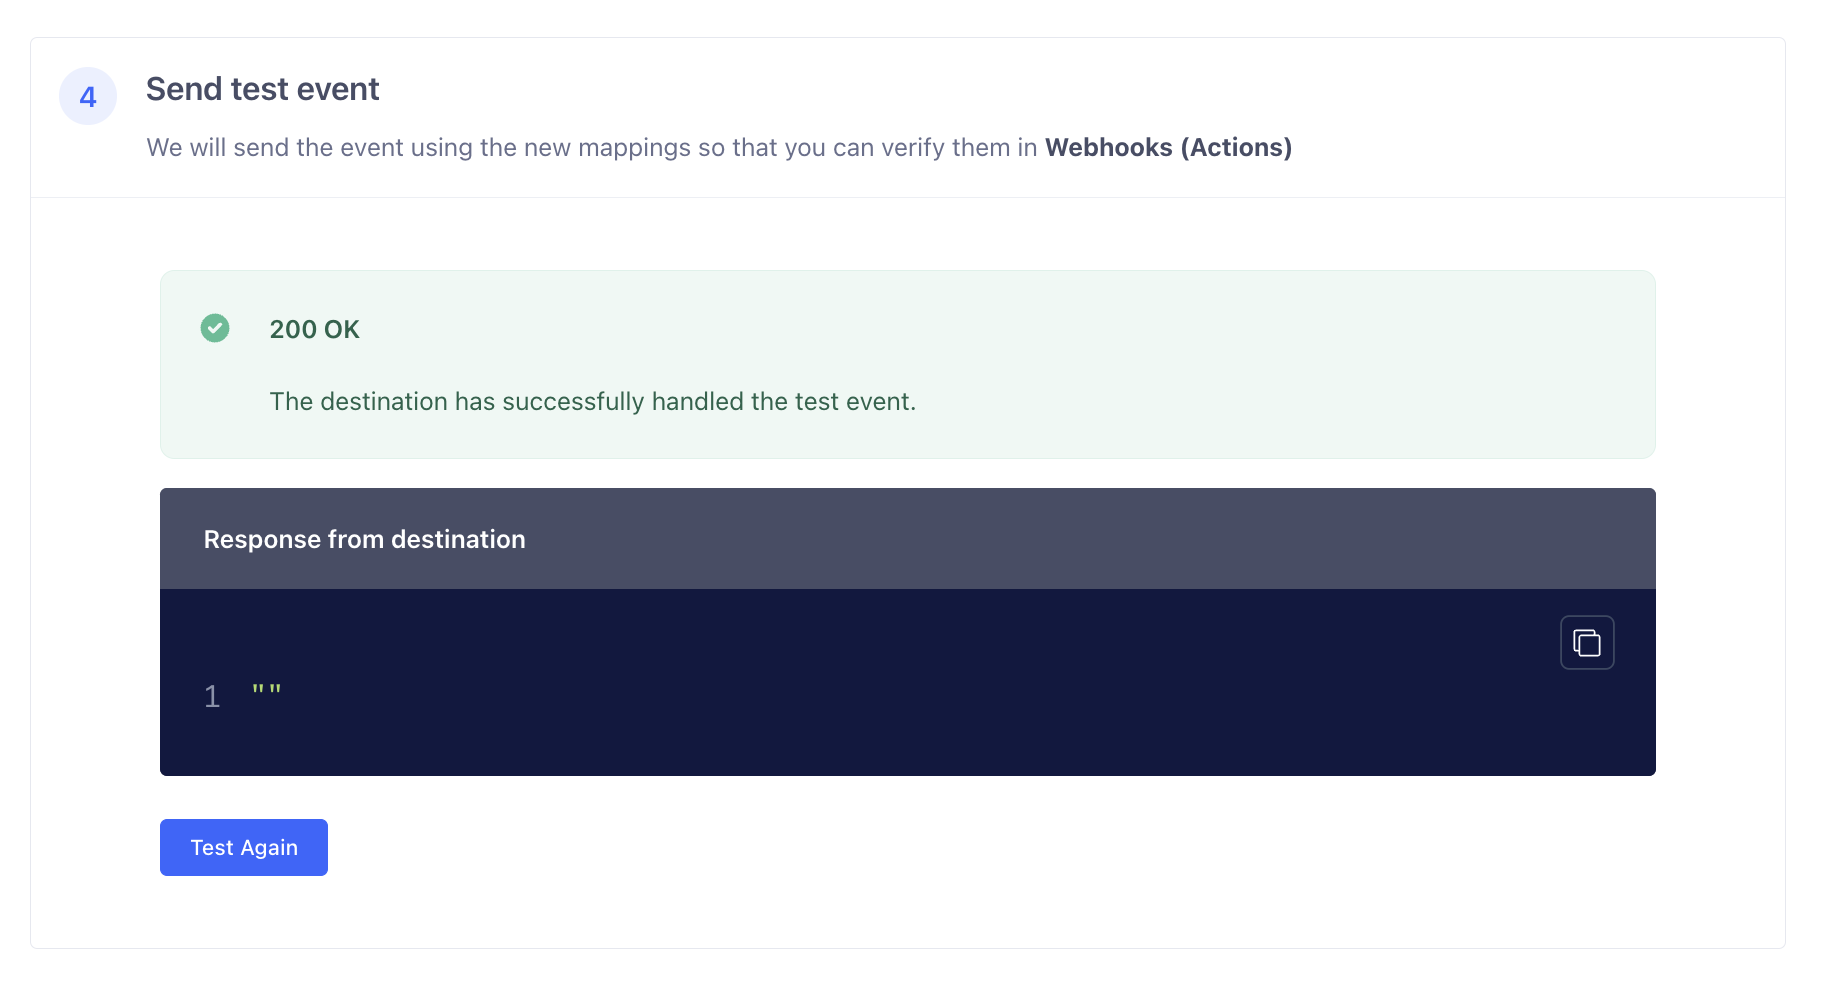
- Now, send a test event of type
trackoridentify. You'll see status200 OKresponse and the corresponding event on SuprSend dashboard -> API logs page.
Troubleshooting
If you don't get
200 OKresponse in event tester, this means that Segment was unable to successfully setup your SuprSend connection. Double check Webhook URL and header in step-7 and see if its configured correctly in the Destination settings.
Once your SuprSend connection is successful, try sending a test identify call and see if the user channels are mapped correctly in SuprSend. You can see the synced user on SuprSend dashboard -> Subscribers page. Also, send a test track event call and check if the workflows are getting triggered.
- After successful testing, Save and Enable the mapping.

- Also enable destination in Settings tab to start sending webhook data to SuprSend.

Your setup is now complete, enabling events and users data to flow from Segment to SuprSend. You can use this info to automatically power SuprSend workflows without making any changes in your codebase.
Updated 11 months ago
After receiving the event, SuprSend will look out for all the workflows linked to that event on Suprsend dashboard and trigger those workflows. If not created, you can create a new workflow from here.
