Pre-Requisites
You’ll need a AWS account to complete this tutorial. You can use your existing AWS account to integrate, or Create an AWS accountAmazon SNS integration on SuprSend account
Follow below steps to integrate your Amazon SNS account with SuprSendStep-1 : Create AWS IAM User
To send email through SNS, you need an IAM user (Access-Key-ID and Secret-Access-Key) with necessary permission. To create an IAM user, refer to this documentation- Create an IAM user (with Programmatic access).
-
Attach Policy
AmazonSNSFullAccessto this user. -
Copy and save the
Access-key-IDandSecret-Access-Keysecurely. You’ll need to add this information on SuprSend vendor integration page
ap-south-1 for all illustrative purposes.
Step-2 : Add phone number in your SNS account
Before moving into configuration steps, here are a few other things to keep in mind:- SNS Sandbox Mode:If you are creating a new SNS account. Your account will be in SNS sandbox. AWS adds all new accounts in the SNS sandbox by default. In sandbox mode, you’ll be able to send messages to only verified destination phone numbers. Once you’re done testing, you can move out of the SNS sandbox. Refer next section for the steps to configure SNS sandbox and how to move your account out of it.
- Delivery Tracking. We cannot currently track delivery for SMS sent through AWS SNS. This means that messages sent through SNS will always show on triggered state in logs.
1
Provision phone numbers on SNS dashboard
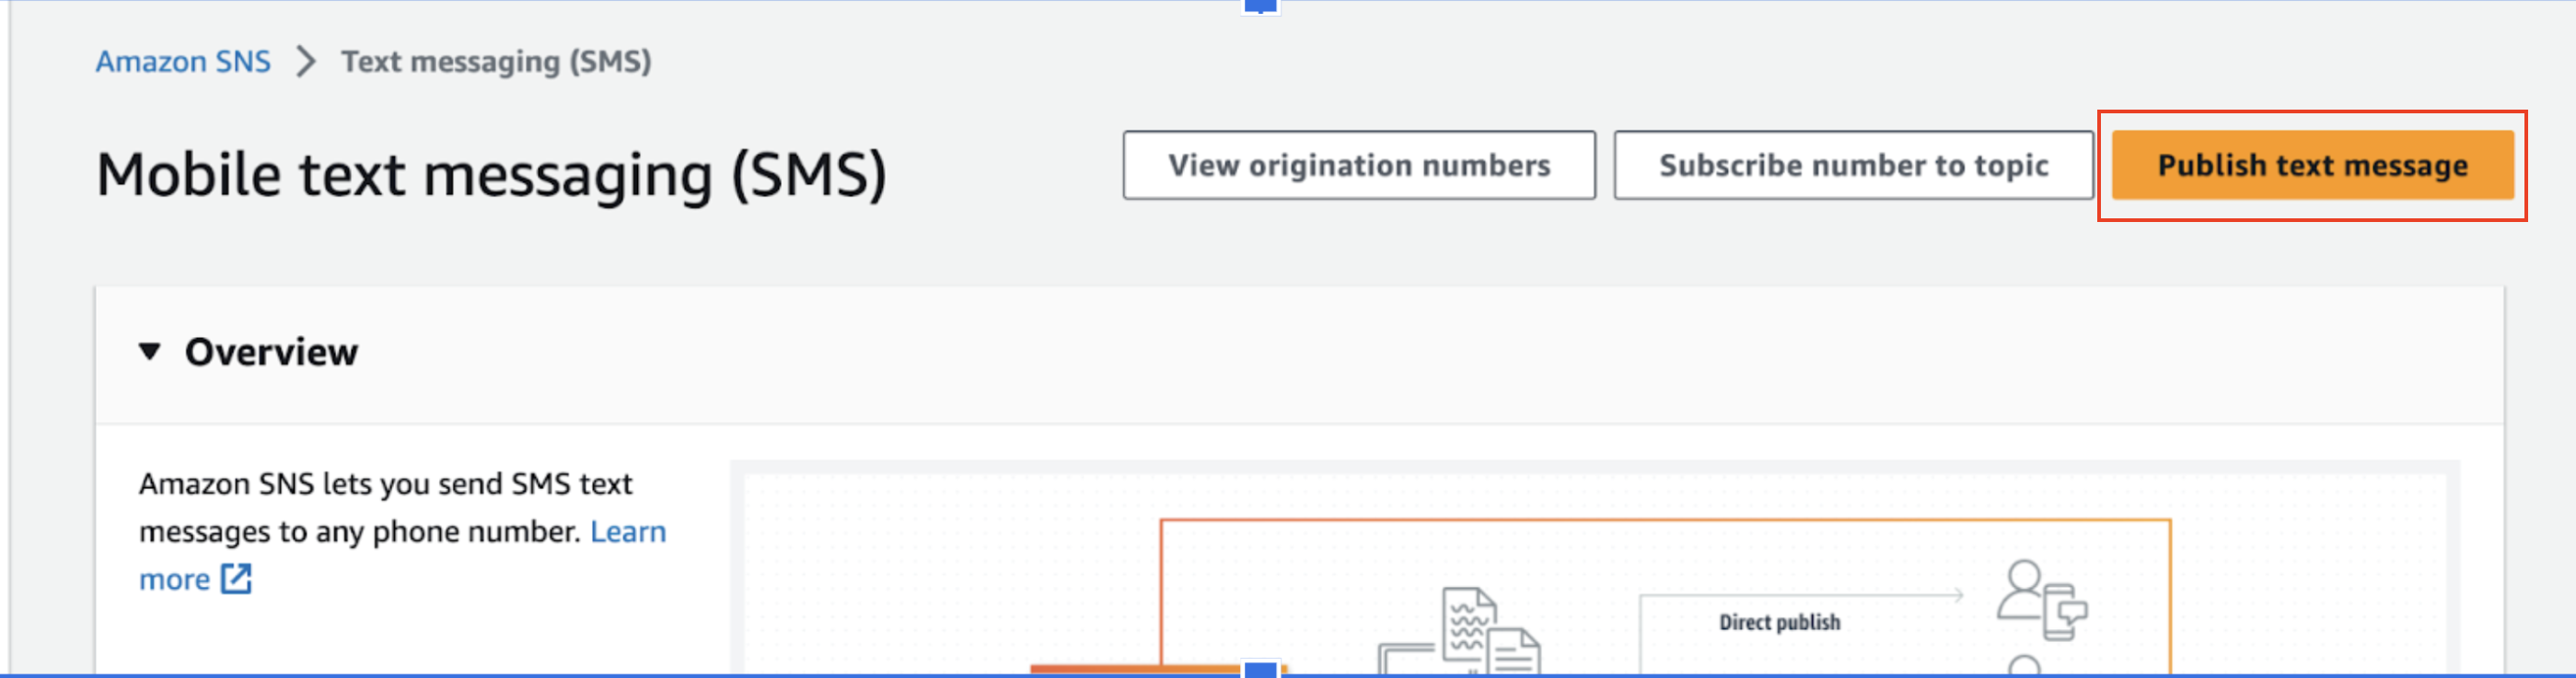
Go to AWS SNS console -> Mobile -> Text Messaging (SMS). Select origination numbers either from top right or from left side menu and Click on “Provision number in Pinpoint”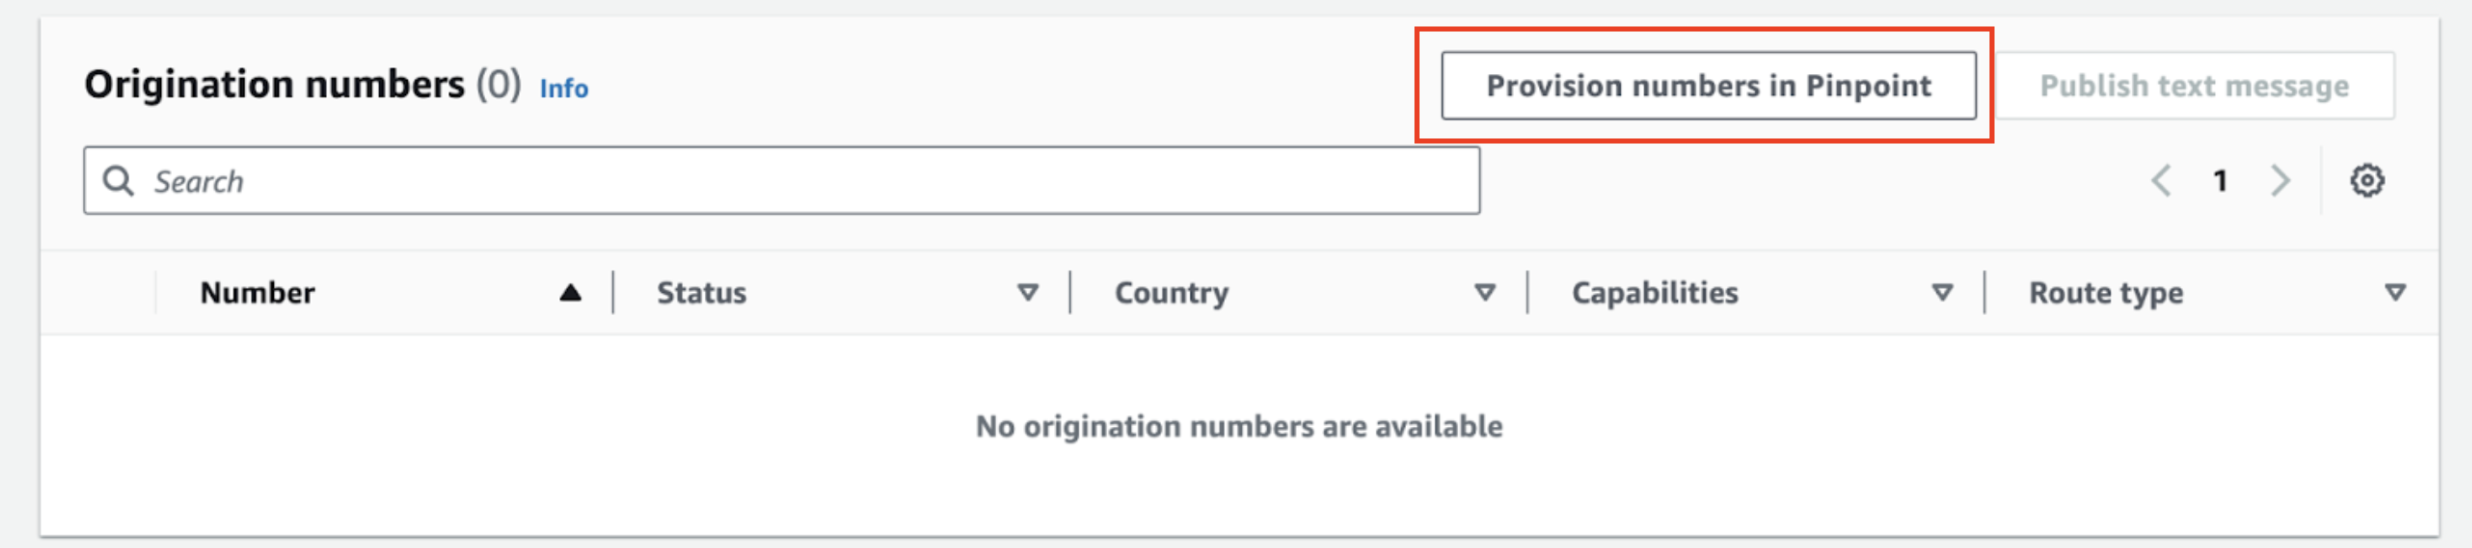
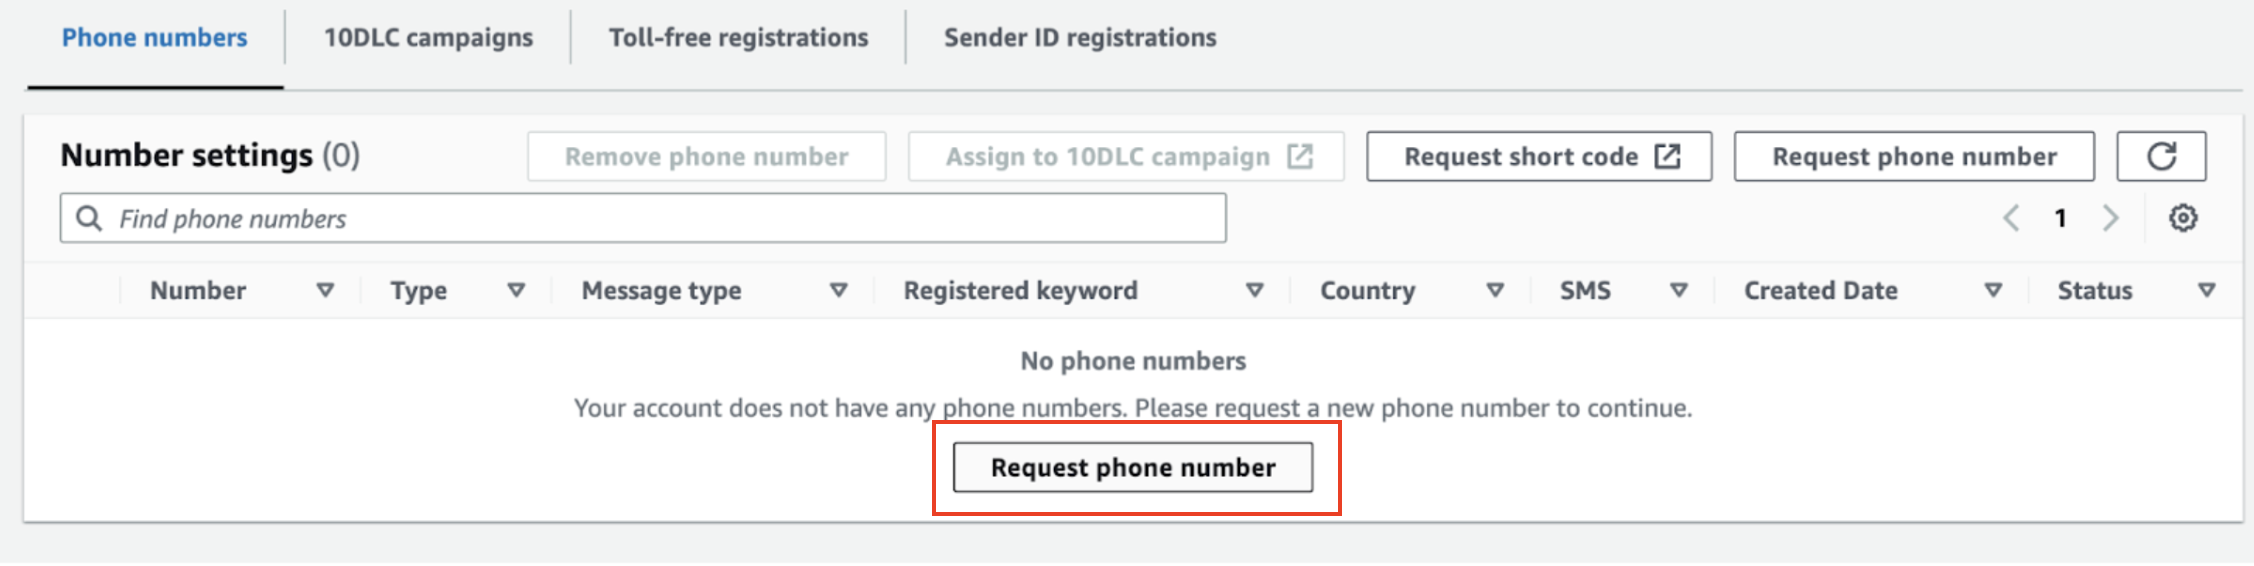
Phone Number Registration required for USA numbers:If you’re provisioning numbers from USA, you need to complete your phone number registration to send messages successfully across the USA. Read more about phone number registration here
2
Testing in Sandbox mode
By default, your account will be in sandbox mode where you’ll only be able to send messages to added destination numbers. Add few phone numbers here to test out the integration.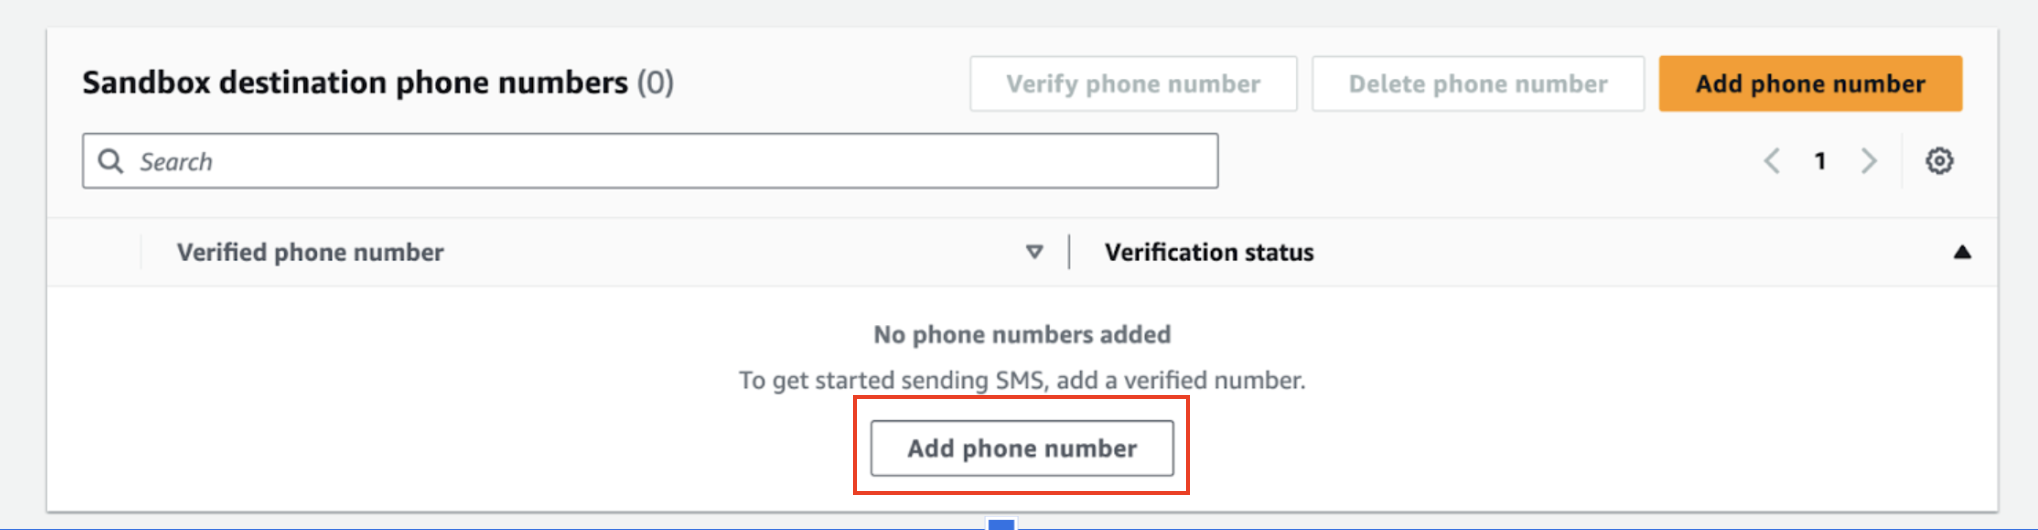

- Click on
Exit SMS Sandboxfrom console.
- A prompt will open to raise an AWS support case to exit sandbox and increase spending limits.
- Add relevant information and in the new limit add 100 USD (recommended) or higher if needed.
3
Setup tracking inside AWS dasboard
Remember that this setup is just to see the delivery reports within AWS dashboard. It doesn’t enable delivery tracking in SuprSend logs.Follow below steps to setup tracking: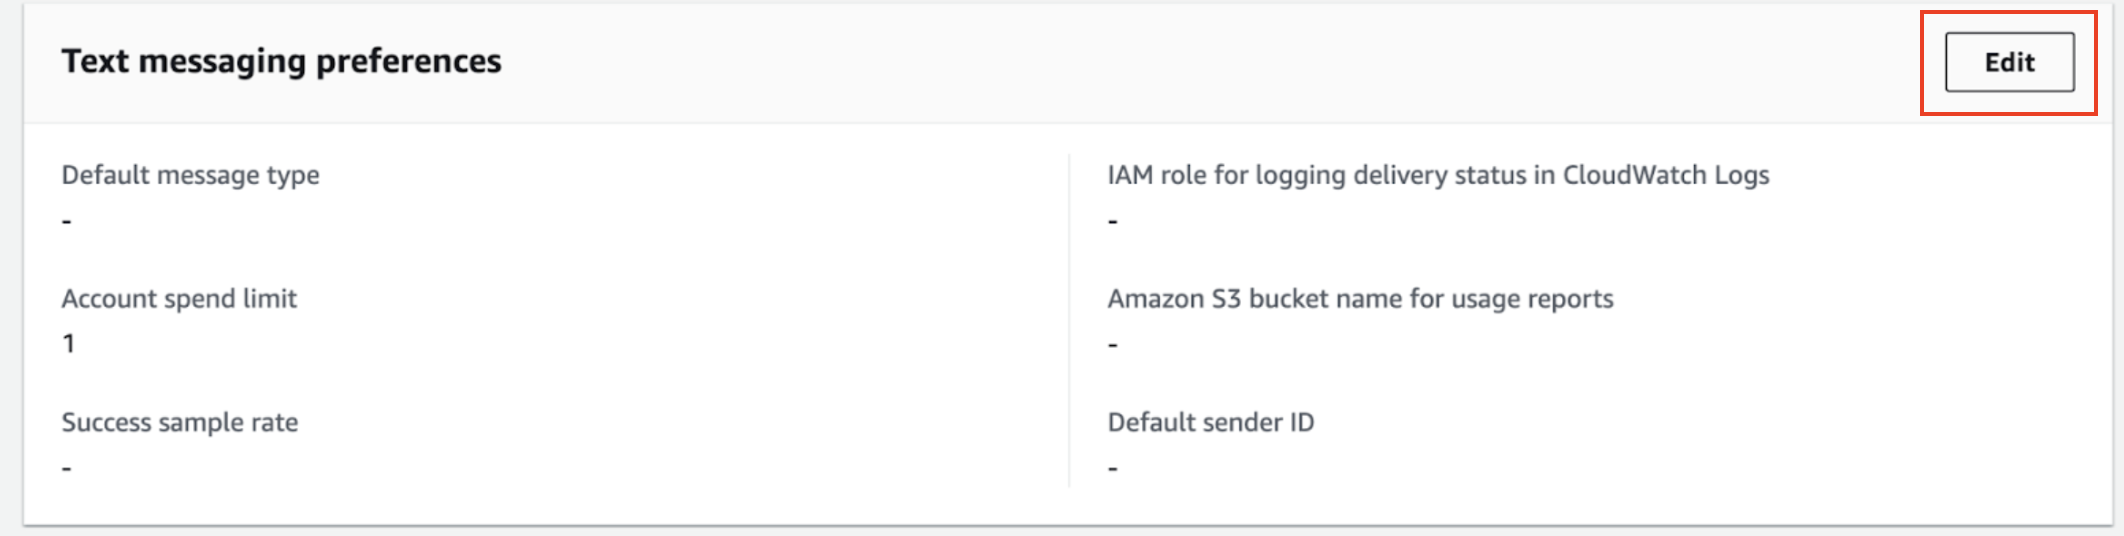
- Go to Text Messaging Preferences in SNS console and click edit.
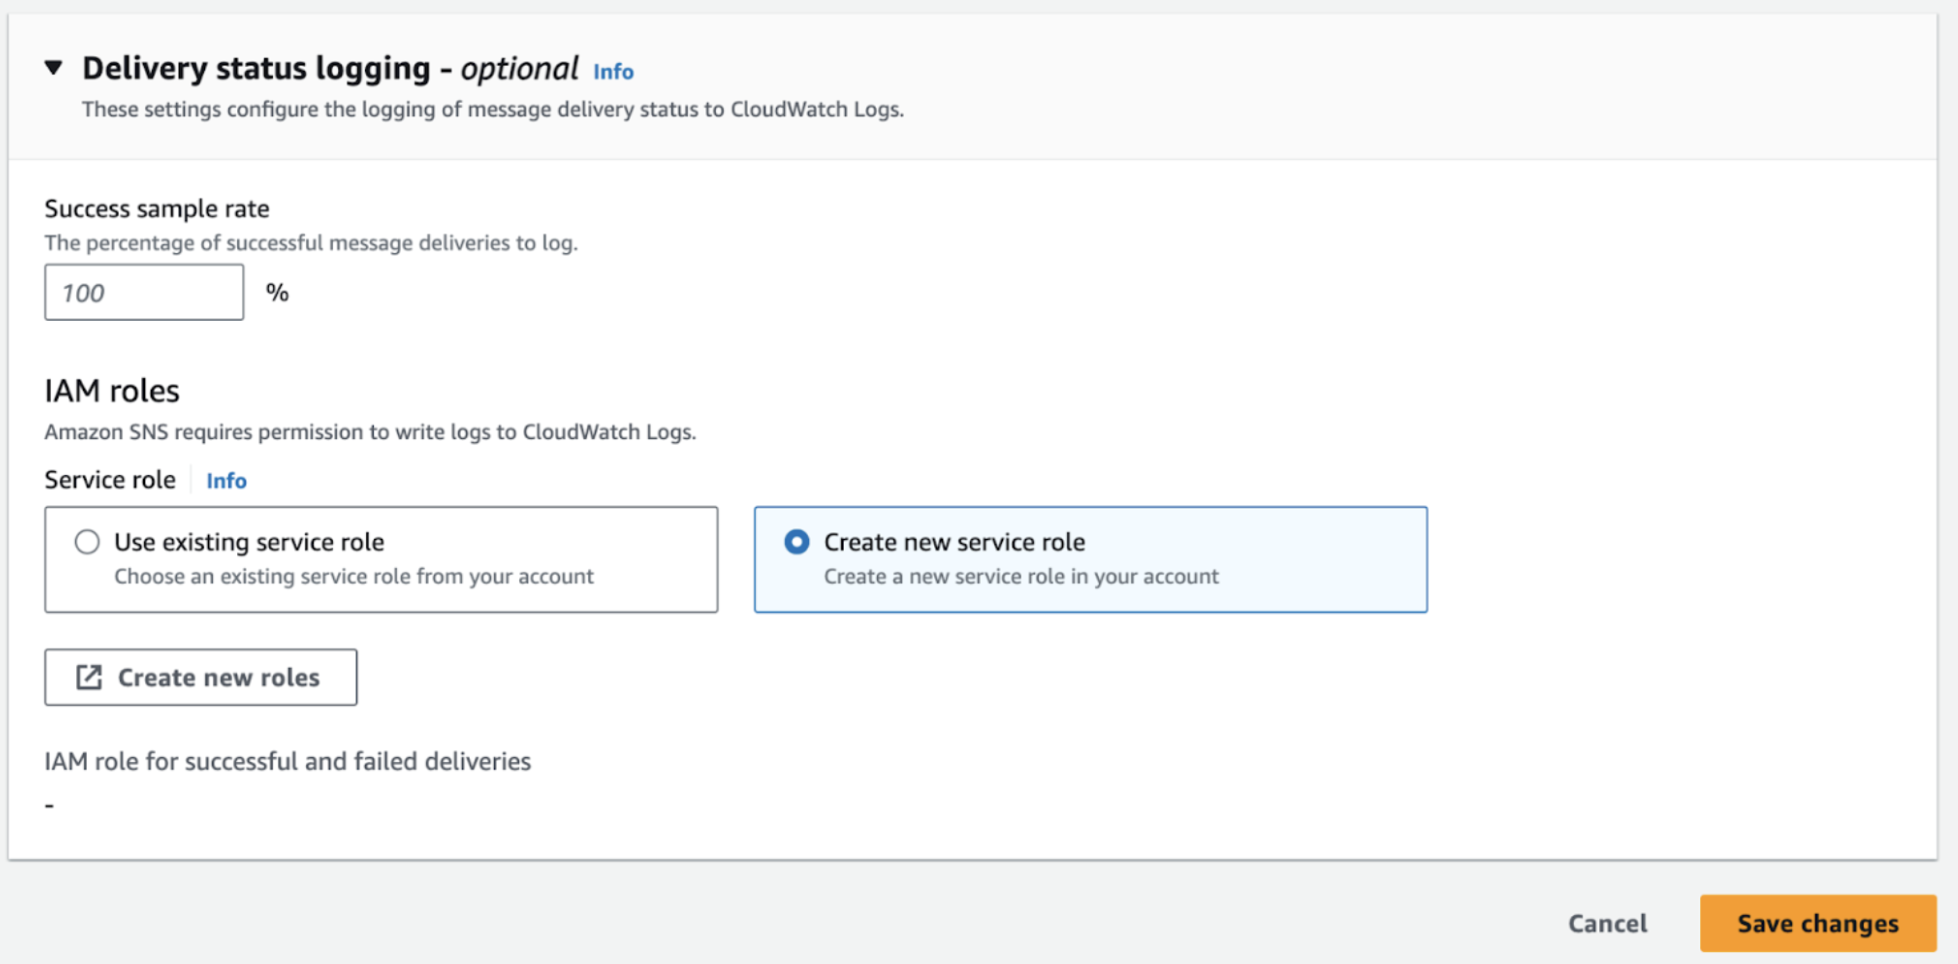
- Add relevant configuration and expand Delivery status logging.
- Create a new IAM role on this screen. It will ask for permission to send delivery logs to cloudwatch, allow that and save changes.
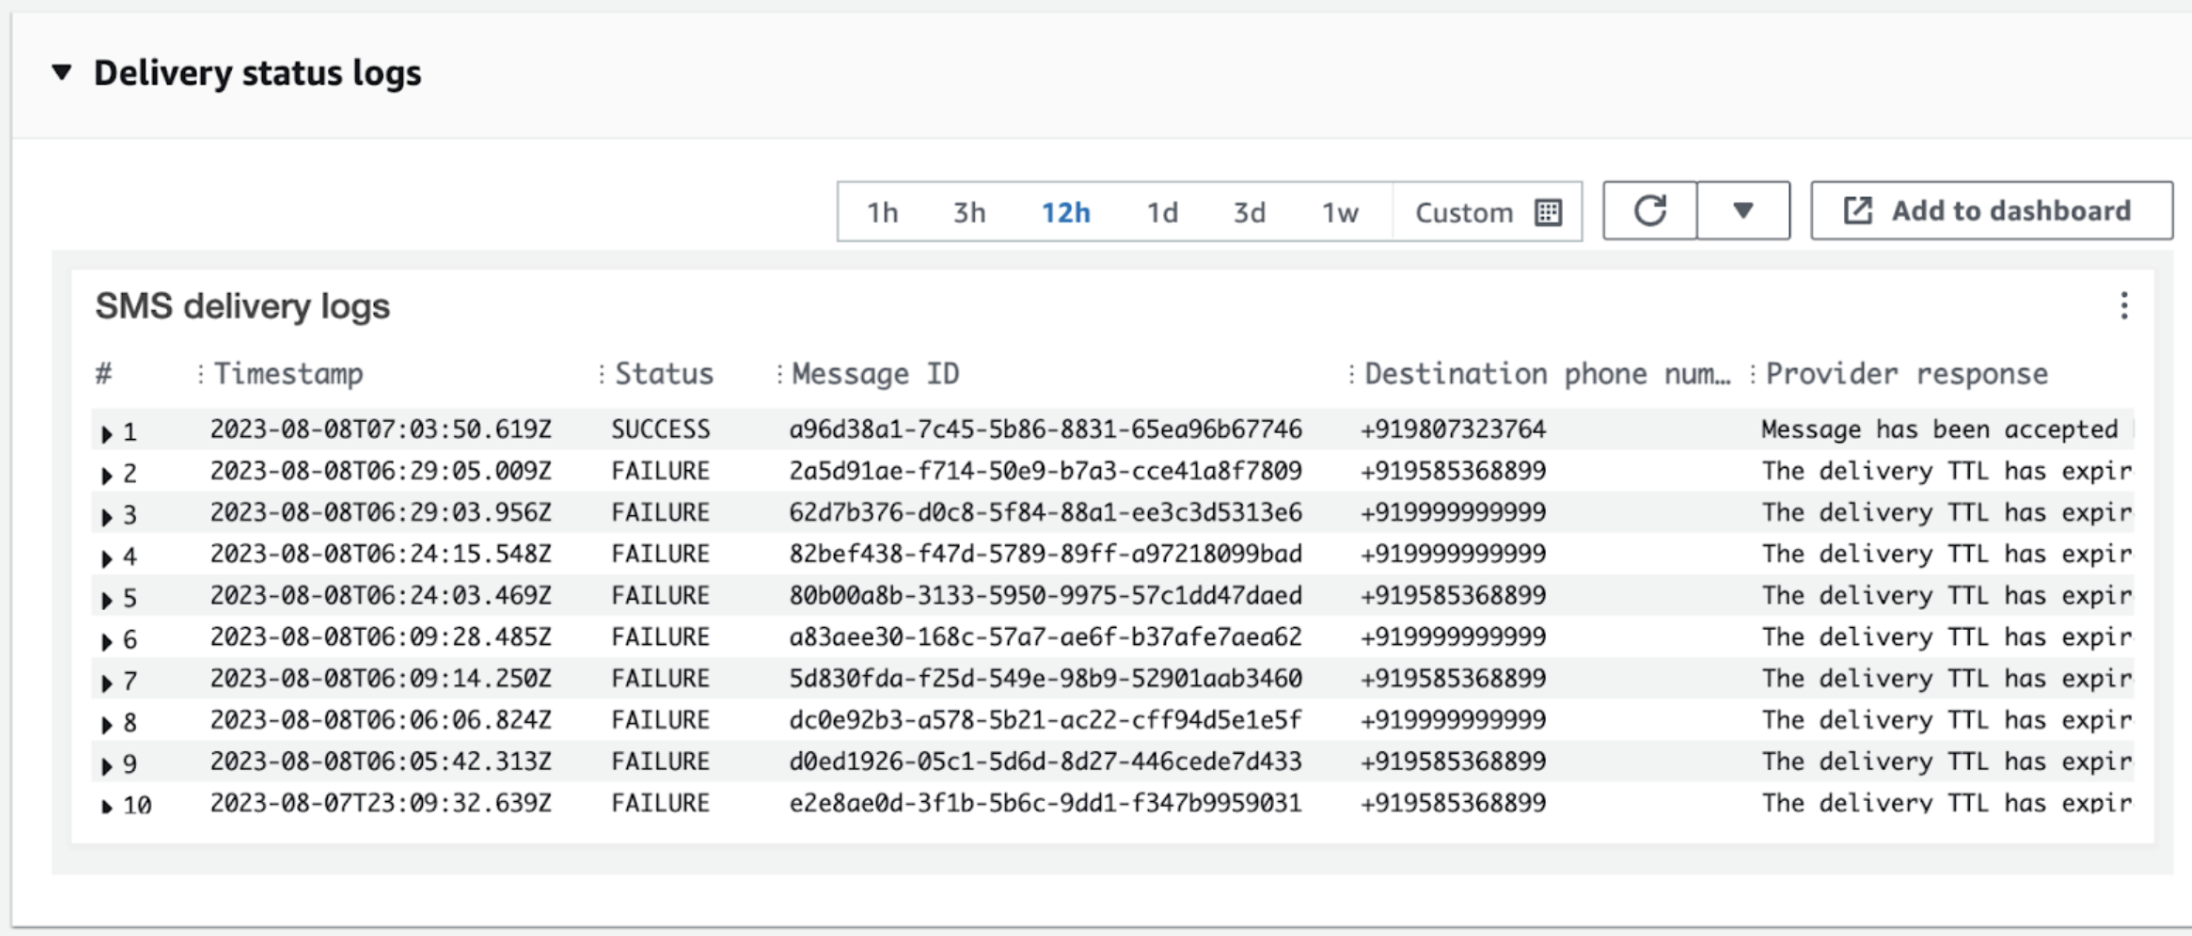
- Once configured, you’ll be able to see delivery logs of your sent messages on this console. You can also access it from cloudwatch console.
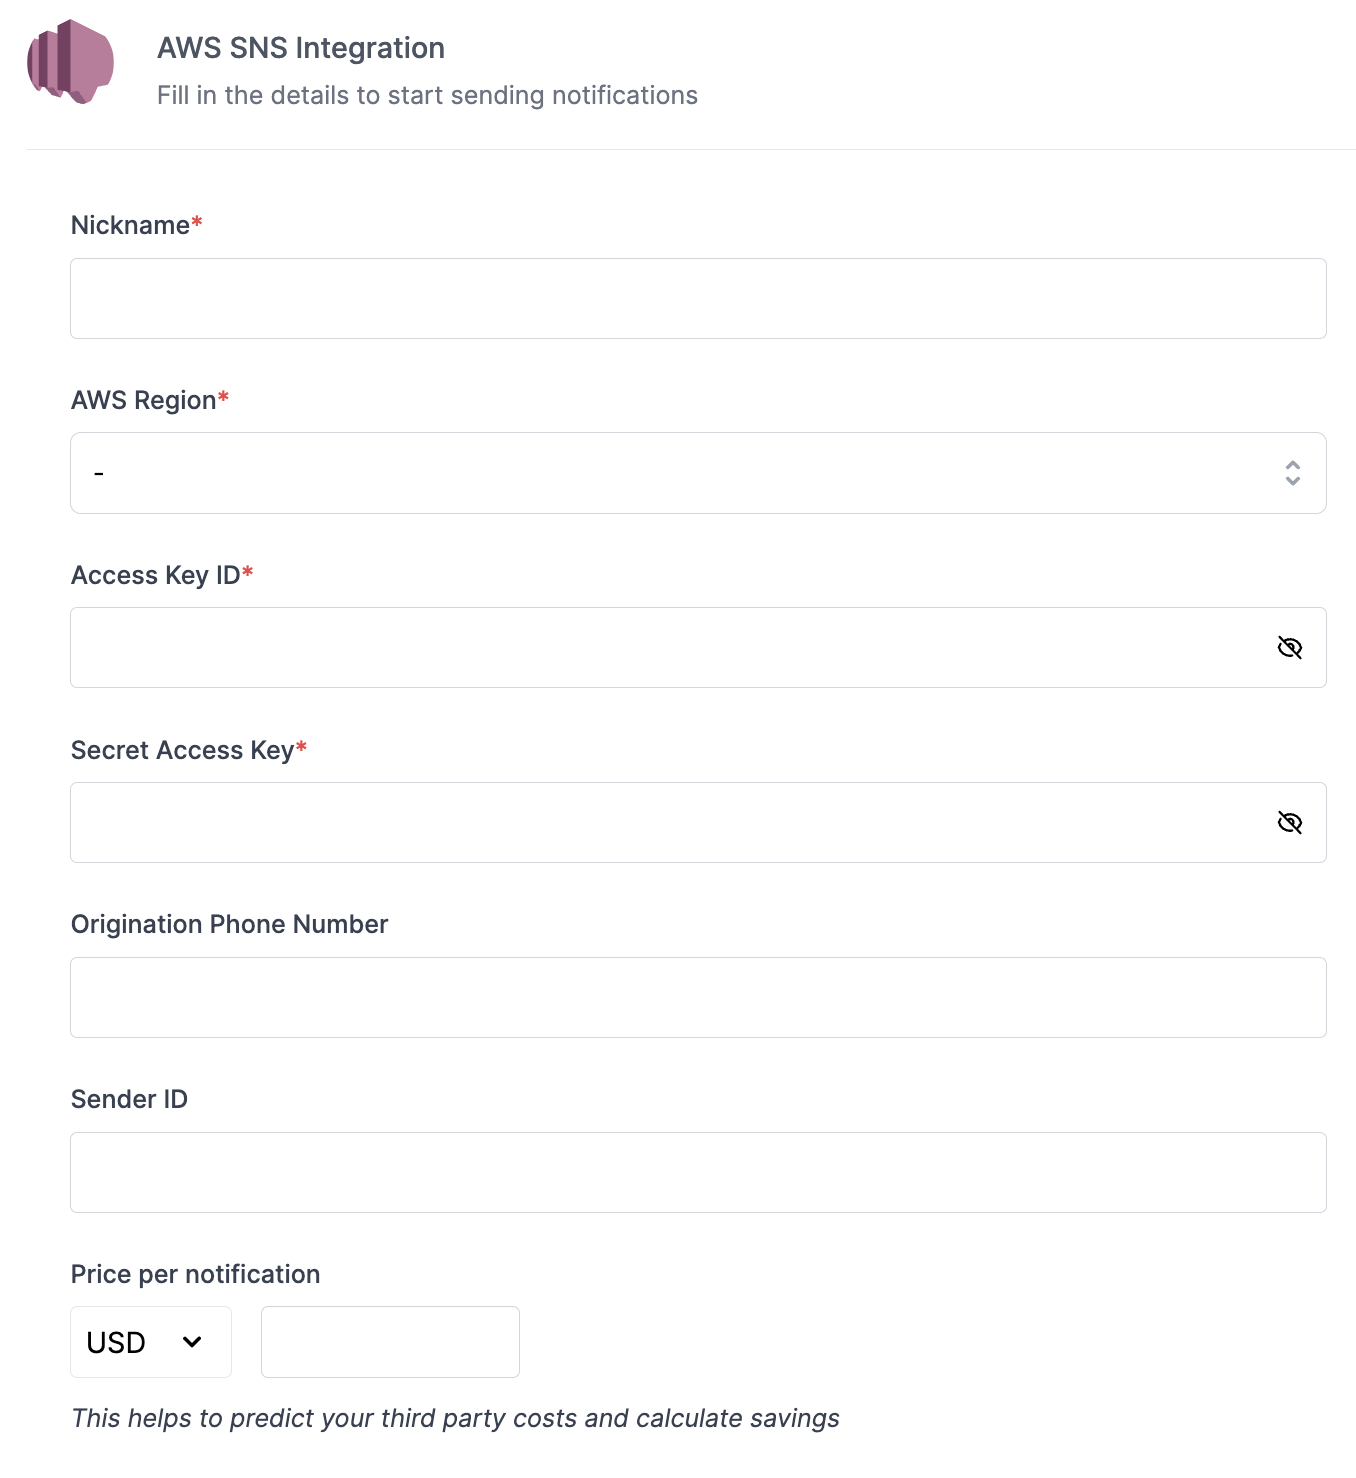
Step-3 : Add SNS vendor settings on Suprsend dashboard
On the SuprSend dashboard, go to vendor page from side panel and click SMS -> AWS SNS from the list of Vendors. This will open vendor details page as shown below: