Create SuprSend account
Simply signup on SuprSend to create your account. If you already have your company account setup, ask your admin to invite you to the team.Start testing in Sandbox workspace
Your SuprSend account includes three default workspaces: Sandbox, Staging, and Production. You can switch between them from the top navigation bar, and create additional workspaces if needed.- Sandbox
- Demo Workspace with pre-configured vendors for quick exploration and POC.
- Includes a sample workflow, a sample user with your registered email and pre-configured channels for quick testing.
- Limitation: Available for a trial period and email notifications can be sent only to verified email addresses (to prevent spam).
- Staging
- Development workspace used to test notification flows before pushing it to production.
- You can enable Test Mode to safely test notification flows without delivering to real users. In Test Mode, notifications are delivered only to designated internal testers. You can also set up a catch-all channel to redirect all notifications intended for non-test users.
- Production
- Live workspace for syncing your actual product users and running production workflows.
- We do not recommend making changes directly in your production workspace as it might disrupt your live notifications.
Workspaces also help isolate different product lines or applications, each with their own users and configurations.
For example, a company like Meta might create separate workspaces for Facebook, Instagram, and WhatsApp.
Create a workflow
Workflow houses the automation logic of your notification. Each workflow starts with a trigger, processes the defined logic, and sends one or more messages to the end user. You can create a workflow from SuprSend dashboard by clicking on button on the workflows tab.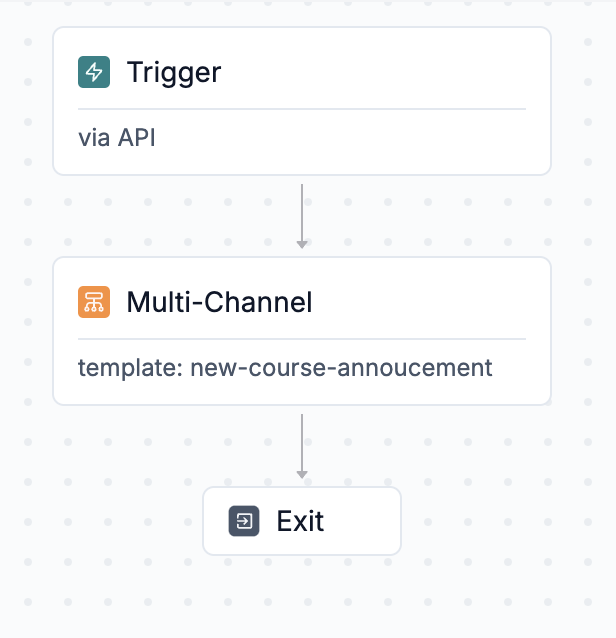
-
A Trigger point- Trigger initiates the workflow. You can initiate it
- Using the direct workflow API, where you can include recipient channel information, preferences, and actor details directly in the trigger.
- By emitting an event(note: the recipient needs to be pre-created for event-based triggers).
-
Delivery node- Delivery Nodes represent the channels where users will receive notifications. You can use:
multi-channel nodes, to send messages across multiple channels,
smart channel routing, to notify users sequentially rather than bombarding them on all channels at once (though it’s generally better to use).
Template in delivery node contains the content of the notification. You can add both static and dynamic content sourced from user properties or trigger payloads. We use Handlebars as our templating language. You can add dynamic content as
{{var}}; this syntax HTML-escapes values by default to help prevent injection. For URLs and values which can have special characters, you can use triple curly braces{{{var}}}to avoid HTML-escaping. Add trigger data in the mock to get variable auto-suggestions during editing. Ensure to publish the template before using it in a workflow. Learn more about how to design email template here.
- Functional nodes (Optional): These are the logic nodes in the workflow. You can use it to add delay, batch multiple notifications in a summary or add conditional branches in the workflow. Check out all workflow nodes here.
Trigger the workflow
You can trigger a test workflow directly from dashboard by clicking on ” button in your workflow editor or “Commit” changes to trigger it from your code. We follow Git like versioning for workflow changes, so you need to commit your changes to trigger new workflow via the API. You can check all methods of triggering workflow here. To trigger a workflow, you need:- Recipient: End user who would be notified in the workflow run. Recipient is uniquely identified by
distinct_idwithin SuprSend and must have the relevant channel identity set in their profile. You can define recipient inline in case of API based trigger or create user profile first for event based trigger. In Sandbox workspace, a sample user with your registered email ID is pre-created for testing. You can always add more users or edit existing user profile from subscriber page on UI. - Data or Event Properties: This will be used to render dynamic content in the template (added in template mock) or variables in the workflow configuration.
Check notification logs
You can view the status of any sent notification under the Logs tab. Logs are organized in the following order:- Requests: Captures all API/SDK requests sent to SuprSend from your backend or frontend. You can see the input payload and request response here.
- Executions: Workflow executions are logged here. You can click on a log entry to open the step-by-step workflow debugger
- Messages: All delivery nodes (including webhooks) are tracked here along with their message status (delivered, seen, clicked). Message preview for delivered notifications will also be available soon.