How It Works
Smart Channel Routing follows three steps when a workflow is triggered:1. Identify eligible channels
SuprSend checks which channels qualify for delivery by intersecting:- Channels active on the template - published and live. For WhatsApp and SMS (Indian vendors), this means provider approval is complete.
- Channels active in the user profile - not removed, unset, or marked inactive. See managing user channels.
- User opt-in preference - if you use SuprSend’s preference centre, the user must be
opt-infor the channel within the preference category. Category-level opt-out is checked at trigger time (the workflow won’t run for opted-out users), while channel-level preferences are evaluated here at the delivery node. Verify with the get user preference API.
2. Order outside-app channels
Routing logic only applies to outside-app channels - Email, SMS, WhatsApp, Slack, MS teams and Push. SuprSend orders these based on your chosen optimize-on setting (default: lowest to highest cost).Inbox is always delivered at T+0 - it is exempt from channel routing entirely. Regardless of the optimize-on setting, channel order, or cost, Inbox fires immediately alongside the first outside-app channel whenever it is active on the template and user profile. It does not count toward the outside-app channel sequence or interval calculation.
3. Deliver sequentially with a delay
Notifications go out in this sequence:
The interval between each outside-app channel is:
interval = time_to_live ÷ (number of outside-app channels − 1)
Example: Template with Inbox + Email + SMS + WhatsApp, time-to-live = 1 hour:
- T+0 → Inbox + Email
- T+30min → SMS (skipped if success metric already achieved)
- T+60min → WhatsApp (skipped if success metric already achieved)
Routing is per channel identity, not per channel. If a user has multiple identities on the same channel (for example, two email addresses), each identity is treated as a separate step in the sequence. SuprSend sends to the first email address, waits for the configured interval, then sends to the second.
Configuration
Optimize On
Sets the order in which outside-app channels are attempted. The default is cost - channels are tried from lowest to highest cost based on your vendor settings.Time to Live
The total time window across which outside-app channels are attempted. This determines the interval between each channel. Example: 3 outside-app channels, time-to-live = 1 hour → channels are tried 30 minutes apart.Must Send To
Channels listed here are delivered to immediately at T+0, outside of routing order. Use this for channels that must always receive the notification regardless of sequencing.Success Metric
Defines what counts as “user engaged.” Once this is met, SuprSend stops delivering to further channels. Notification Status - a status reached on any sent channel:
Custom Event - any event your platform fires in response to the notification. For example,
invoice_paid for a payment reminder, or appointment_confirmed for a booking flow.
Vendor routing is independent. If you have vendor routing enabled, it operates independently of channel routing and does not add to the delay between channels.
Override Channels
Pass a channel list dynamically at runtime via an event property. Useful when a user’s preferred channel changes per workflow trigger - for example, a user selecting their preferred channel when booking an appointment.For persistent preferences (for example, a user who always wants email only), use User Preferences instead — it’s the more appropriate tool.Setup: Add a
channels array to your event properties, then reference the key in the Override Channels field in the workflow form.
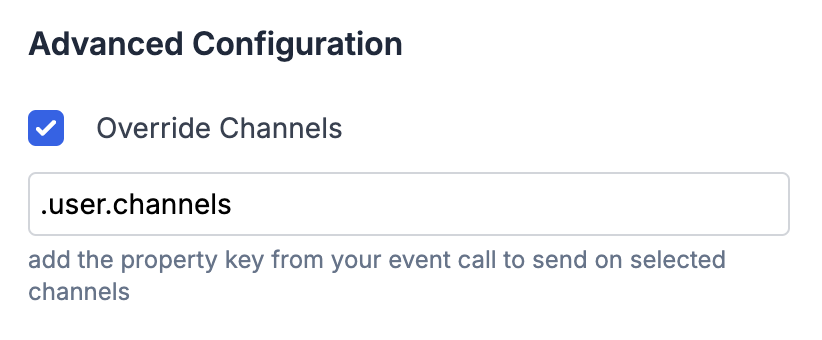
- Top-level key:
.channels - Nested key:
.user.channels
Frequently Asked Questions
Why am I receiving Inbox and Email at the same time?
Why am I receiving Inbox and Email at the same time?
This is expected. Inbox is exempt from routing logic and always fires at T+0 - alongside the first outside-app channel (Email, in this case). The time-to-live delay only applies to the 2nd, 3rd, and subsequent outside-app channels.So with Inbox + Email + SMS and a 10-minute time-to-live:
- T+0 → Inbox + Email
- T+10min → SMS (only if success metric not yet met)
Do I need a 'Wait Until' node before this node?
Do I need a 'Wait Until' node before this node?
No. The delay between channels is managed by the Time to Live setting inside the Smart Channel Routing node. A Wait Until node is not required.