
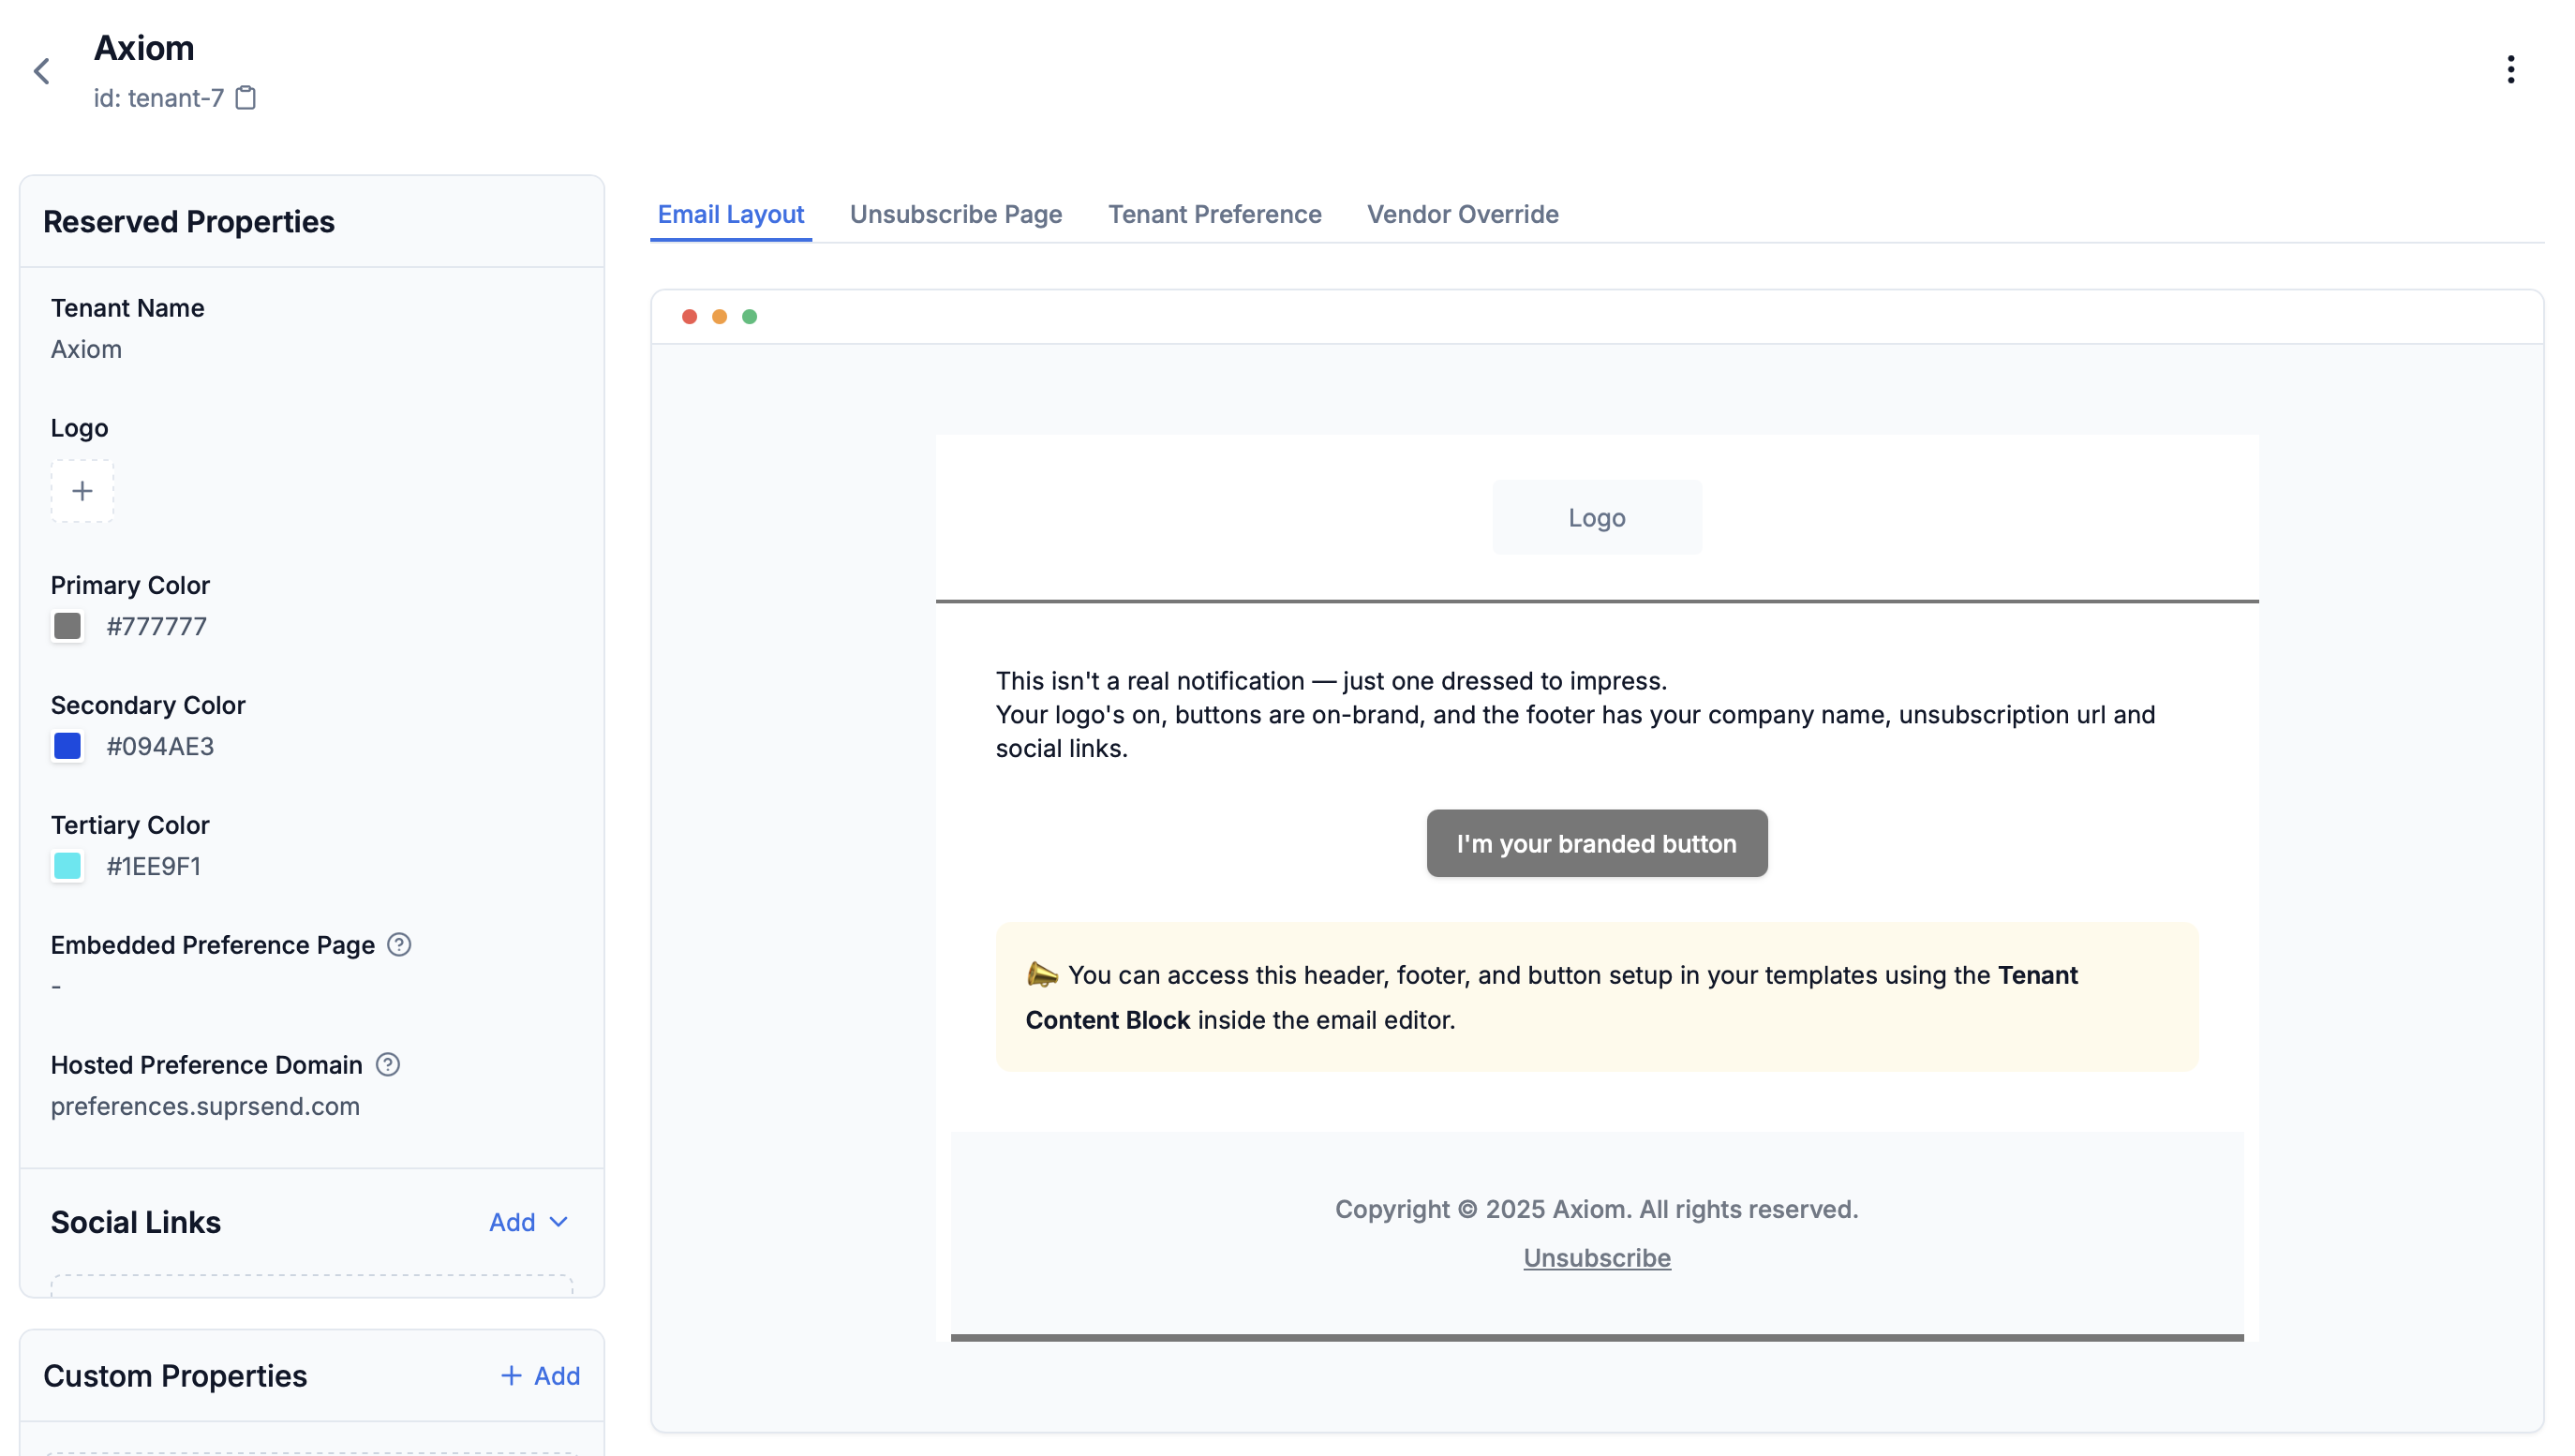
Step 1: Create a Tenant
- MCP
- Backend Code
- SuprSend UI
With the SuprSend MCP server configured in your AI assistant (Claude, Cursor, etc.), just pass a simple prompt to create tenant:The MCP server calls the
tenants_upsert tool under the hood to create the tenant.
Step 2: Customize tenant templates
Open any template in the template editor. Tenant variables follow the format$tenant.<property> and are replaced at send time based on the tenant_id you pass.
Customizing header, footer, and buttons in email templates
You can use the built-in Tenant block in email designer to automatically get the branded header, footer, and buttons for a tenant. For any other customization, pass tenant variable as$tenant.<property> in the template.
Inserting tenant variables
Type{ in email editor or {{ in other channels to see tenant variables in auto-suggestions. Here’s an example email template:
Email template
tenant_id="acme-corp", the variables resolve to Acme Corp’s actual values.
Show/Hide template content based on tenant properties
Use custom properties to conditionally show content for specific tenants. Set a property (for example,pricing_type: free) on the tenant, then basis that, show upgrade banner in the template.
In email template, you can use display condition to show/hide the content based on the property.
Inbox template
Step 3: Trigger a Workflow with tenant_id
Passtenant_id when triggering a workflow. SuprSend applies the matching tenant’s branding and preferences automatically.
$tenant.* and $tenant.* variables using the properties of acme-corp before sending.