MS Teams editor with Markdown and JSONNET tabs
To send MS Teams notifications, you need an MS Teams vendor integrated with SuprSend. See MS Teams vendor integration for setup.
MS Teams fields
Markdown mode - a text editor with Markdown formatting support. Variables use Handlebars syntax ({{variable_name}}). Supported formatting:
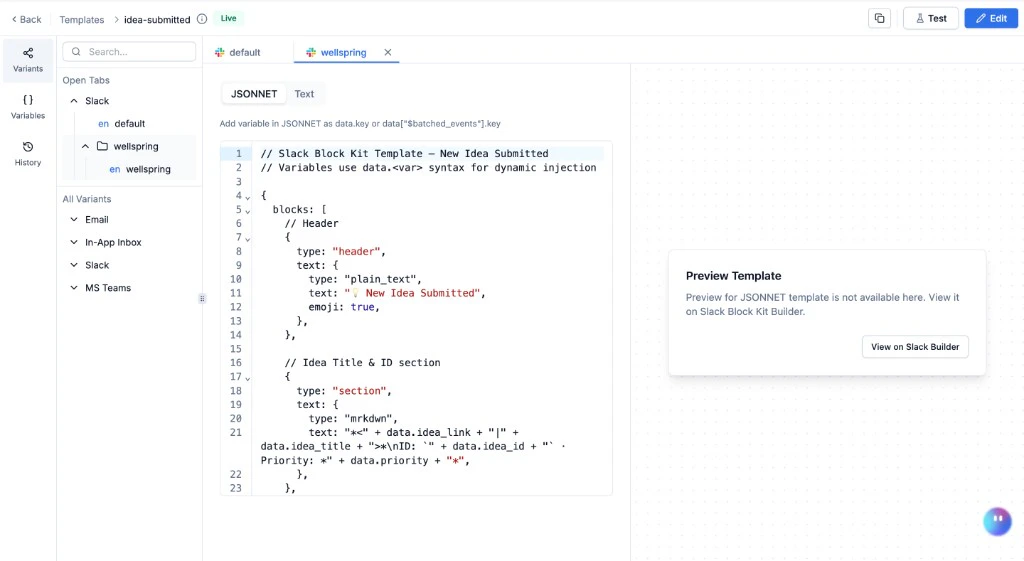
JSONNET mode - a code editor that outputs Adaptive Card JSON. Variables use
data.key syntax (not Handlebars). Design visually in the Adaptive Cards Designer first, then adapt the JSON into JSONNET. Use FactSet for key-value data and Action.OpenUrl for link buttons. See the full JSONNET reference for syntax, examples, and debugging.

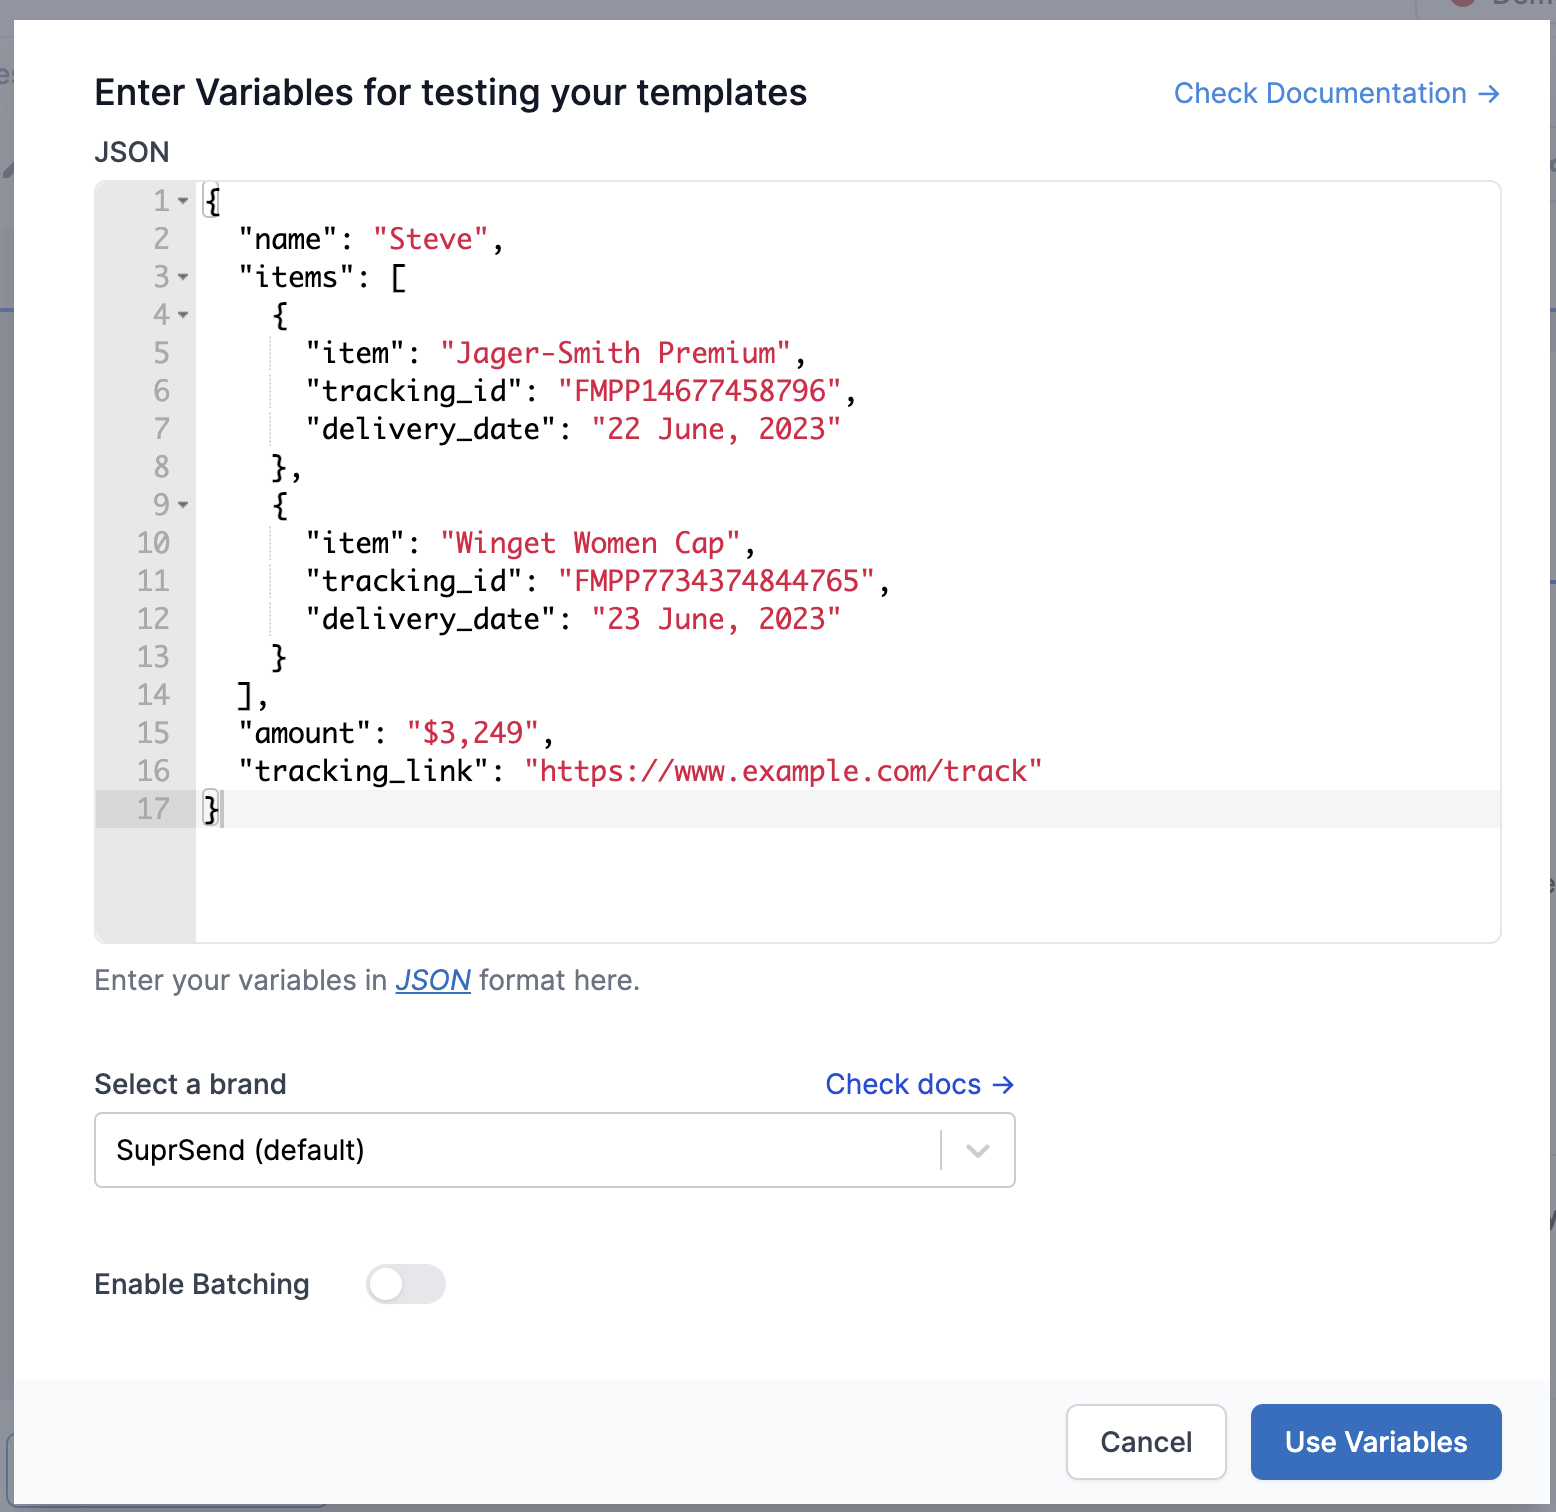
JSON format as shown in the screenshot below. This JSON should be the same as passed in your workflow or event request (it is a part of the data field for workflow and properties field for event).
You can switch between Markdown and JSONNET at any time. Content is saved independently for each mode.
Adding dynamic content
In Markdown mode - type{{ for auto-suggestions. Standard Handlebars syntax:
{{order_id}}- top-level variable{{order.address.city}}- nested variable{{{tracking_url}}}- URL (avoid escaping){{$recipient.name}}- recipient property
data.key syntax. See JSONNET variable reference for the full table.
For conditionals and helpers in Markdown mode, see Handlebars Helpers.
Preview and test
Markdown mode - the right panel updates in real time as you type. JSONNET mode - click Load Preview to render the Adaptive Card. Syntax errors are displayed in red in the preview panel. Click Test in the top-right corner to send a real Teams message. This uses the live version - commit your changes before testing. See Testing a Template for the full guide.Commit
Click Commit in the top bar to publish the current draft as a new live version. Add an optional description for versioning.Common scenarios
Deployment status alert (Markdown)
Deployment status alert (Markdown)
Approval request (Adaptive Card)
Approval request (Adaptive Card)
Use
FactSet for structured data and Action.OpenUrl for CTA buttons. See the full Adaptive Card example in the JSONNET reference.Frequently asked questions
Markdown or JSONNET - which should I use?
Markdown or JSONNET - which should I use?
Start with Markdown for plain-text messages with links. Switch to JSONNET when you need images, buttons, columns, or structured layouts (FactSets, ActionSets).
What Adaptive Card version should I use?
What Adaptive Card version should I use?
Use version
1.6 for the widest feature support across Teams desktop and mobile.What's the message size limit?
What's the message size limit?
Teams truncates Adaptive Cards larger than 28 KB. Keep payloads lean, especially when iterating over arrays.
Why does my card look different in Teams vs the designer?
Why does my card look different in Teams vs the designer?
Teams has its own rendering engine. The Adaptive Cards Designer is an approximation. Always test in an actual Teams chat before committing.
What happens if a variable is missing at send time?
What happens if a variable is missing at send time?
SuprSend discards the Teams notification for that user. Other channels in the same template group are still sent.