Prerequisites
- Integration of SuprSend Flutter SDK
- Configuring iOS vendor form in SuprSend dashboard
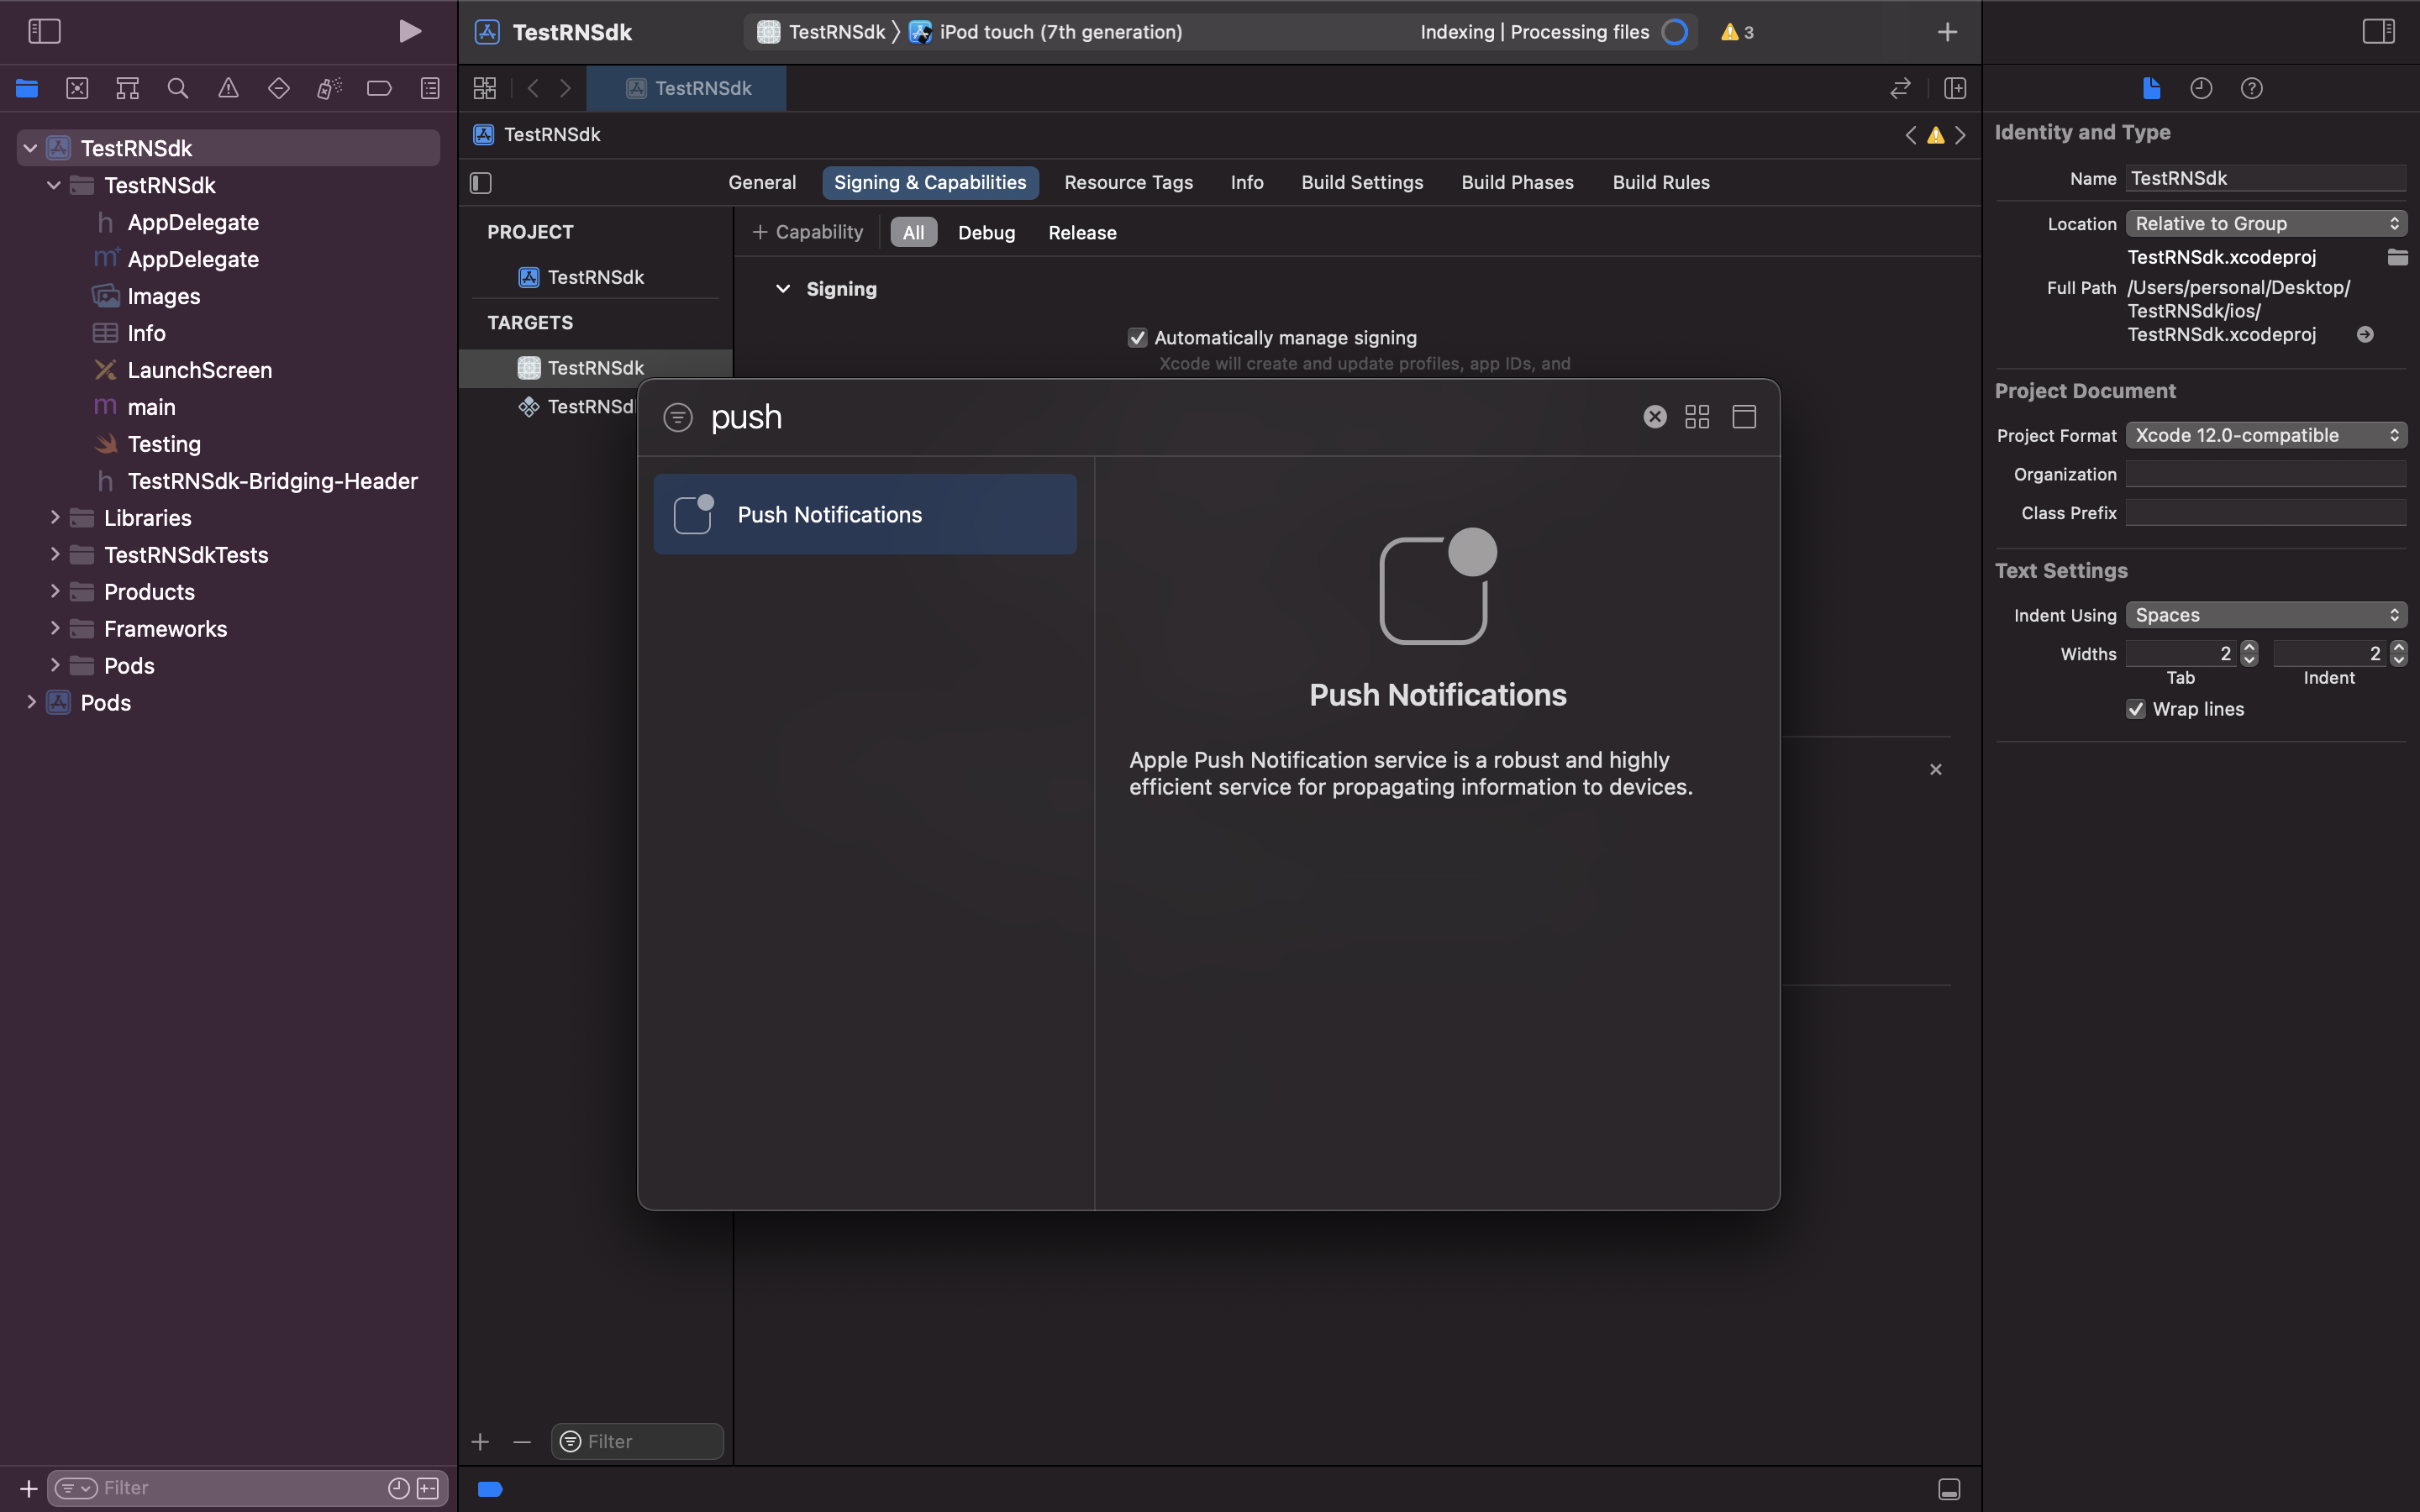
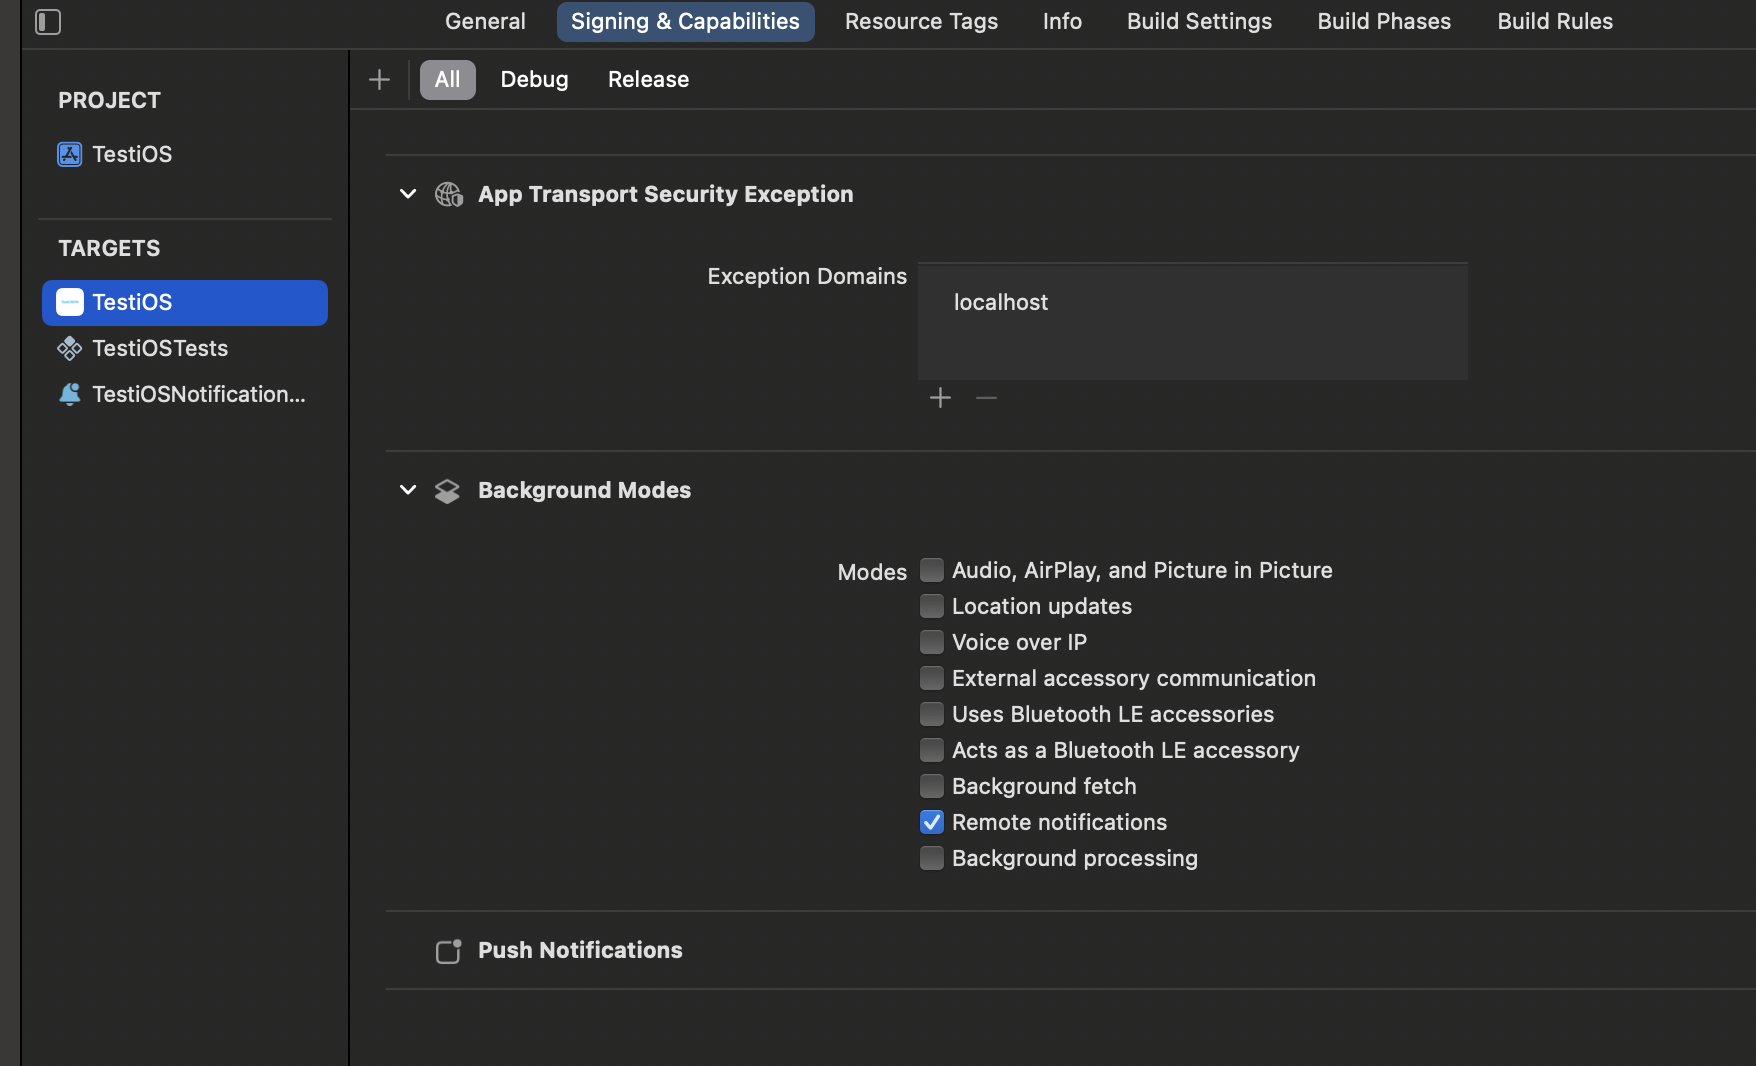
Step 1: Add capabilities in iOS application
Openios/Runner.xcworkspace, select the Runner target → Signing & Capabilities, click + Capability, and add Push Notifications.
Step 2: Ask permission and register for push notification
Inios/Runner/AppDelegate.swift, set the notification center delegate, request permission, and register with APNs inside didFinishLaunchingWithOptions:
Asking user permission
Theoptions you pass to requestAuthorization decide how the user is prompted for permission.
This shows the system permission dialog and, once the user allows it, enables alert, sound and badge.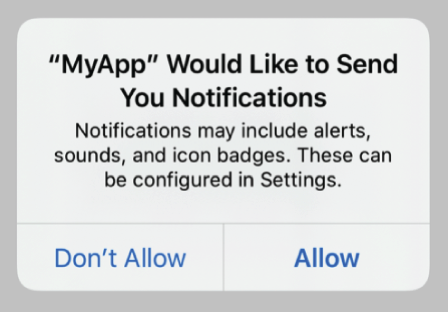
Explicit authorization is the default method, as it automatically sets alert, sound and badge as soon as the user allows the request.
Supported on iOS 12+. Add 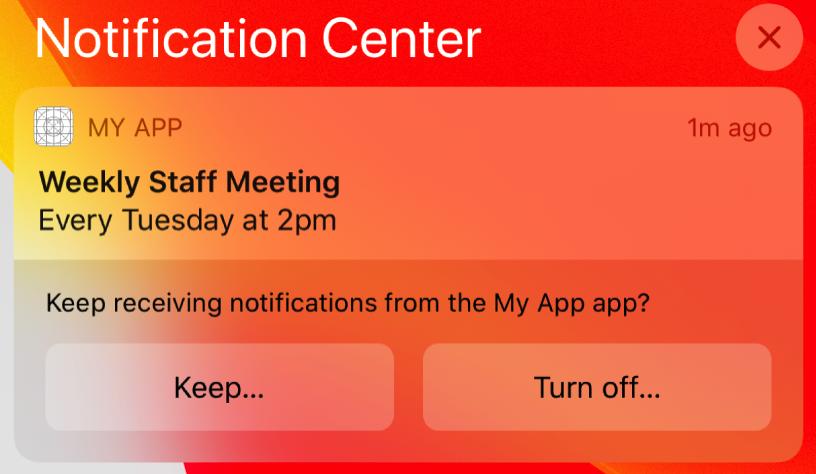
.provisional to deliver notifications quietly (to Notification Center only, without an upfront prompt) until the user chooses to Keep or Turn off notifications.Step 3: Enable sending and tracking of push notifications
Add the following overrides toAppDelegate to hand the APNs token to SuprSend and forward notification lifecycle events, so delivery and clicks are tracked:
The token is associated with the current user automatically and cleared on
SuprSend.reset(), so notifications stop after logout.Step 4: Adding support for Notification service
A Notification Service Extension lets APNs payloads be modified before display — for example to download and attach an image — and improves delivery tracking. Add it if you send rich (image/media) notifications.1
In Xcode go to File > New > Target
Select Notification Service Extension from the template list.
2
Name your Notification Service
Give the target a name, e.g. 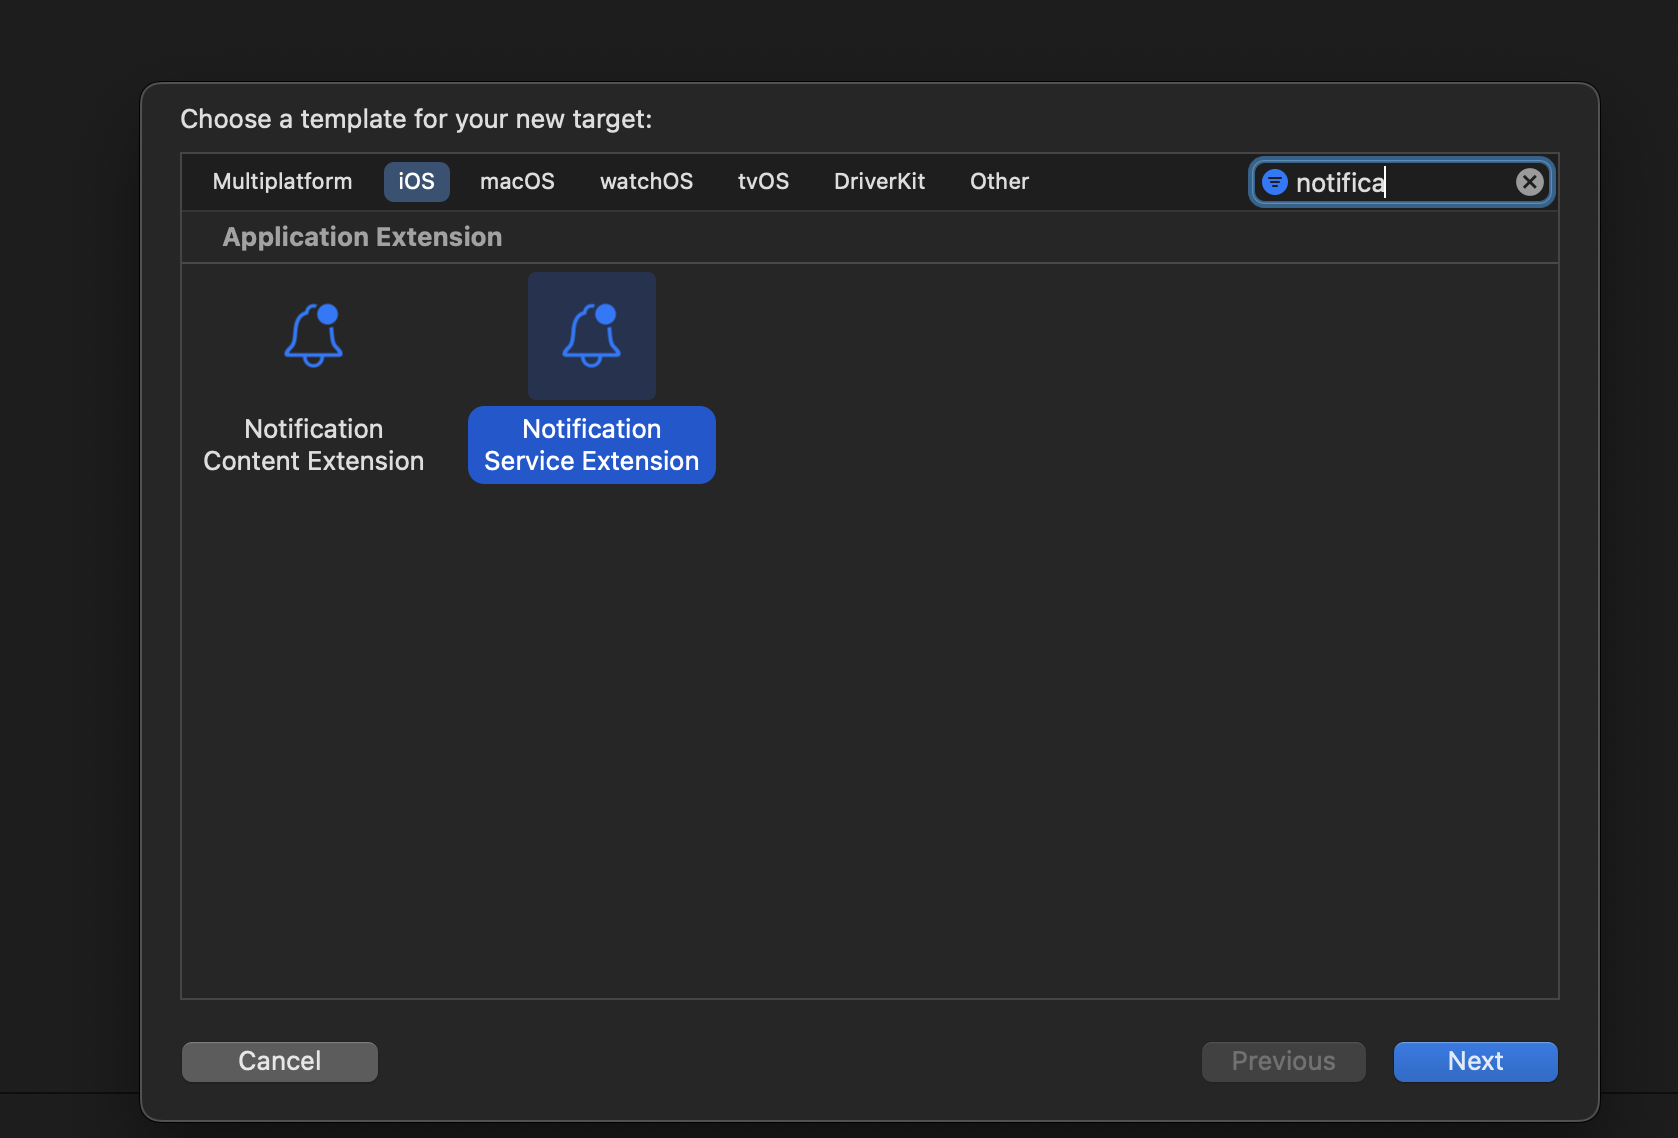
NotificationService.3
A folder will be created with your given product name
Xcode creates a folder containing 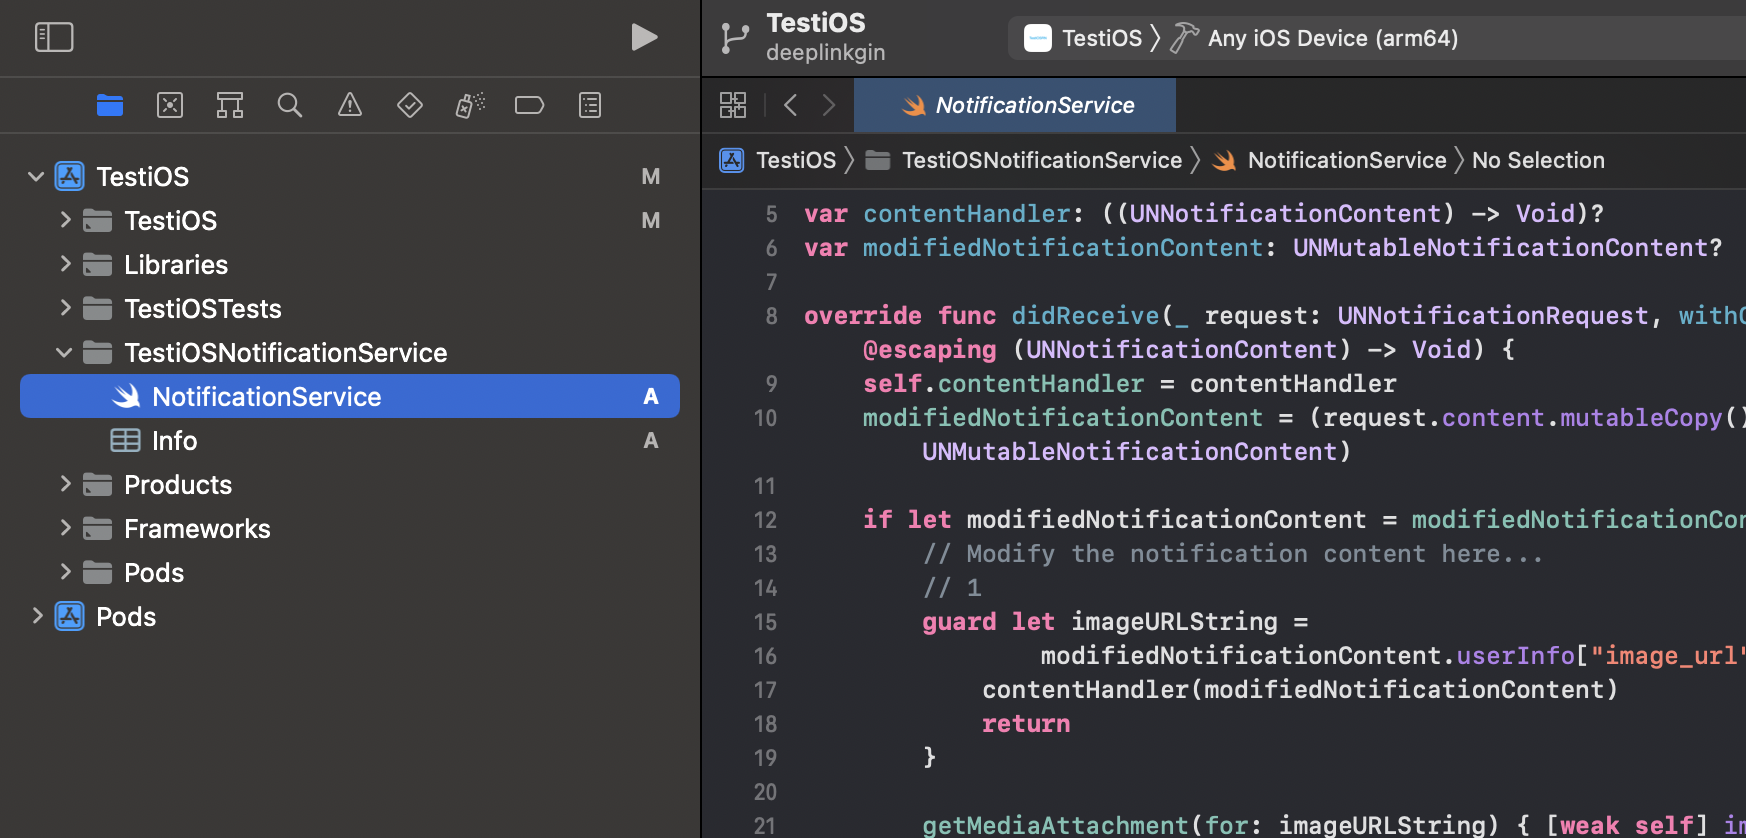
NotificationService.swift and Info.plist.4
Add the SuprSend pod and run pod install
In 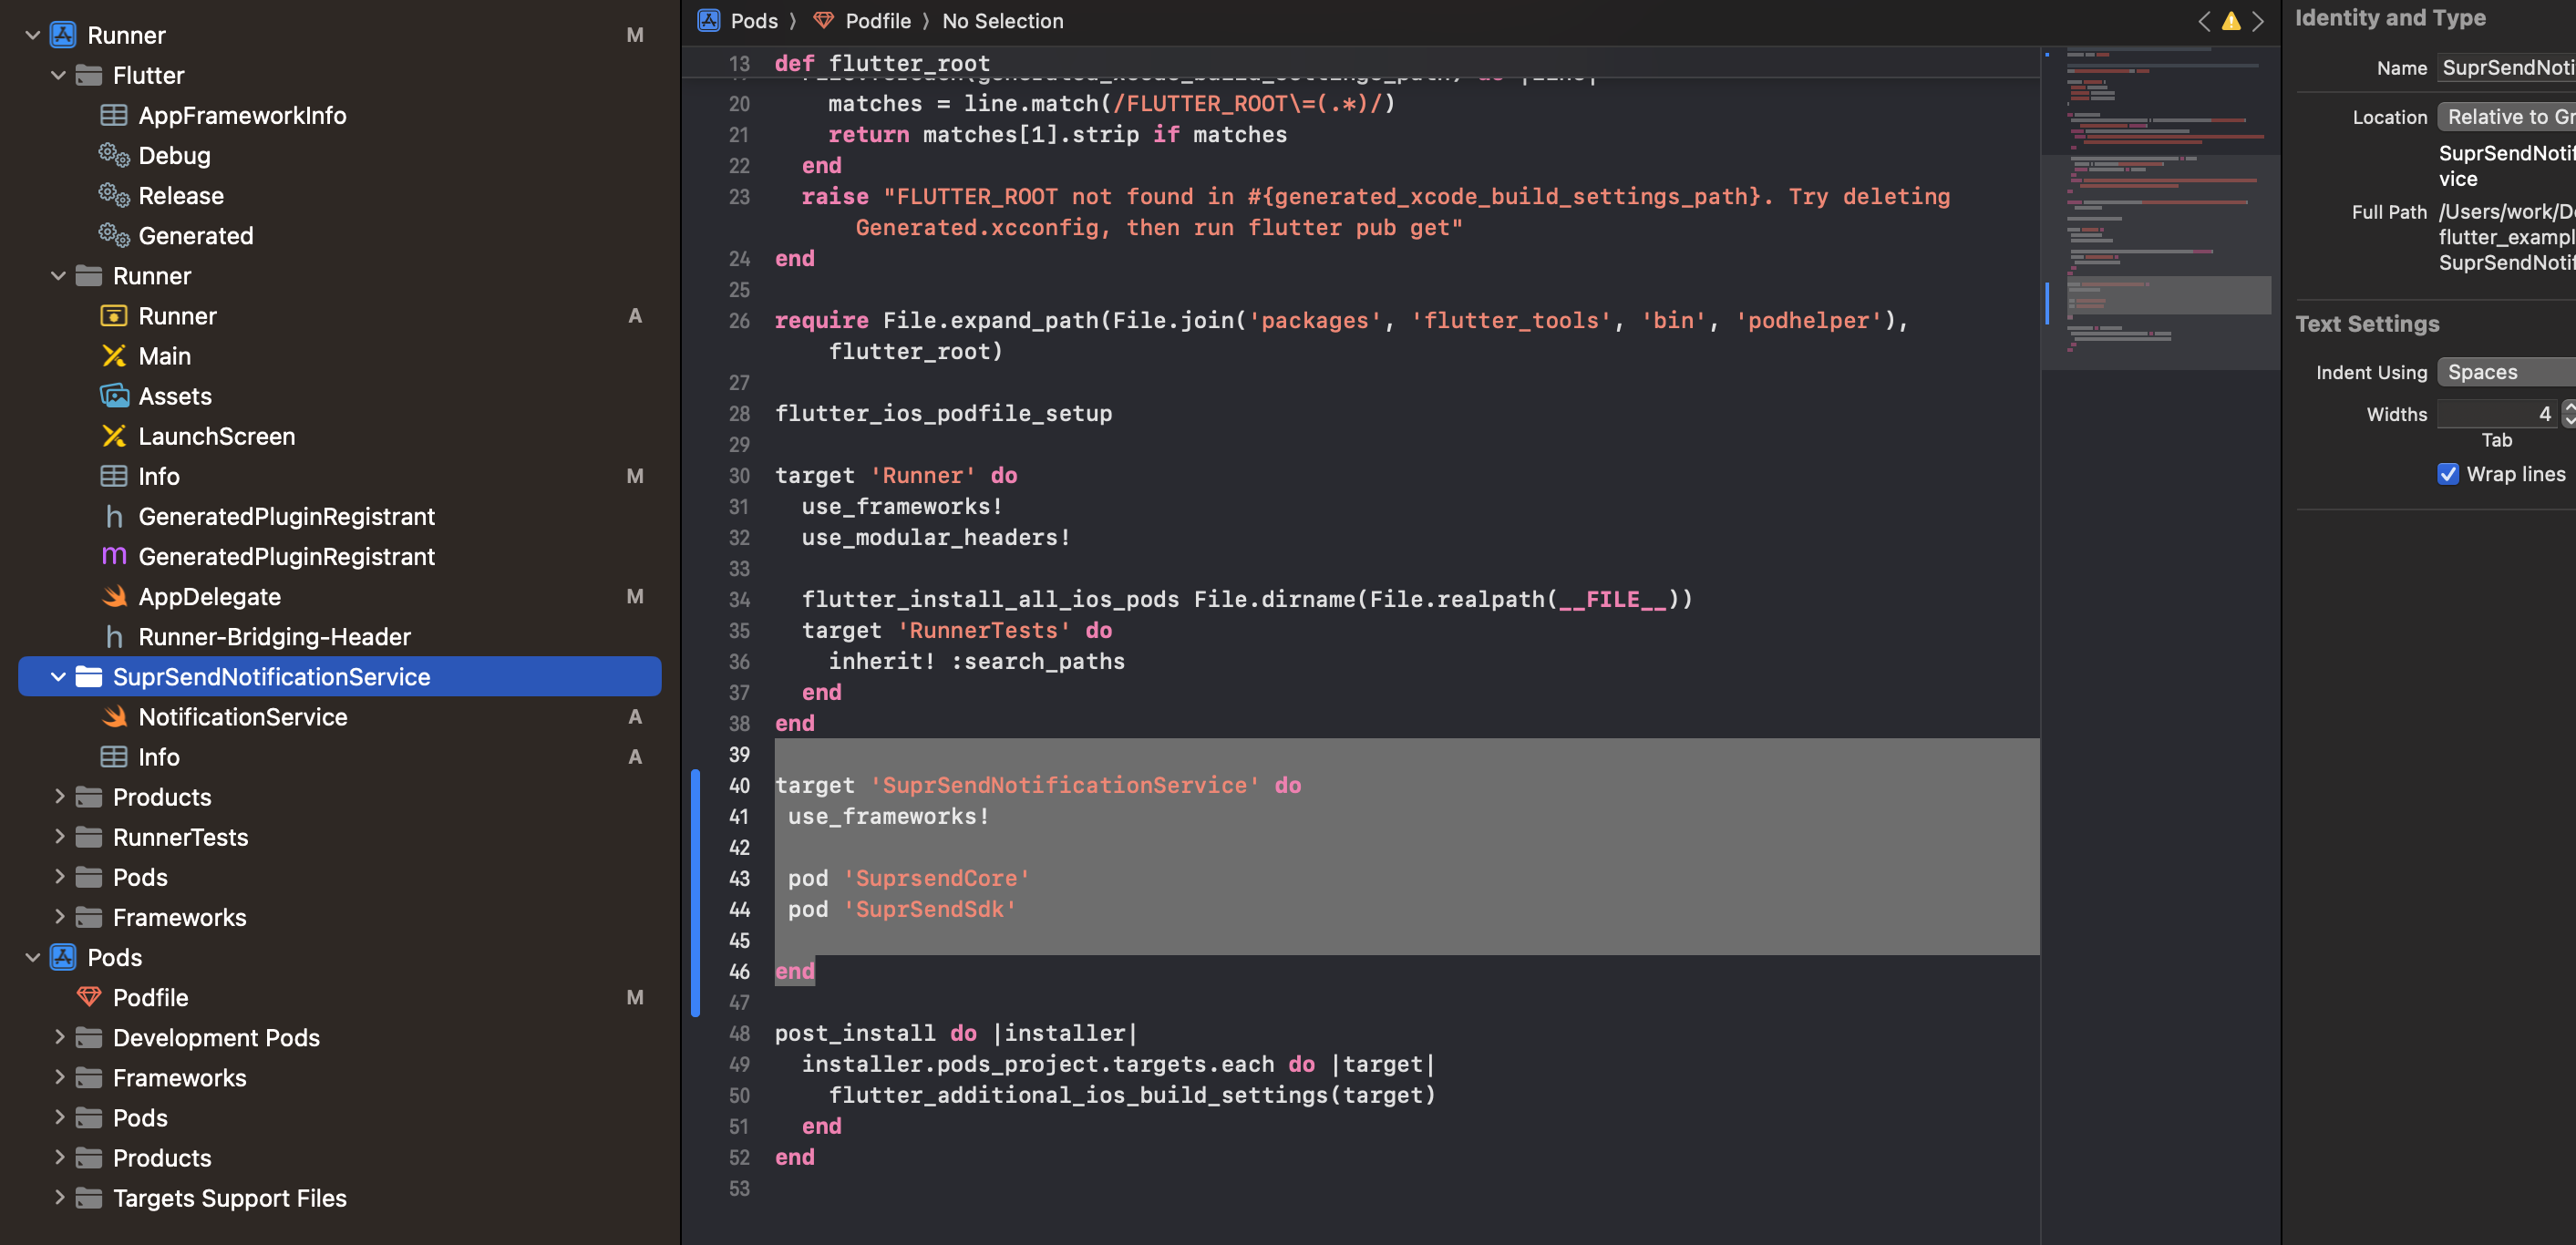
ios/Podfile, add a target block for the extension then run pod install from the ios/ directory:5
Replace values with your public key
Replace the generated
NotificationService.swift code with the below one and add a valid public api key in place of YOUR_PUBLIC_KEY.